AI Denoise in Lightroom - A Game Changer
Jul 01, 2024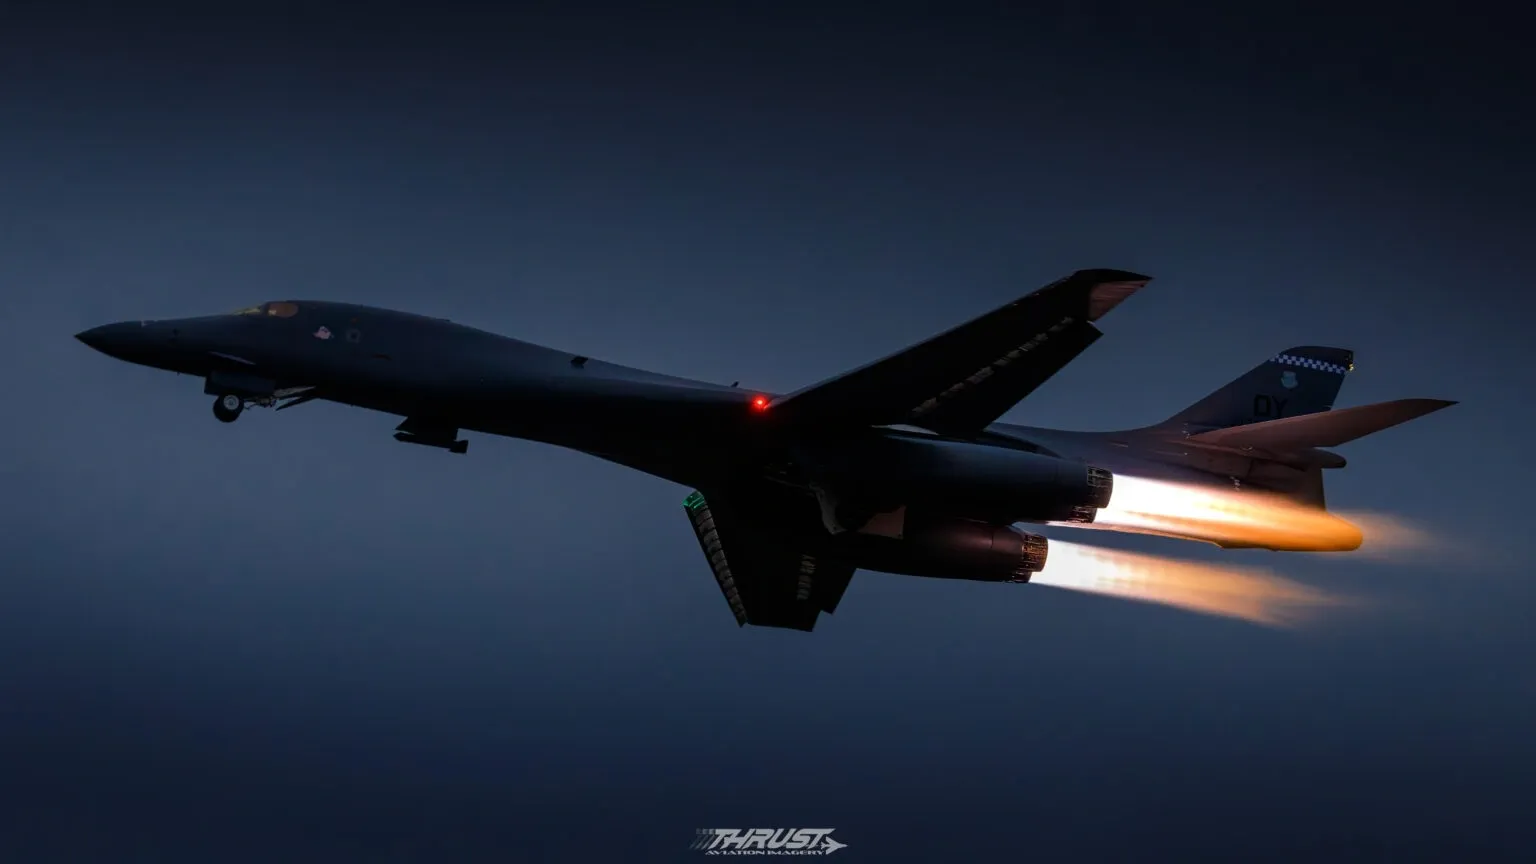
By Bradley Rogers
For a while now, artificial intelligence has been creeping into our world. It’s not just about writing essays for GCSE students, or creating digital artwork from simple commands. It is now becoming more useful and intriguing than ever before. Maybe the most popular Ai system for photography has been Topaz labs, where they have been leading the way with the Ai Denoise, sharpening and Gigapixel for some time. However, I have personally never tried Topaz for myself. I had been thinking about investing in it for sometime, but at the start of this month that had all changed. Adobe released a major update to Lightroom Classic, probably the biggest since the redesigning and introduction of the masking panel. This update contained some rather interesting features. Most notably the introduction of “Ai Denoise”. At first, I was a little sceptical, as anything that seems a “one-click fix”, never really seems to materialise. Nevertheless, I thought it was best to go ahead and see what it could achieve.
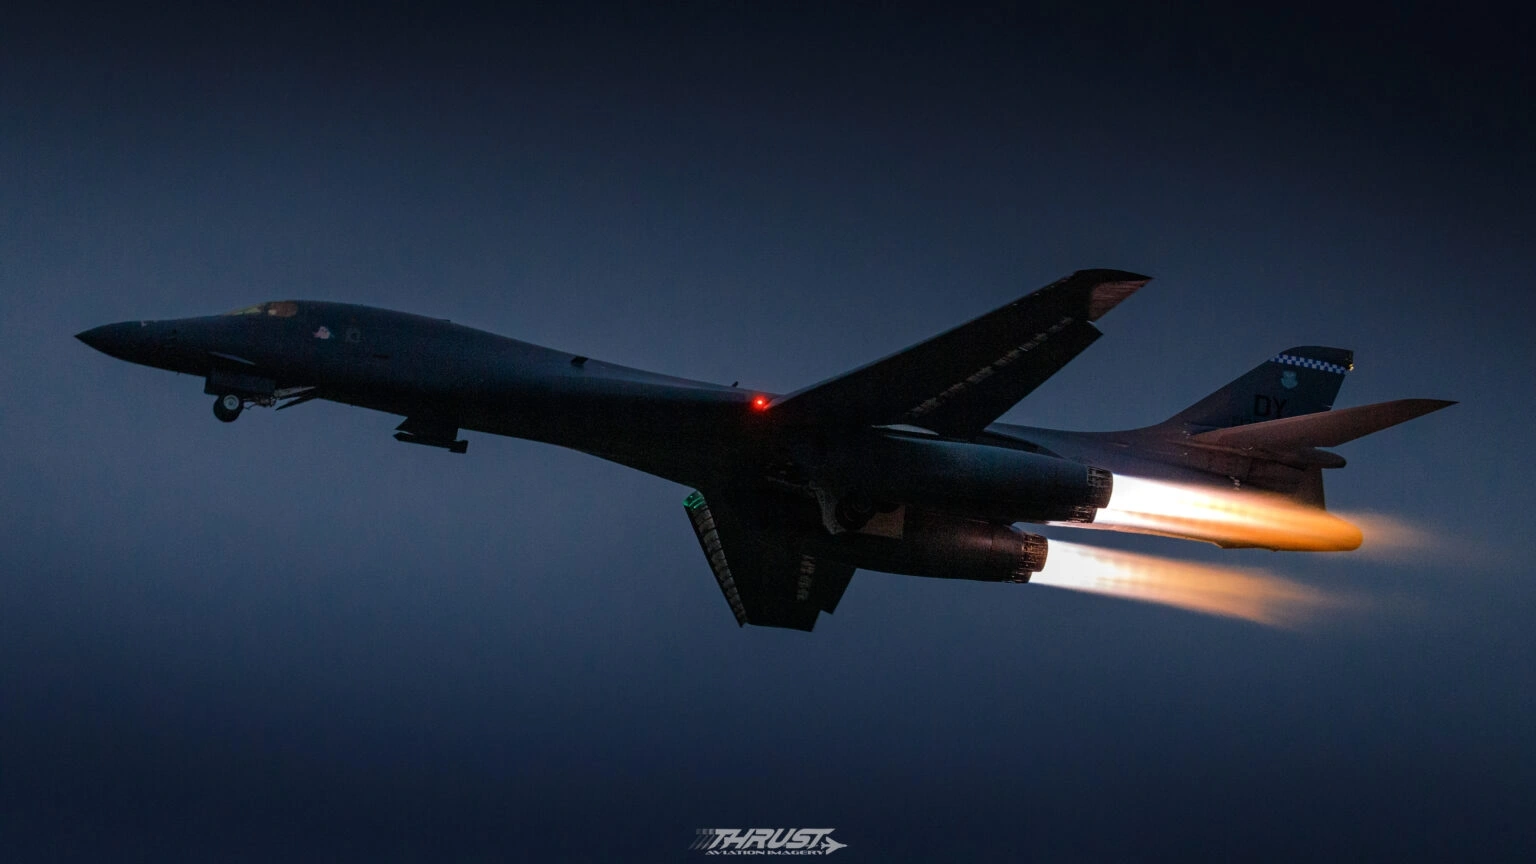
I remembered I had some very noisy images from a visit to RAF Fairford, where the B-1 bombers went out under the cover of darkness, it really was what you’d call a low-light situation! Tough conditions indeed, although the Canon EOS 5D MK IV’s lowlight capabilities are very impressive, this image was shot at ISO 5000, meaning there is lots of noise in the image, as hopefully you can see for yourself below.
I haven’t done anything to the above image above, apart from crop it, only so it is the same as the images to follow. As you can see it is very noisy and grainy, but the important parts are in focus and sharp.
So I have experimented a few times now with the new Ai Denoise, Unfortunately I have found it is very slow on my set up. Although it is quicker to do the Ai Denoise first before making any adjustments, it still takes around 40 minutes to process a single unedited RAW file. It can take up to an hour or more for an edited image! I am interested to know what the speed is like for those with far superior systems than me.
So to get started load up the image in the develop module, scroll down to where you would usually find the “Noise Reduction” and sharpening in the “Detail Panel”. (See image below)
Make sure that you are up-to-date with the latest version of Lightroom Classic, it’s is always best to check your Adobe Cloud app first. You should find this new button located just above the “Manual Noise Reduction” section in the “Detail Panel”, called “Denoise…”
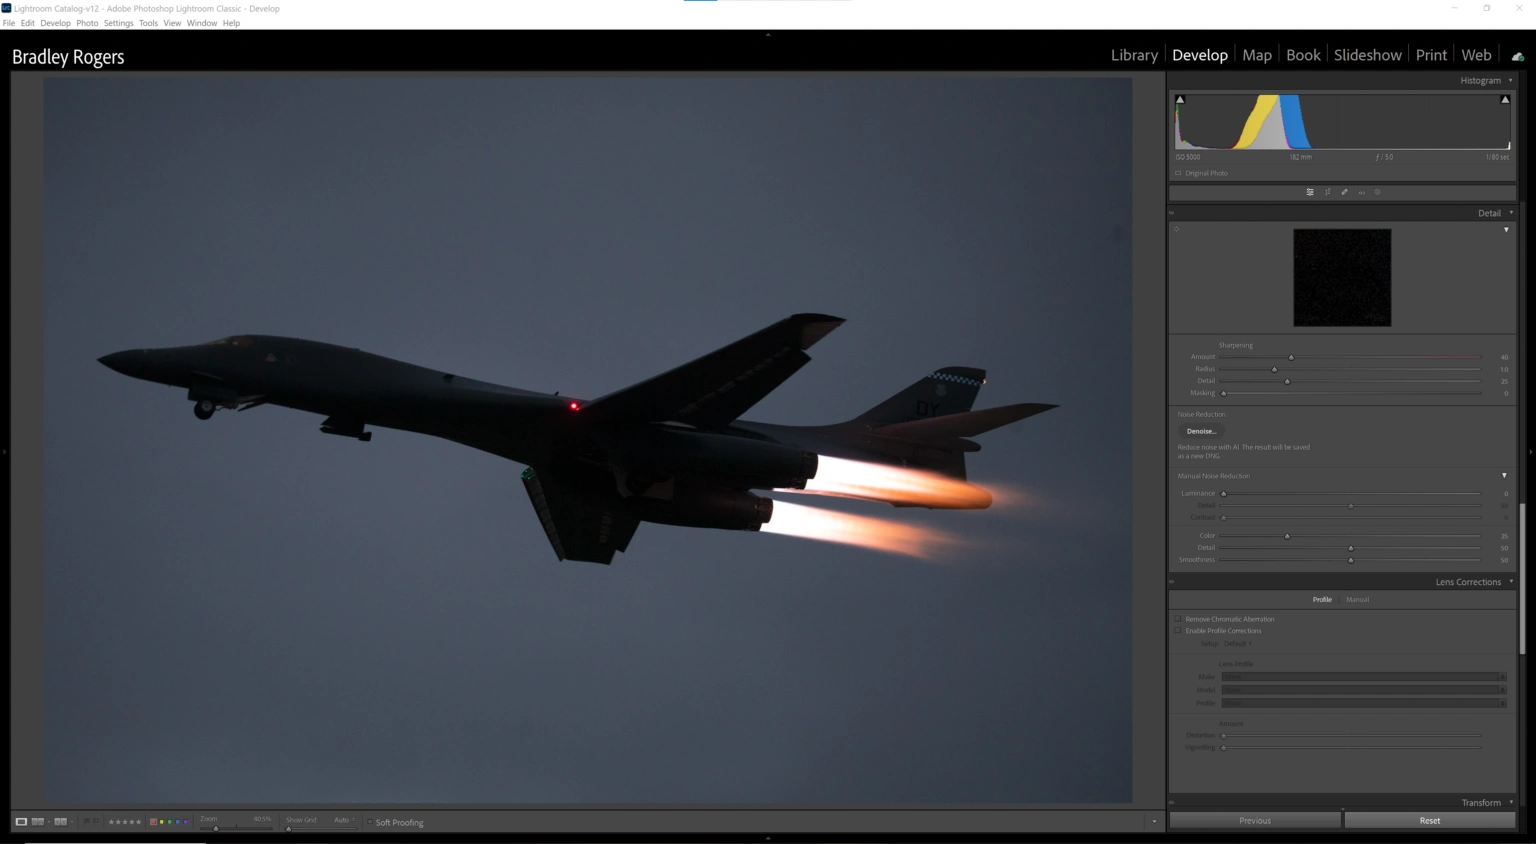
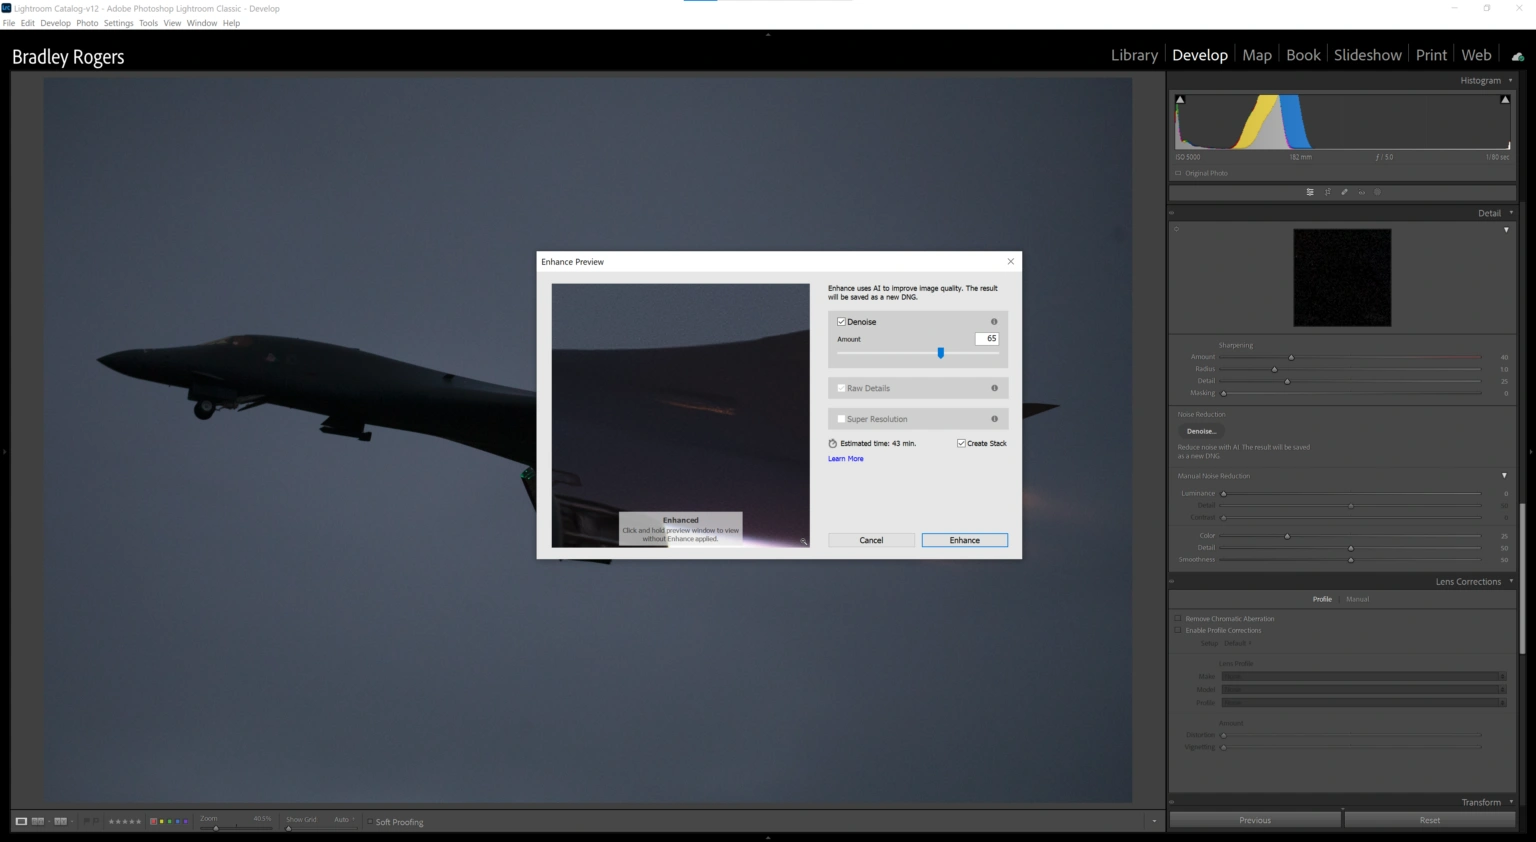
Simply click this button and Lightroom will start to work its Ai magic on your image. You should end up with a preview of the before and after from the Ai Denoise. Also, it should show what it best thinks is the amount of Denoise to apply. You can check against this by adjusting the amount and checking on the preview window. Again, on my PC it does take a while to even load the preview. I hope that it is quicker for others.

Eventually, you should end up with a loaded preview of what the Denoise will do to your image, it is a similar window that would appear if you were to use Lightroom’s “Super Resolution”. You also have the option to create a stack. This will simply group the resulting images together to avoid getting confused between the DNG file (which the Ai will produce) and the original RAW file, keeping your Library nice and tidy. Next to this you will also find an estimated amount of time it will take to complete the Denoise process. Once you are happy click “Enhance”.
Once you have clicked enhance, Lightroom will begin the DNG conversion, applying the Denoise. It will appear in the top left of the screen similar to when exporting images. Because of the time it takes on my set up, I left this to run overnight on a couple of images. Once completed you will end up with a new DNG file, created from the RAW, with the Ai Denoise applied.
This is where I found the results to be startling. An image that was shot in such a low-light situation at ISO 5000 and beyond any sort of rescue, has been totally transformed! I could treat it as a normal edit, not having to worry about enhancing the noise , it even seems to tackle the noise in the shadows well too.
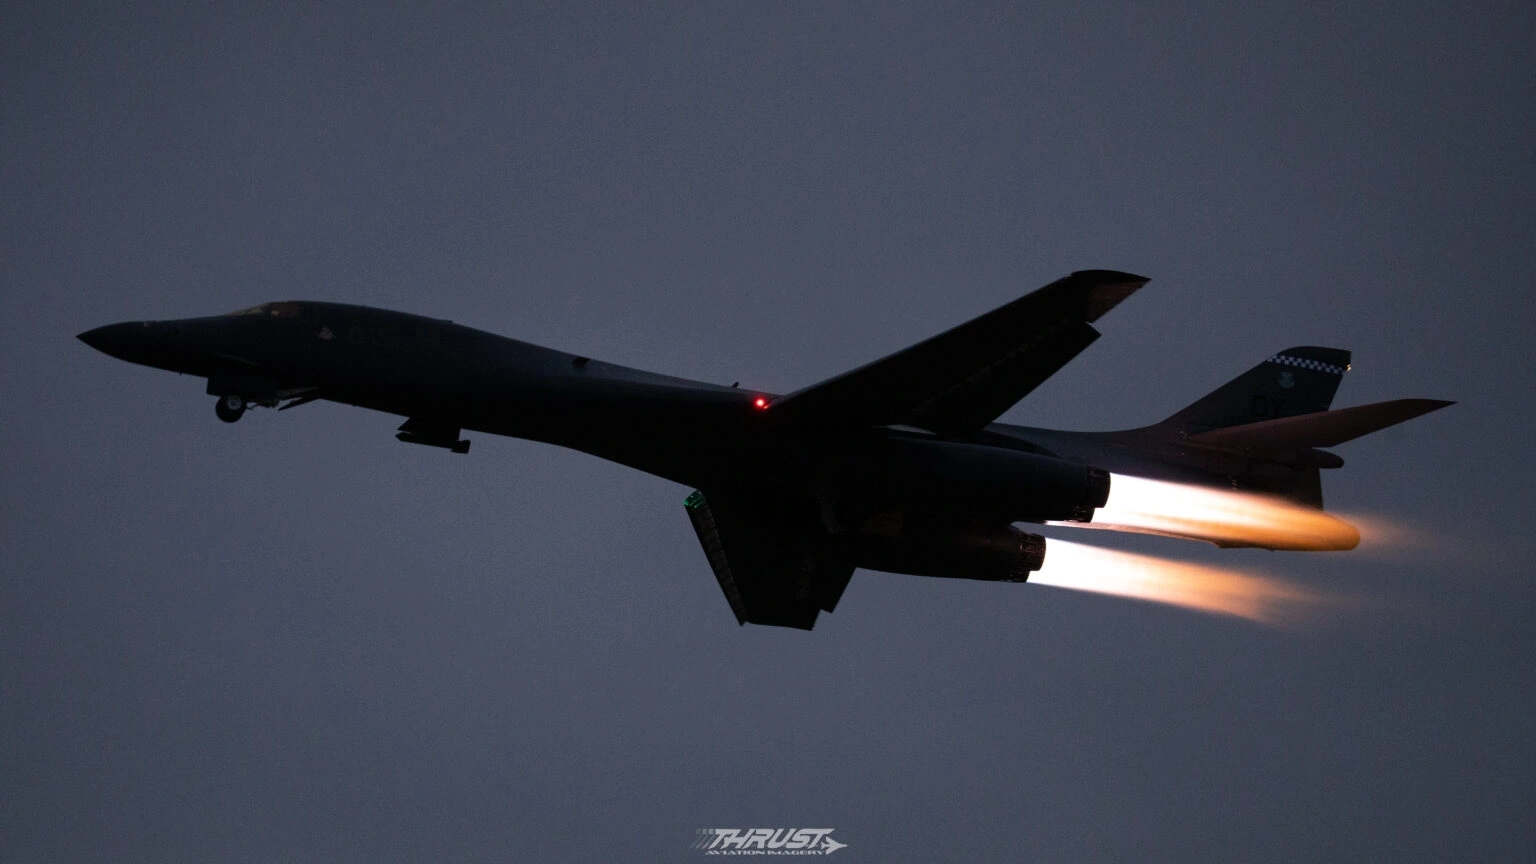
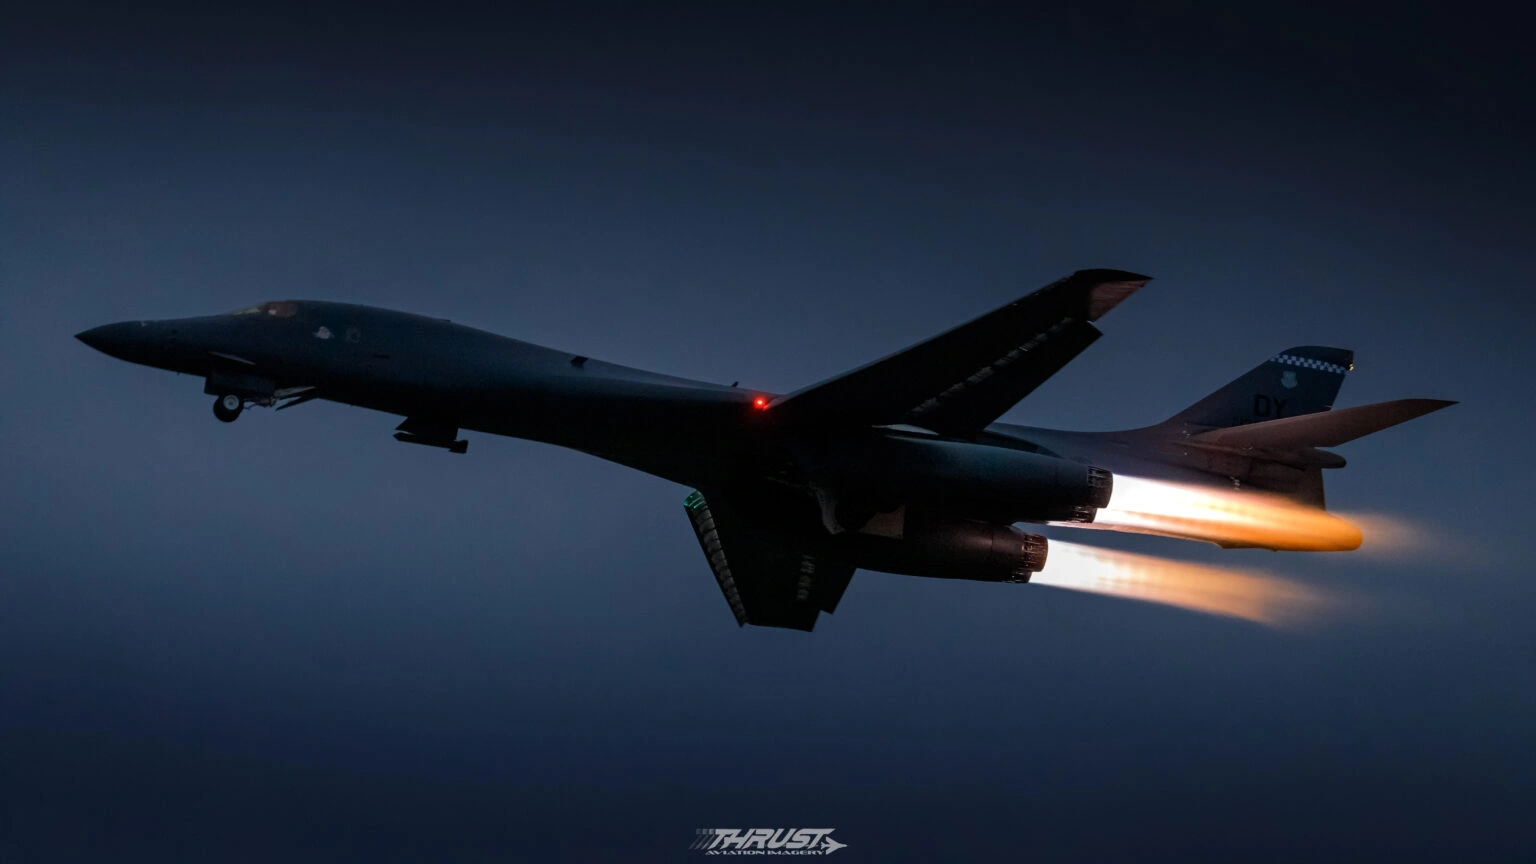
Here is the resulting edit. I won’t go into the whole edit process this time as it would take far too long.

For comparison here is the same image with exactly the same edits, but with no Noise Reduction applied.
Similarly, here is the image again but with my own use of the “old” Manual Noise Reduction sliders.
I hope this shows what a valuable tool this can be. I do wonder if this could be the start of a new beginning with Lightroom and post-processing on the whole. Is it a game changer – and could it change digital photography forever? We will certainly see!
Thank you for reading!
Did you know our blogs are written exclusively by our members? We'd love for you to come and experience what COAP Online is all about!
Not yet a member?
Enjoy a free 30-day trial!
COAP Online membership brings 100s of aviation photographers from around the world together in a friendly, helpful and inspirational community. You'll enjoy monthly challenges, competitions, livestreams, blogs, exclusive discounts, meet-ups and more!
Get a free tutorial to your inbox every week!
Subscribe to our mailing list to receive a fantastic aviation photography tutorial to your inbox every Tuesday!
We hate spam as much as you. We will never sell your information, for any reason.