My Four Key Shots
Jul 01, 2024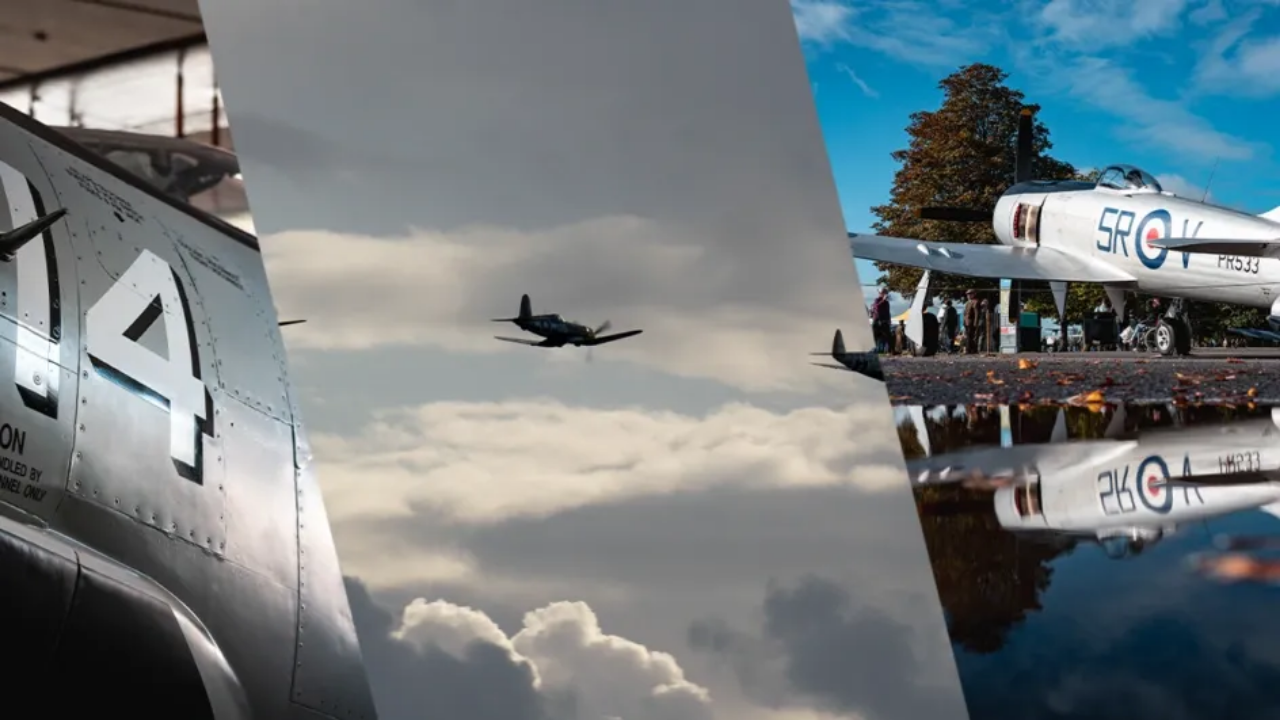
By Jack Bird
Let me start off by saying this isn’t entirely my idea I have adapted it from a Photographer called Jared Polin on YouTube. The idea took a bit of adjusting to work in a museum/airshow setting but it’s now something that guides my photography no matter the location event or subject. The principle is if you get a selection of these 4 shot types you will have documented whatever you are shooting and will have photos that can be used for anything from social media posts to a full article. The shots are as follows. Tights, Mids Wides and details. Now don’t let the name deceive you the mm that you take the photos doesn’t always have any bearing as to which category they fit in. For example, you could use 24mm but get really close to a part of an aircraft, it’s a wide shot but I would class it as showing off a detail. or you could use 400mm to get some more of the sky in your areal shots, 400mm should be a tight photo but in this case, it’s a wide shot.
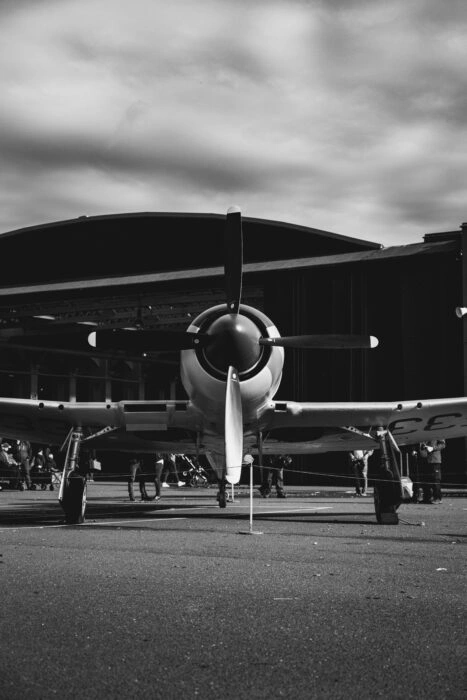
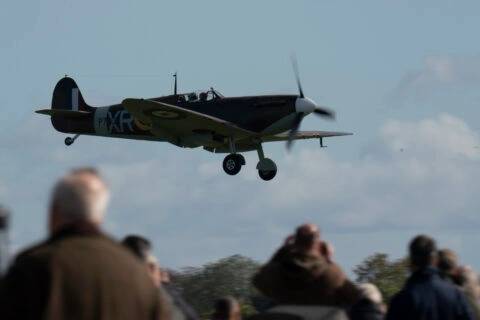
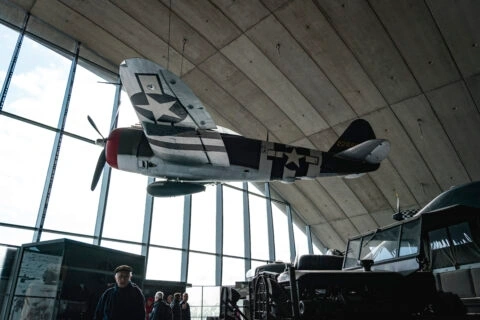
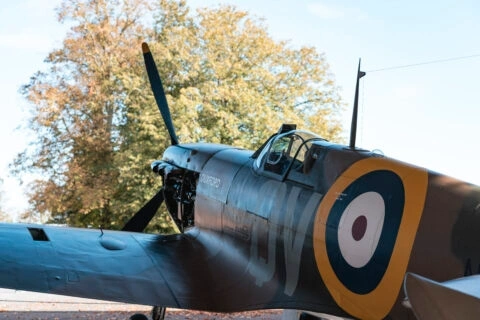
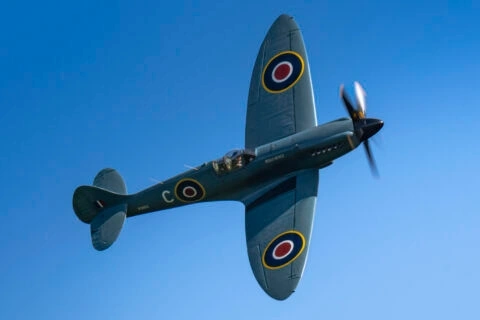
Tights
These shots should aim to isolate a subject. Free it from any distractions. This might be a reenactor, an aircraft in a busy hanger or an aircraft in flight. The aim is to have a clear subject that immediately draws the viewer’s attention and is fairly simple to understand. I often use these shots for aircraft of interest that one day I want to make photo books dedicated to. Here are a few examples
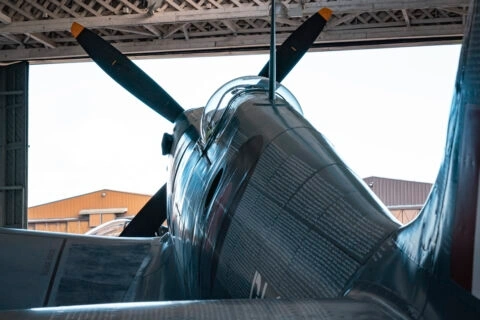
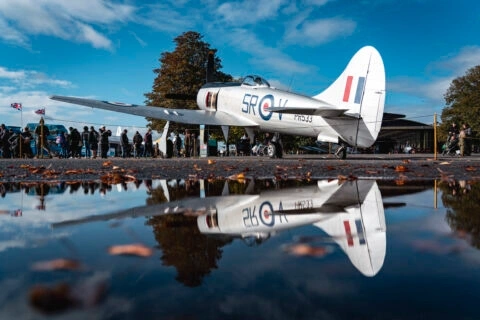
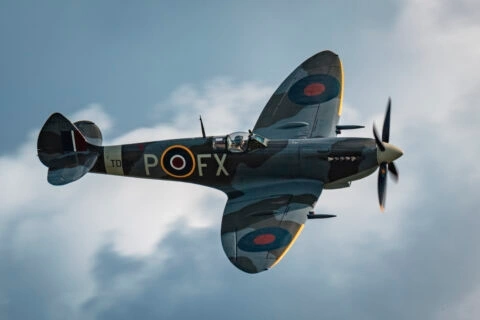
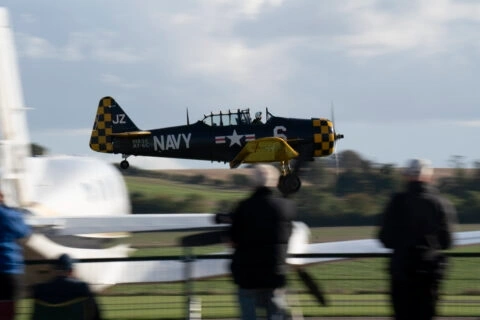
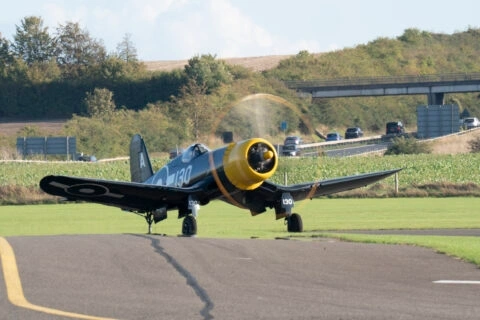
Mids
These aim to be a nice middle ground. Something that lets a bit of the environment in. So to expand on the earlier examples perhaps now you let a bit of the surrounding exhibits in, or you show your reenactor with some of the aircraft behind them. These are your most versatile shots and they help tell more story than the Tight shots. If it’s an aircraft in flight go a bit wider and show some of the surrounding sky. Here are a few examples
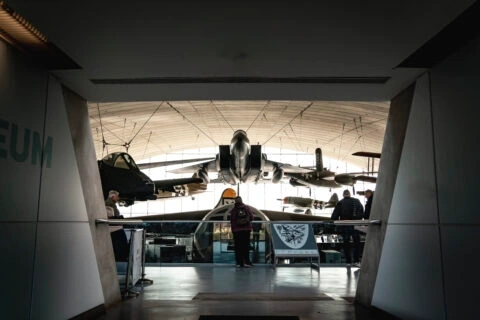
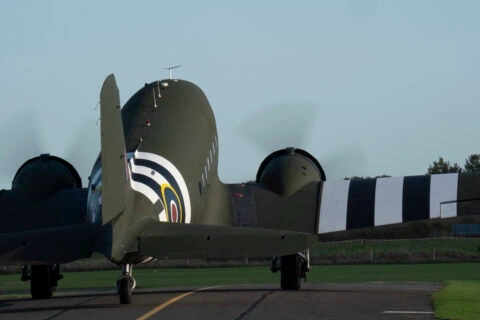
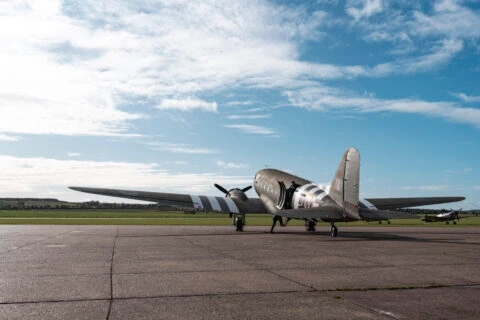
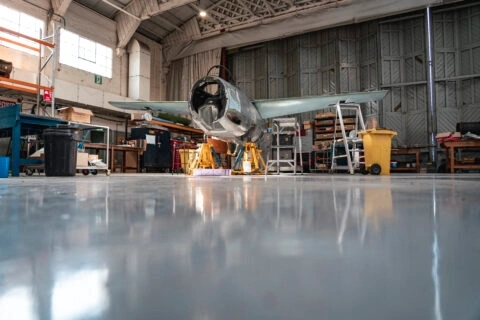
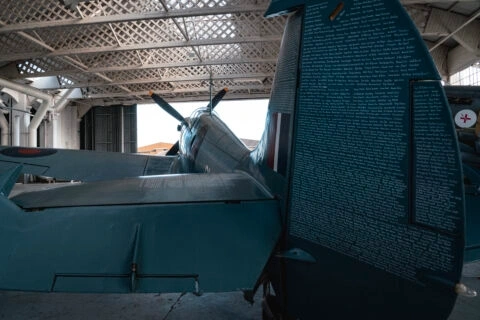
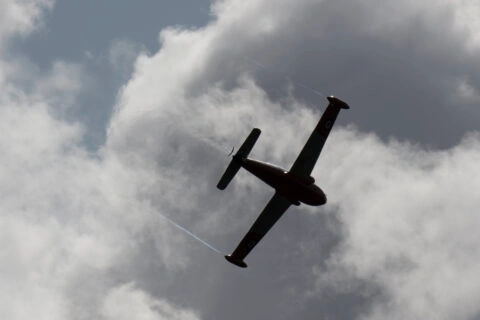
Wides
These are your establishing shots, show off your environment. If you are in a hangar get the architecture and surrounding exhibits in, if it’s an aircraft in flight show off the dramatic sky. Probably the most self-explanatory shots but also ones that you can get the most creative with. Here are a few examples

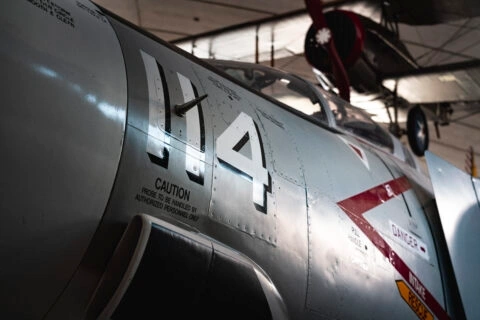
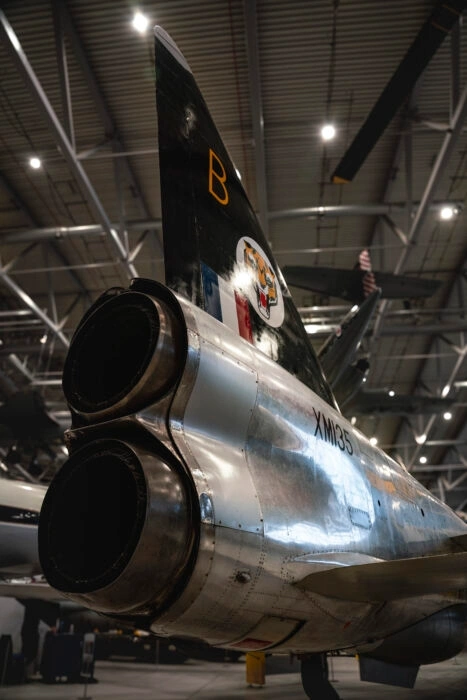
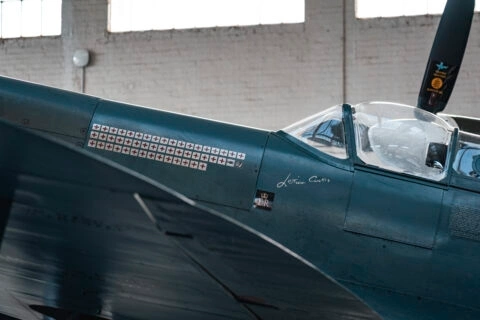
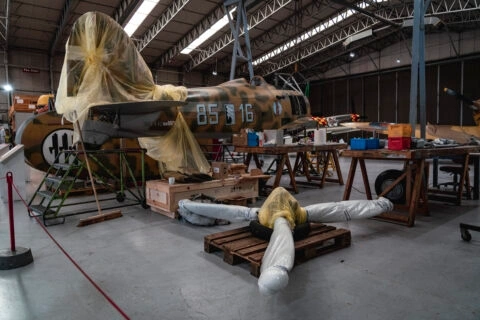
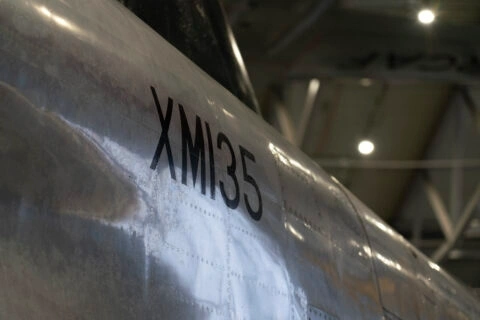
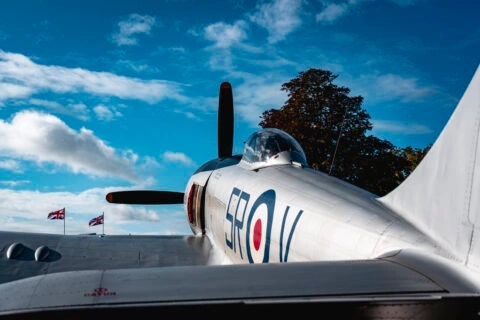
Details
These shots are all about picking a detail and showing it to your viewer. It could be a roundel, tail number, bit of nose/tail art or feature on the aircraft. These can sometimes be the trickiest to get but they really help to sell a story. You can even take the aircraft out of the shot. If you are documenting a restoration get a photo of some tools. Here are a few examples

What I love most about this method is the photos all work great on their own but when you put them together they really help tell a story. There doesn’t have to be equal quantities of each shot but having this variety gives you plenty of options. For example, you could use a wide landscape shot to establish your location or a detailed close up shot of a sign. Both work to establish your location but are wildly different shots. There are loads of ways to use these 4 shot types to help improve your photography and storytelling. I have put a few of my shots together to give you an example of how the 4 shot types can work together to tell a bit of story.


Did you know our blogs are written exclusively by our members? We'd love for you to come and experience what COAP Online is all about!
Not yet a member?
Enjoy a free 30-day trial!
COAP Online membership brings 100s of aviation photographers from around the world together in a friendly, helpful and inspirational community. You'll enjoy monthly challenges, competitions, livestreams, blogs, exclusive discounts, meet-ups and more!
Get a free tutorial to your inbox every week!
Subscribe to our mailing list to receive a fantastic aviation photography tutorial to your inbox every Tuesday!
We hate spam as much as you. We will never sell your information, for any reason.