Giving Your Aircraft Room to Fly Using Photoshop Generative Fill Ai
Sep 25, 2024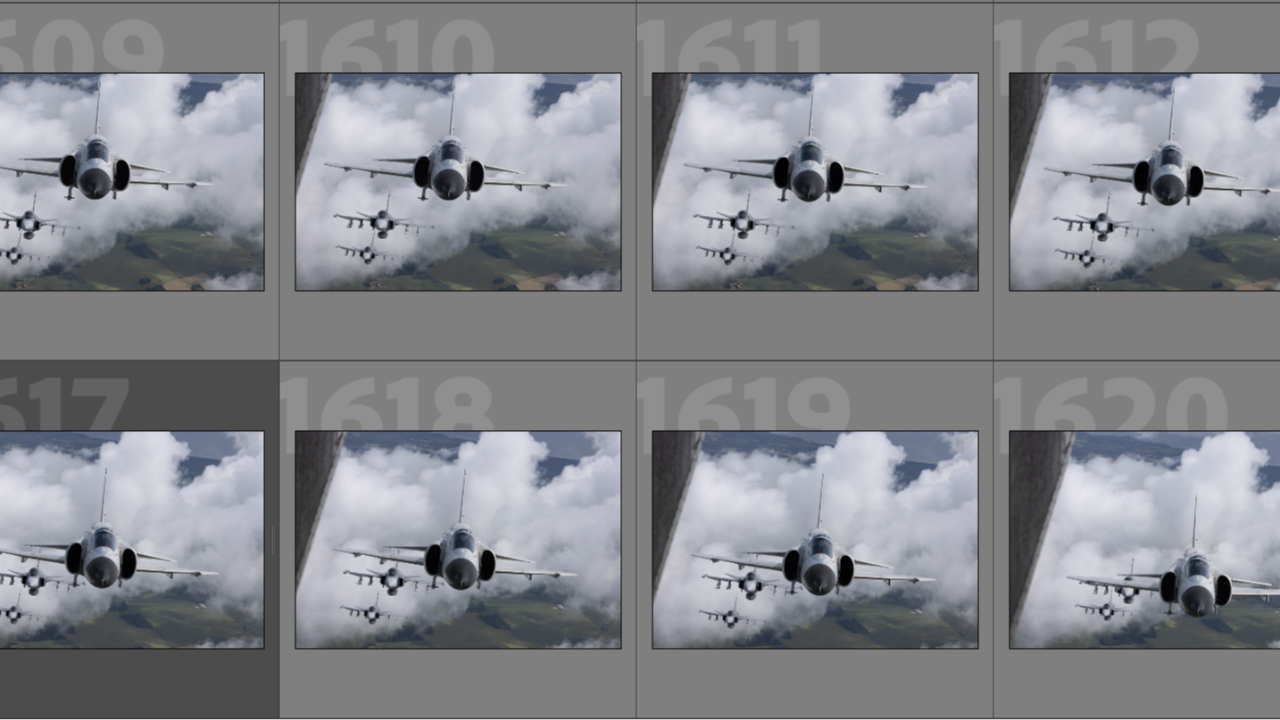
By Wayne Kenward
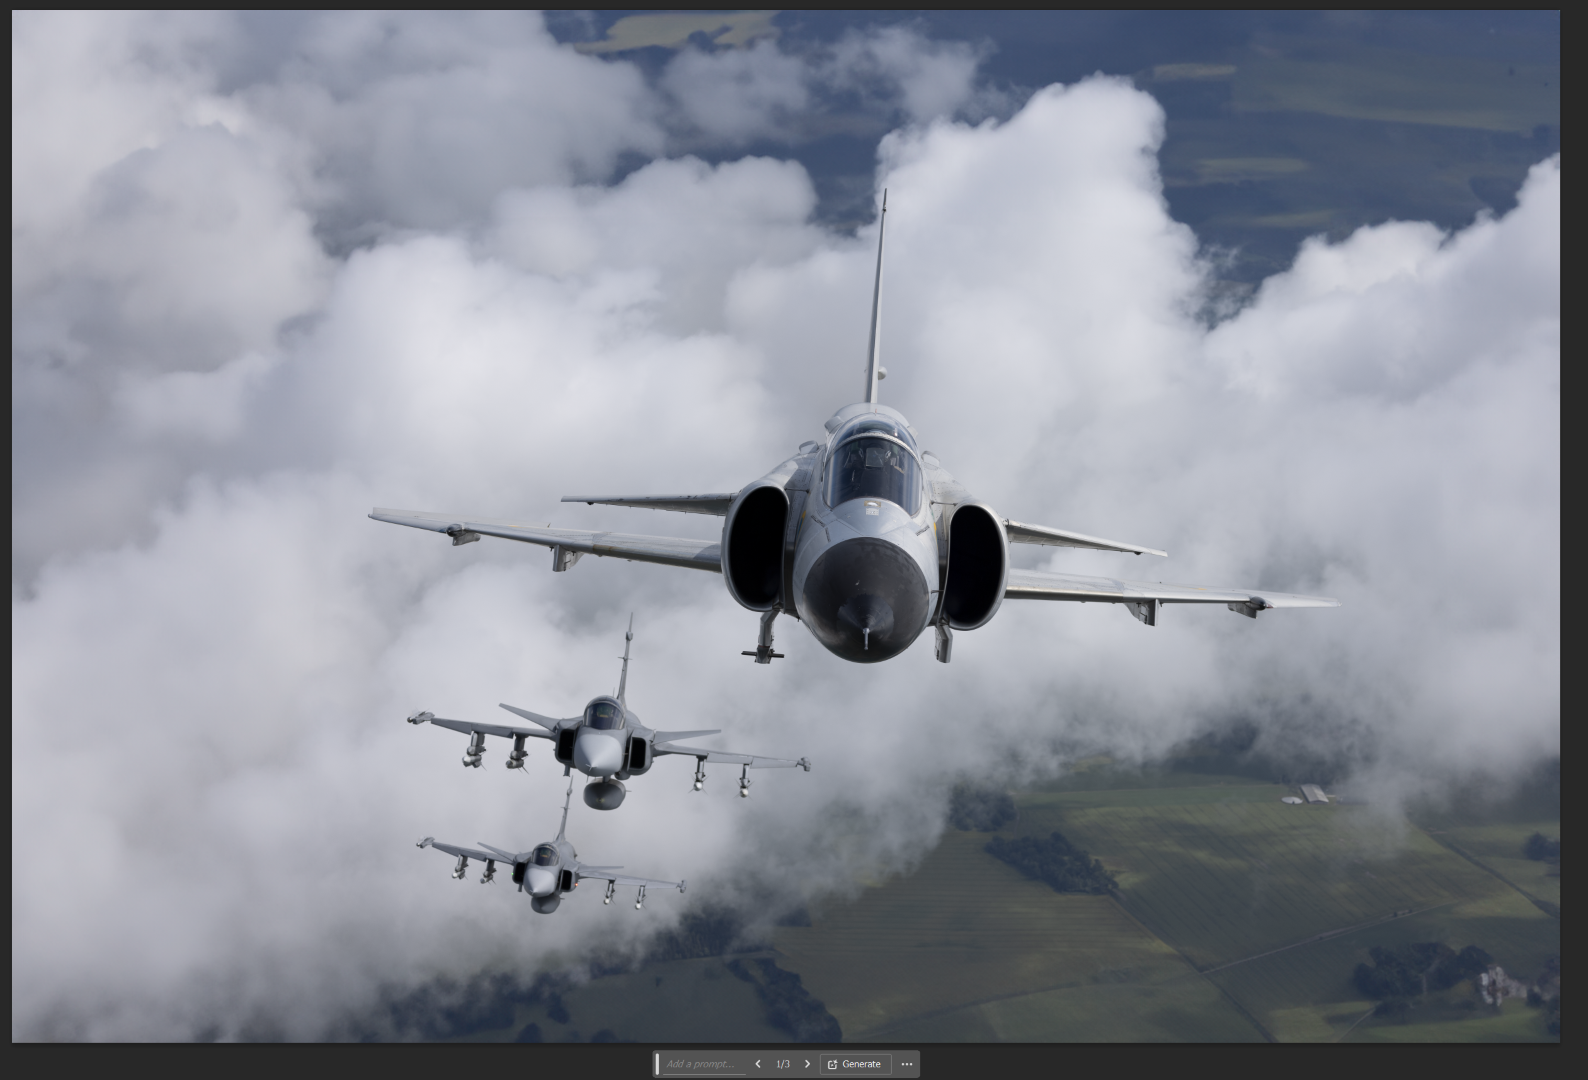
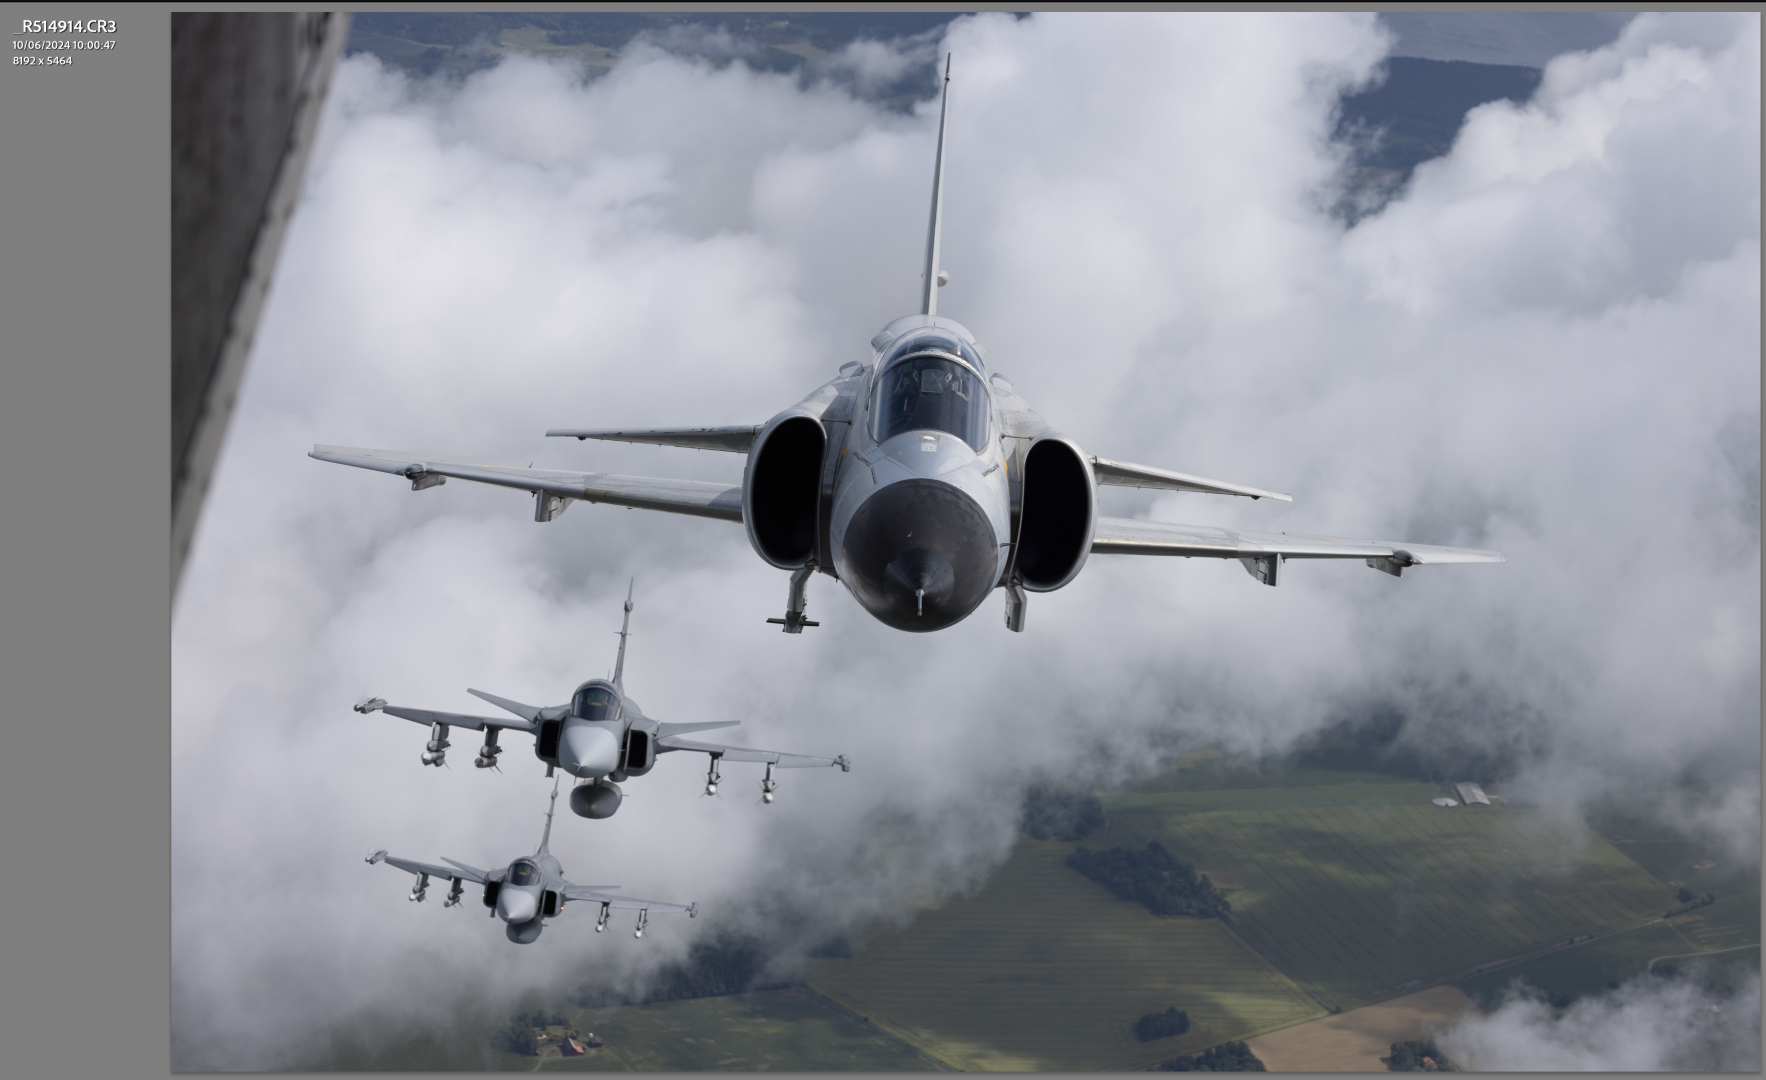
One big issue of shooting air to air, and in some instances ground to air, is giving you subject room to fly. The image below is so typical of an air-to-air shot, the horizon isn’t level due to the banking if the photo ship and as the aircraft is so close, you had to shoot wide and got part of the photo ship or a fellow photographer in shot, limited the crop and rotate options.

I like to crop 16:9 as I feel this gives the best aspect ratio for most aircraft in flight, plus my monitors have a 16:9 ratio and I edit for desktop wallpaper. By the time you level the horizon and crop to 16:9, you are often left with no way to get the aircraft in the shot and avoid the side of the Skyvan.
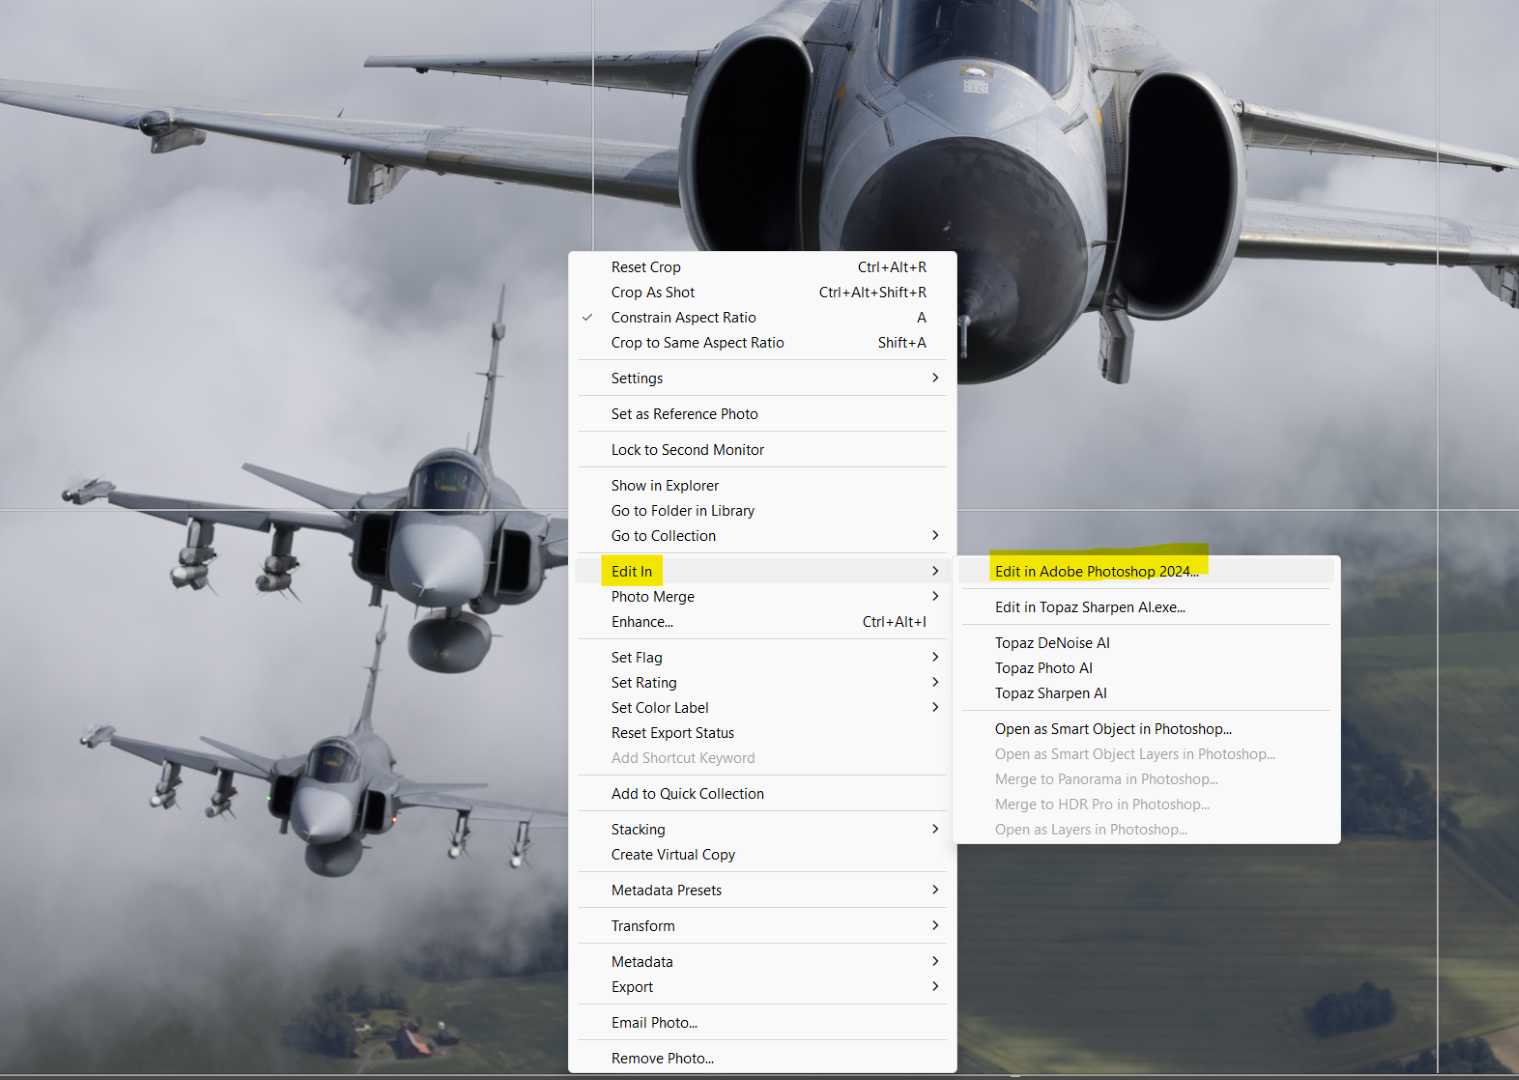
When this happens, Adobe Photoshop can save the day. To do give your aircraft more space, take the original image, before any edits, right click the image and select Edit In and then Edit in Adobe Photoshop 2024.
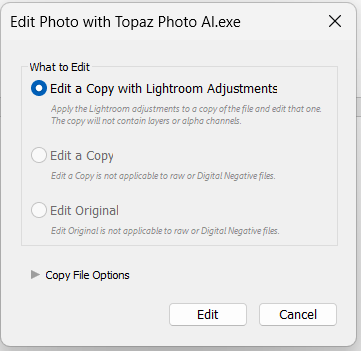
NOTE: If you use Lightroom for DeNoise and Mask and Sharpen, do this first as you won’t be able to perform these tasks on the image that comes back from Photoshop. Topaz users need no worry, as you would send you final edited image to Topaz if required.
Then click edit.
Photoshop will now open with your image.
First, we need to change the size of the canvas, this is not the image size, it is using the same image size but placing it on a larger canvas so you can add more to your image.
Click on Canvas and then Image Canvas Size
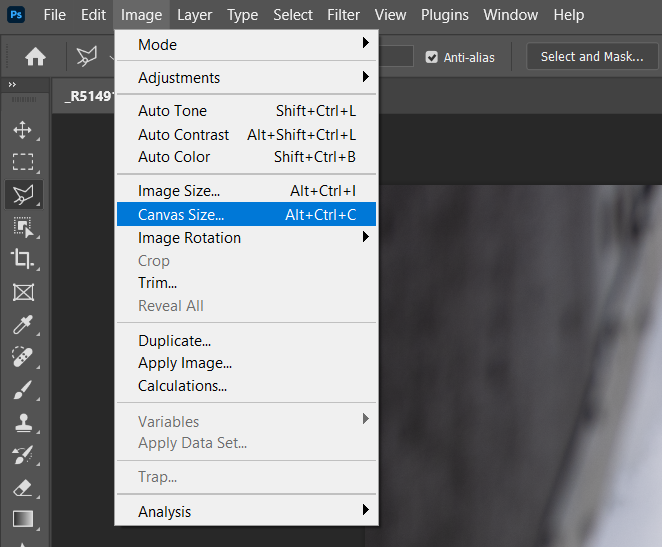
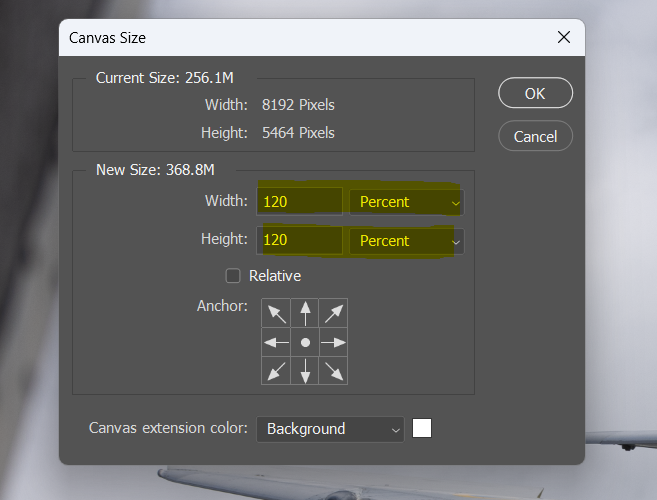
Next, change the Width and Height drop downs to Percent and select how much you want to increase the canvas size by, it doesn’t have to be uniform.
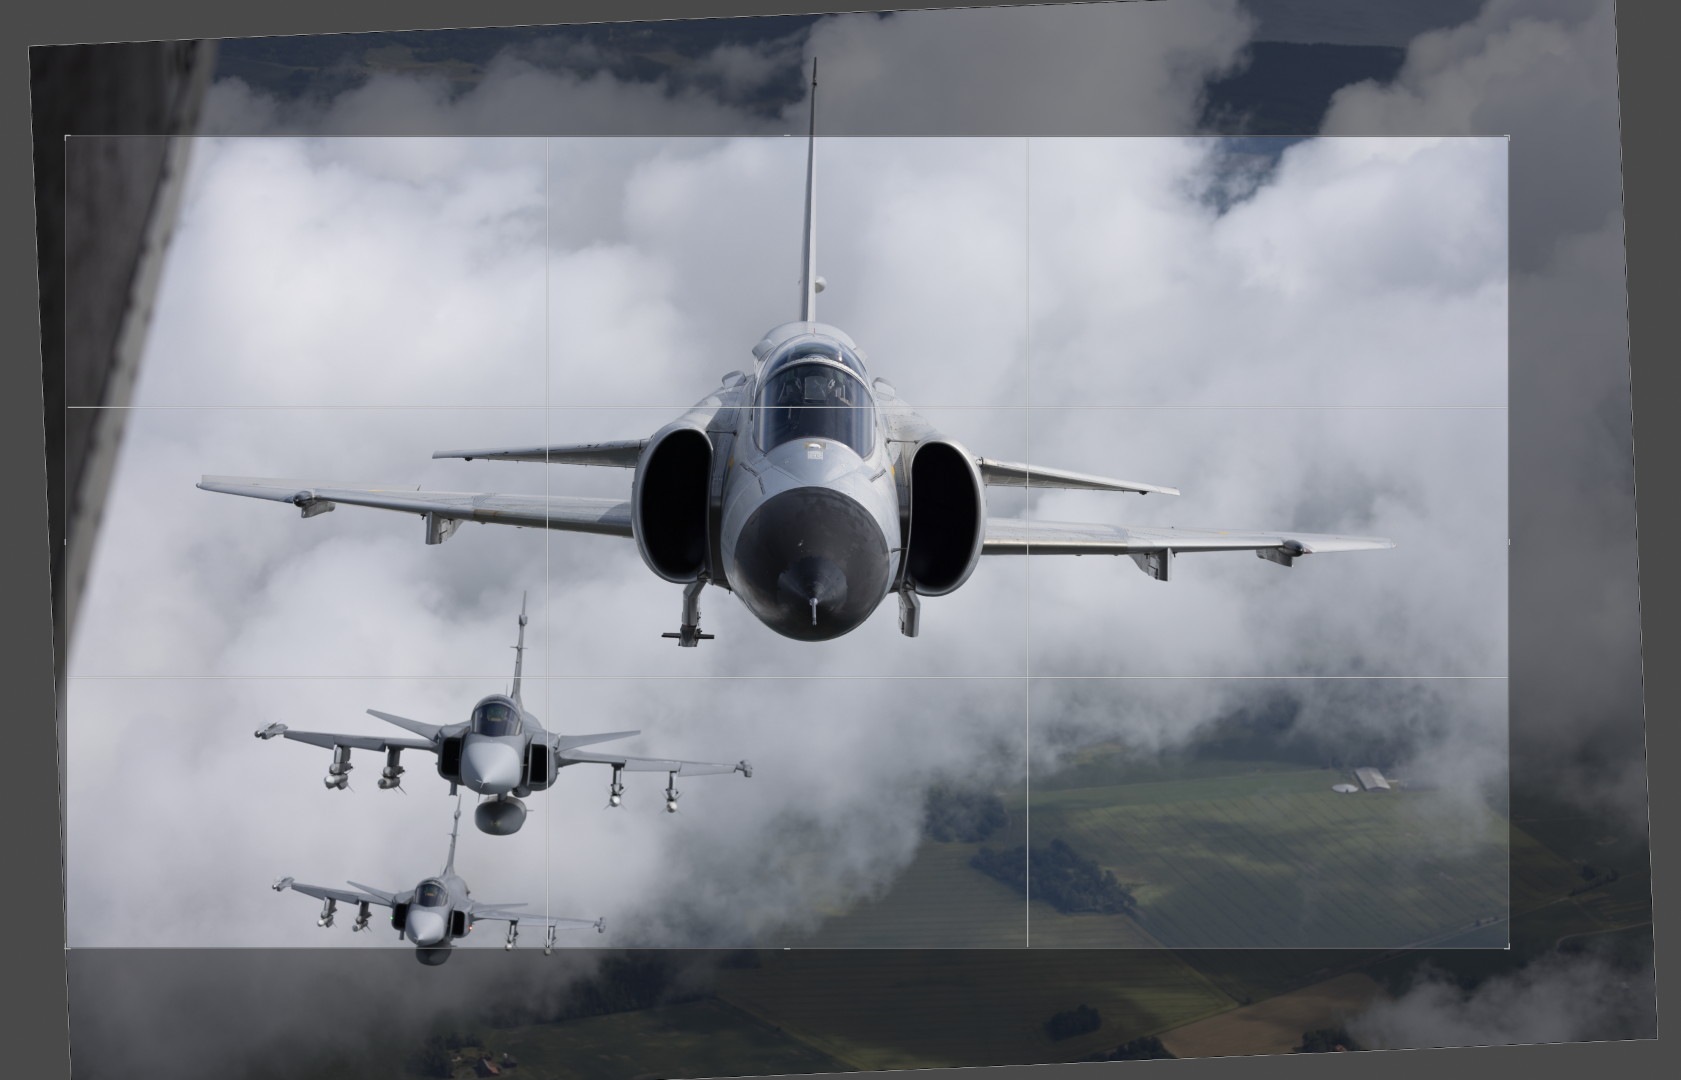
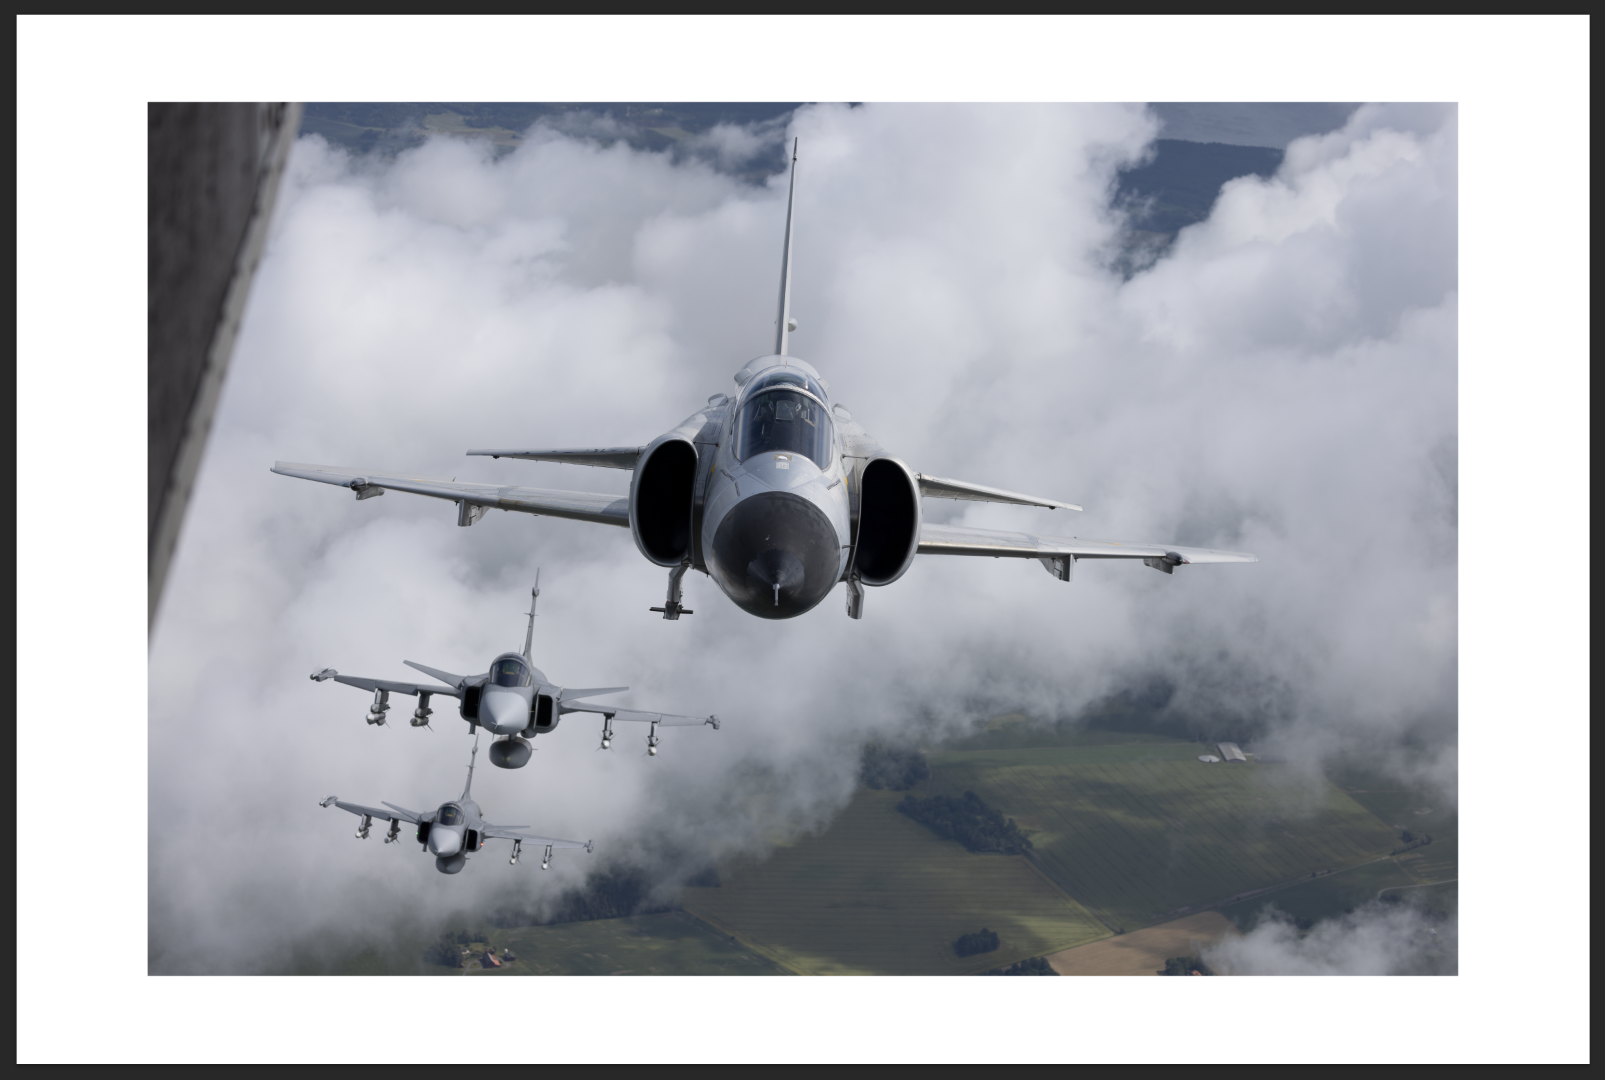
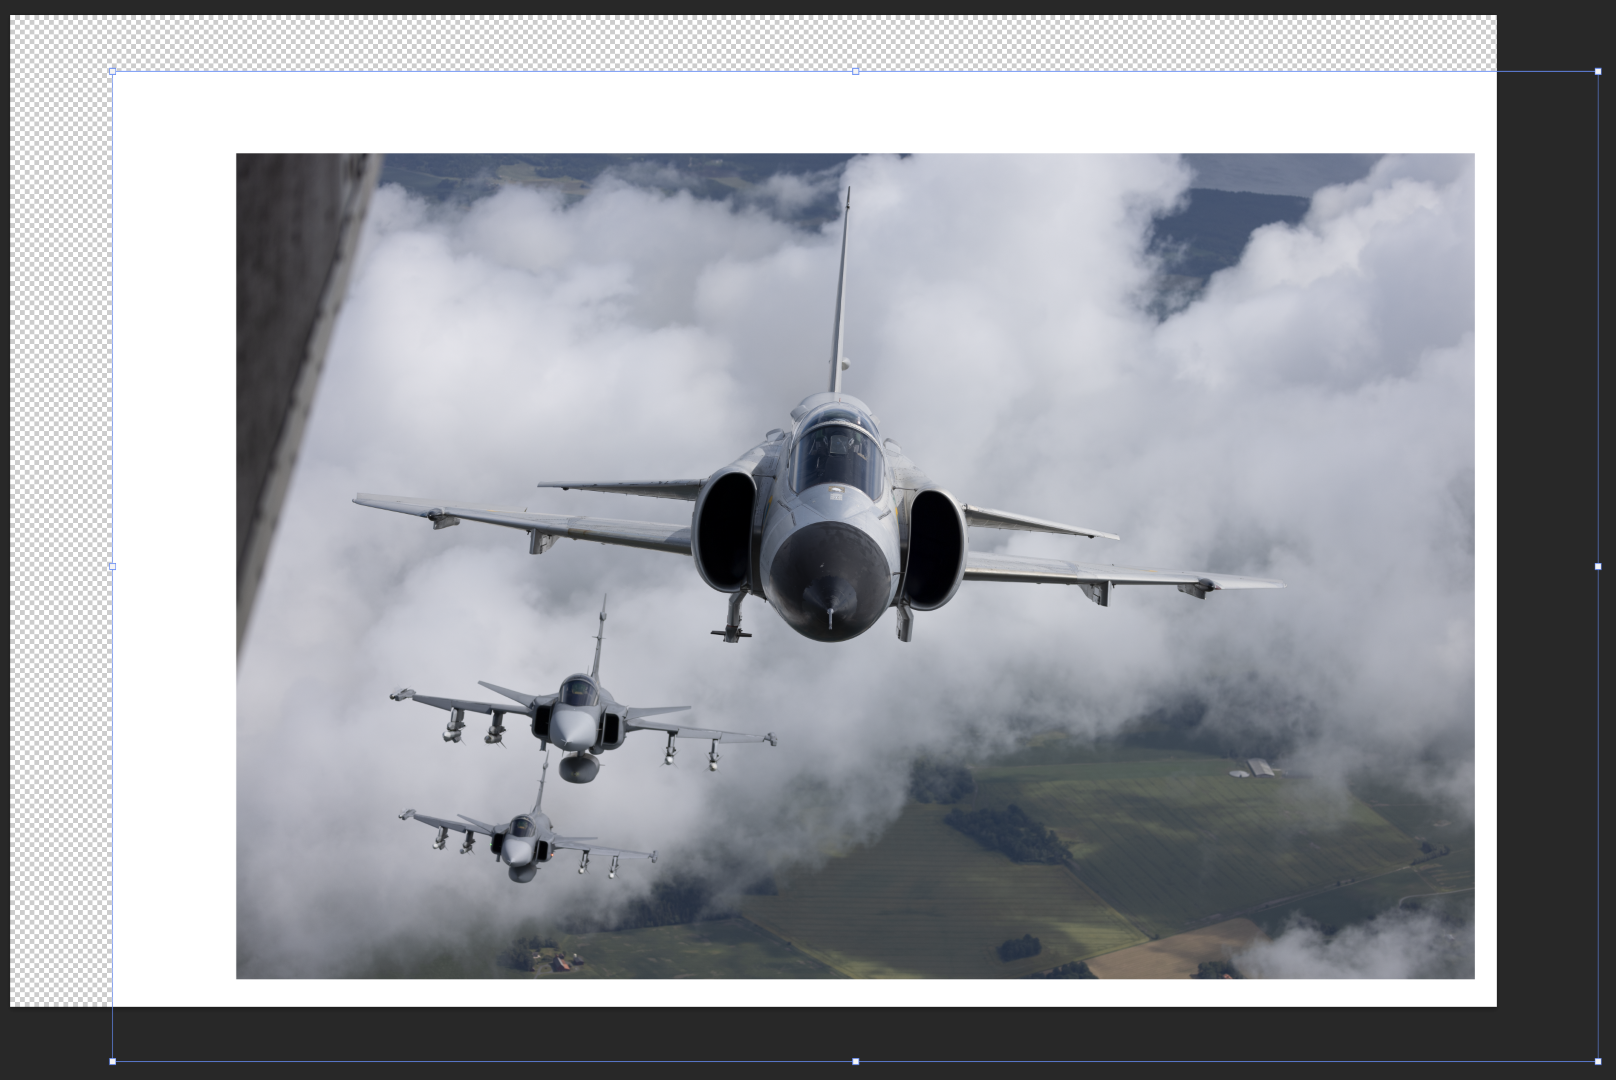
You will end up with something like this, the white space is what you have added to the canvas.
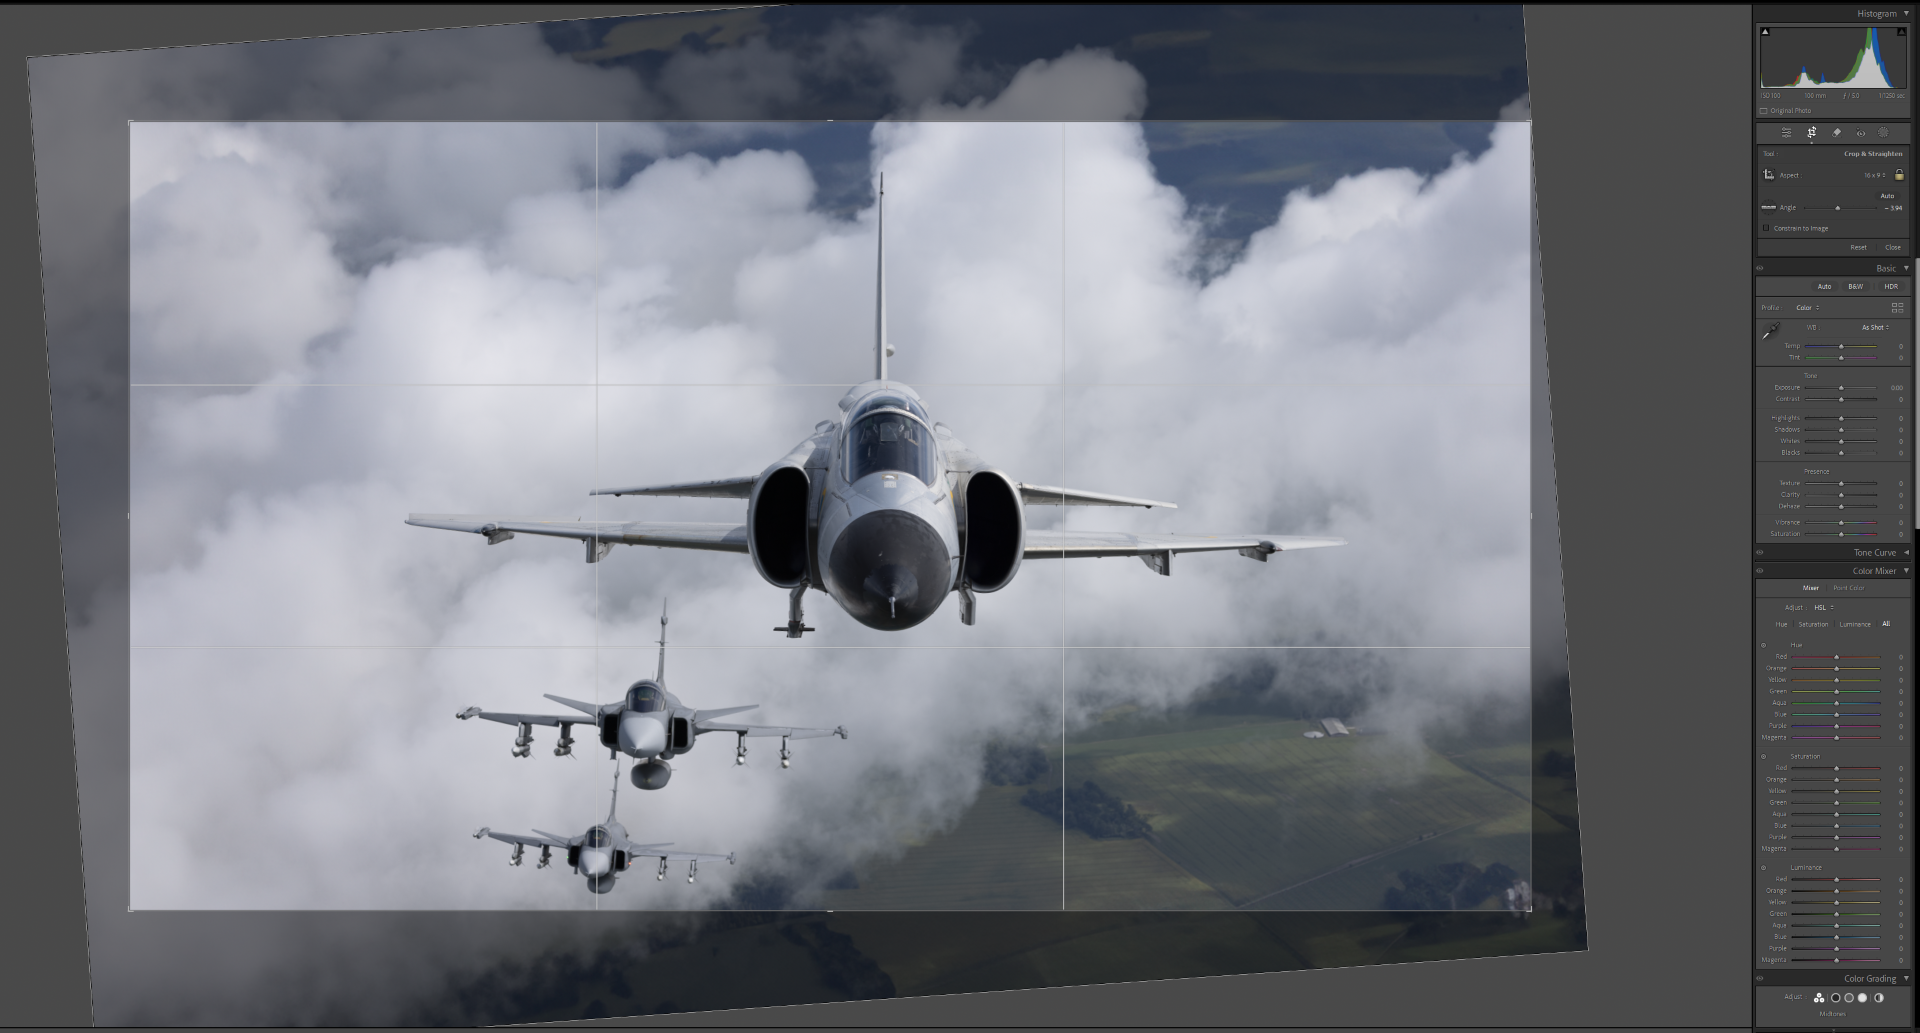
Now think about where you want to add space. For this image, I need space above, to the left and maybe a little below.
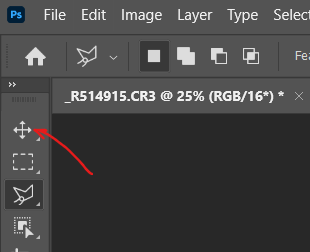
Click on the move tool
Then click on you image and drag, the following will appear.
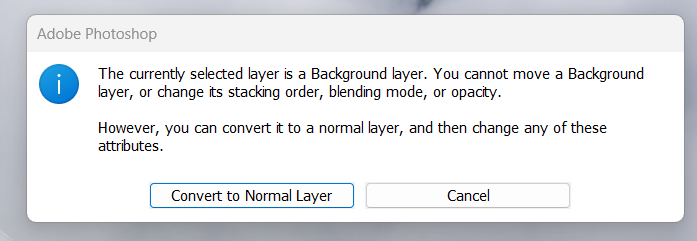
Click on Convert to Normal Layer.
You can now drag the image to where you want it, the white and chequered space is where we will extend the image to. As you can see, I have a lot of space above and left and less space right and below.
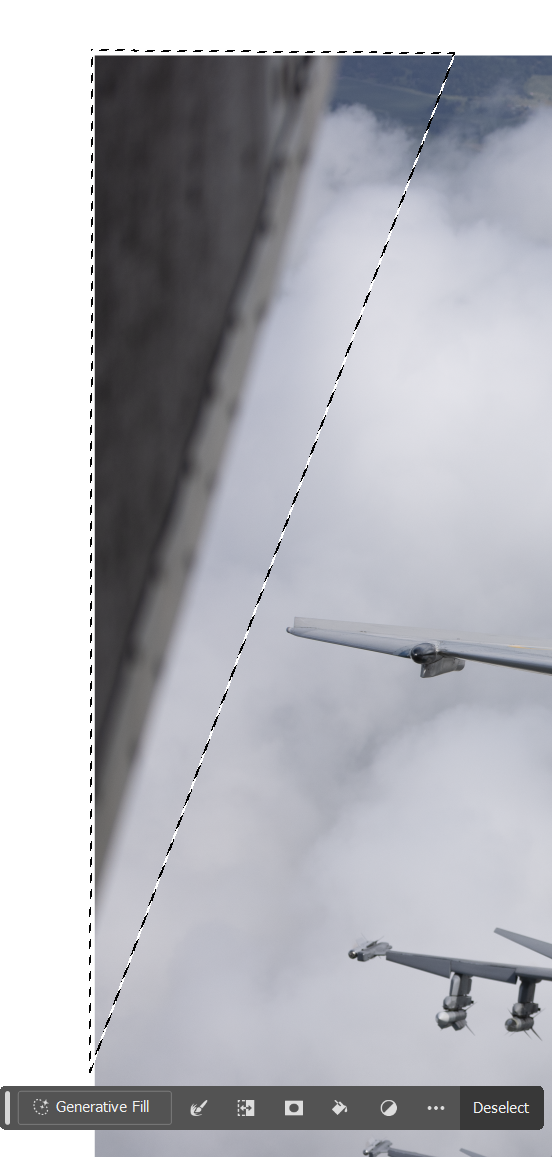
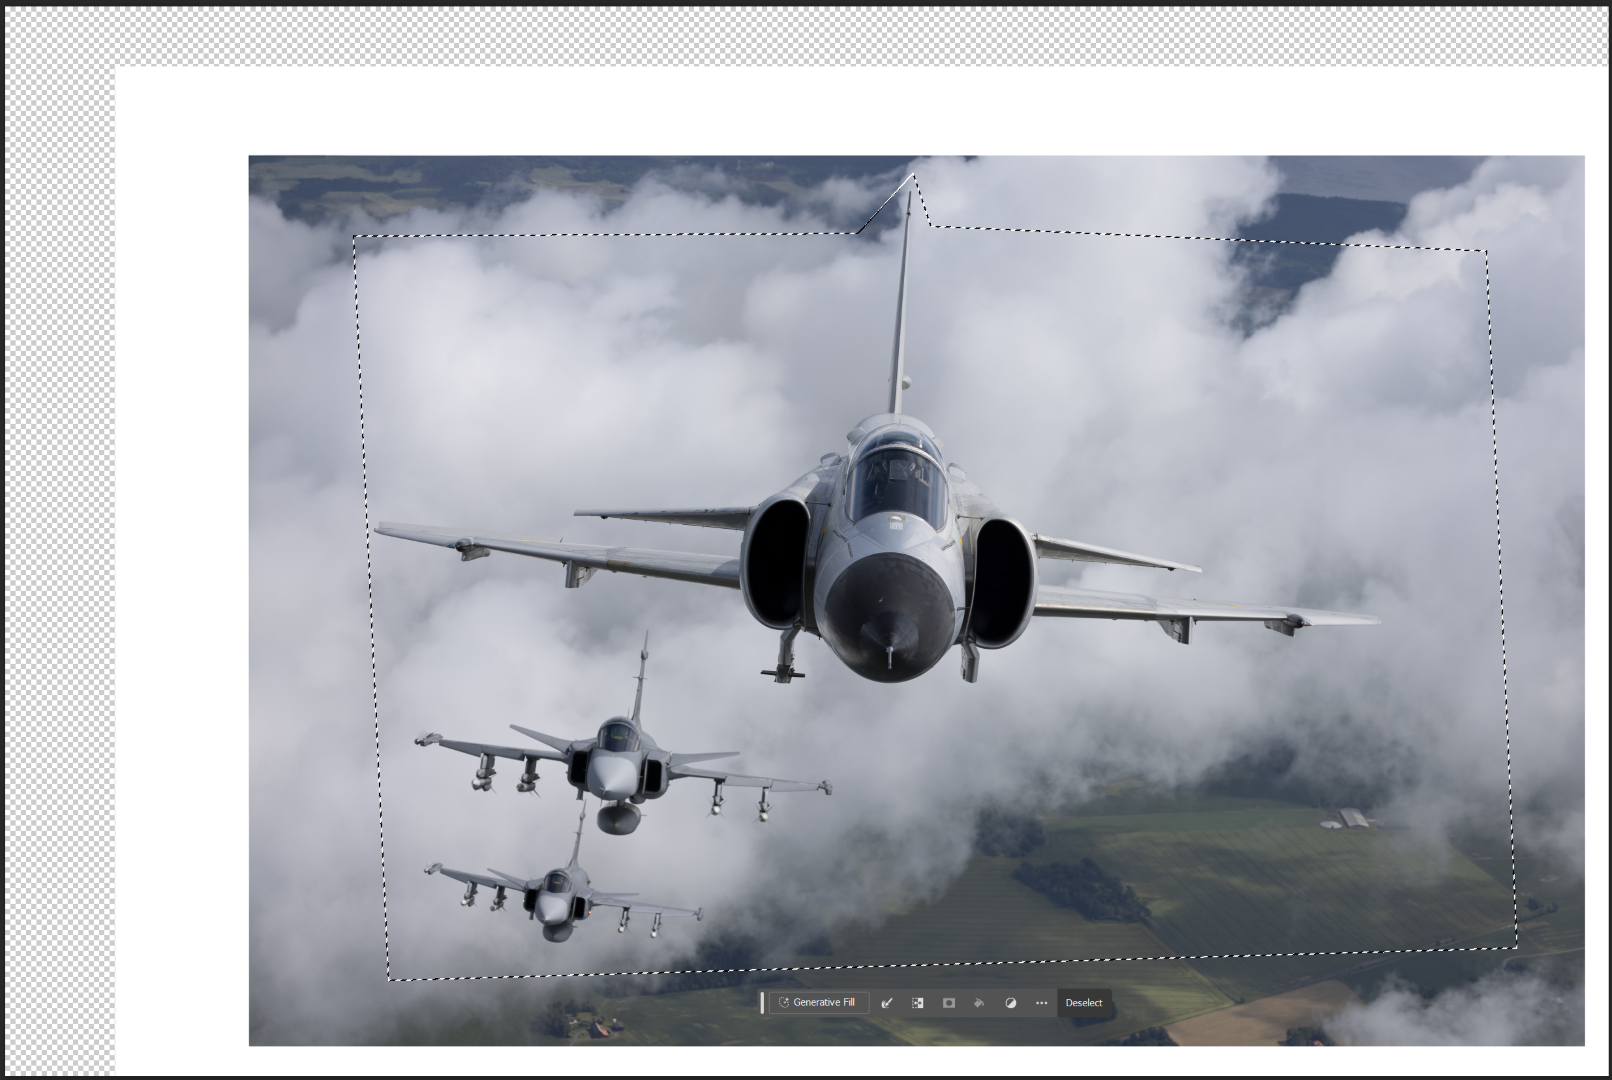
The next step is to use the Select Tool and Generative Fill to remove the part of the Skyvan.
Select the Polygonal Lasso tool.

Draw around the area to remove. It is key you leave about 1-2cm of image if you can as this helps the Generative Fill. Once you complete the selection by clicking on where your started, you will be presented with something like below. Note the selection is about 1cm into the image.
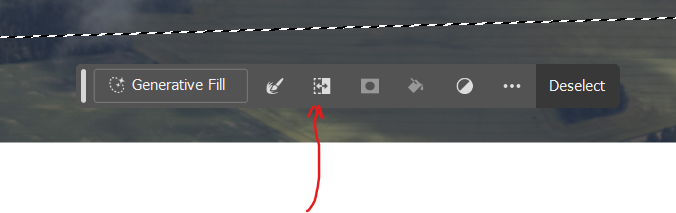
Click on Generative Fill
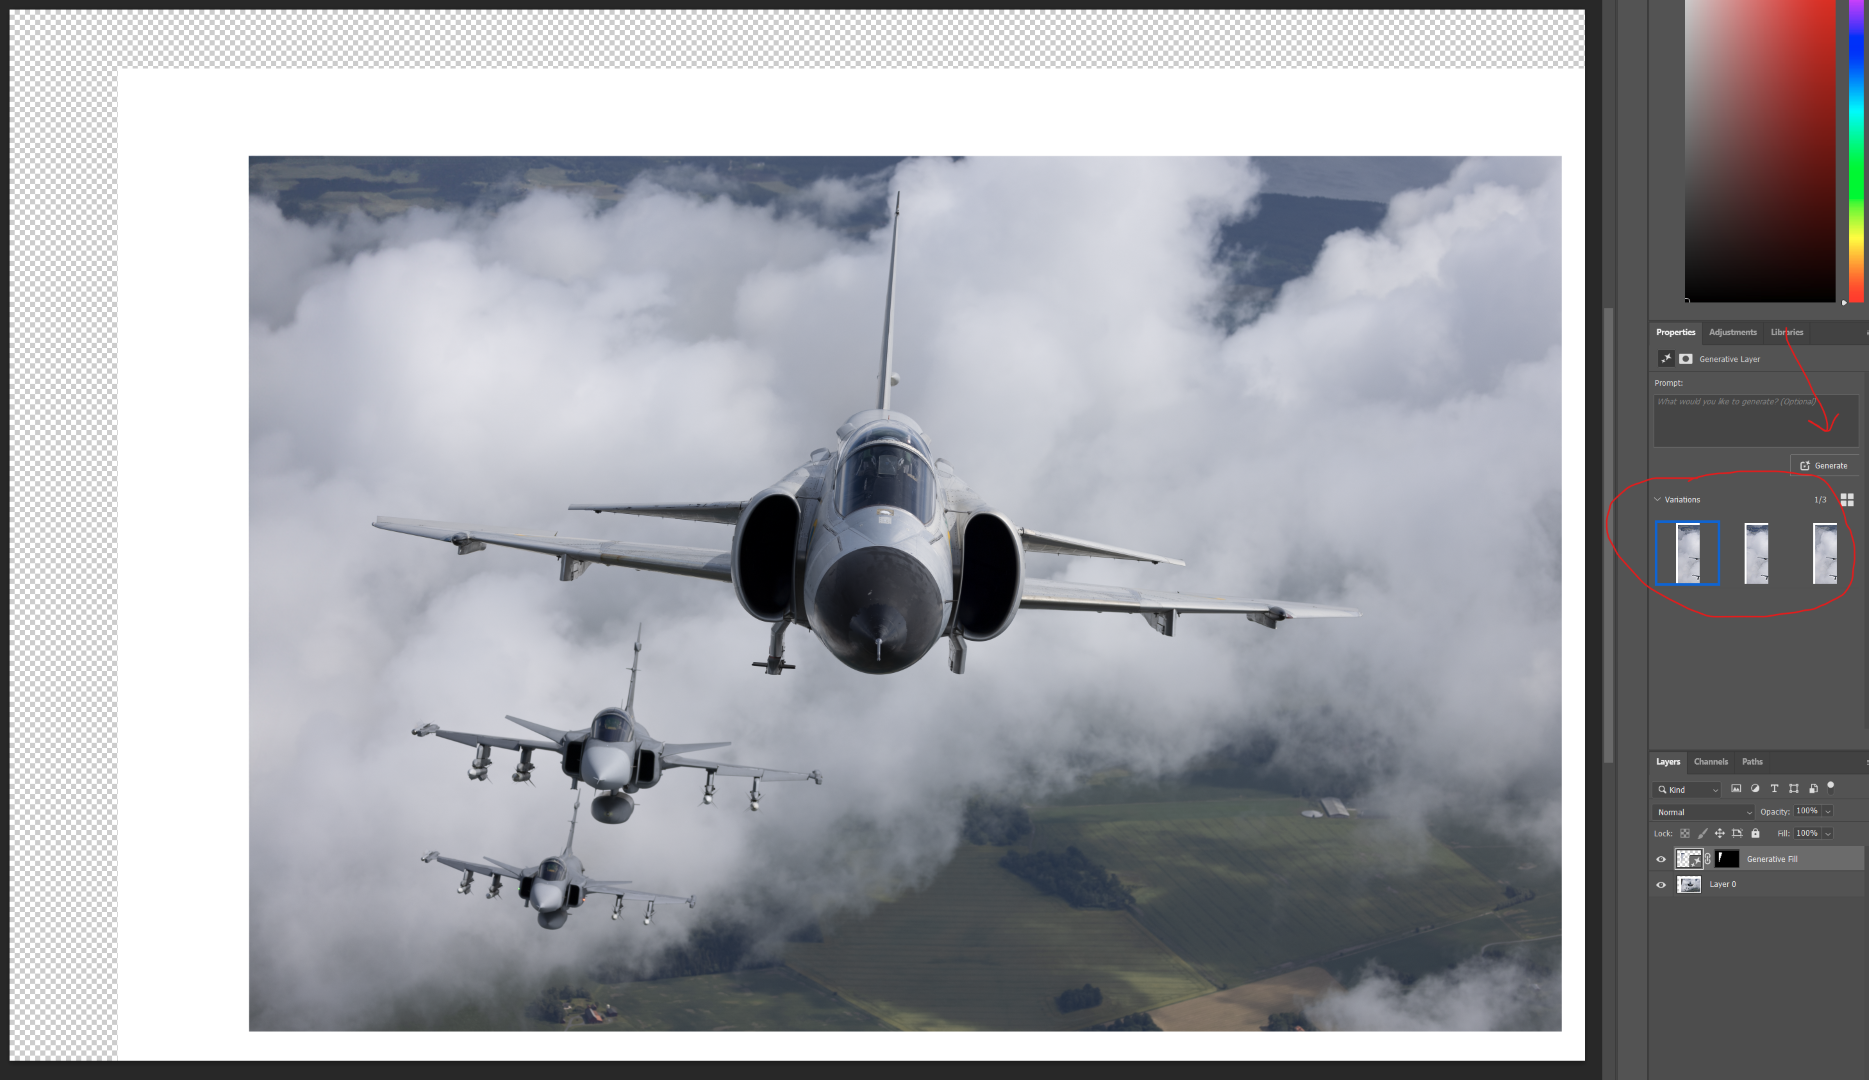
Leave the text box blank and click on Generate.

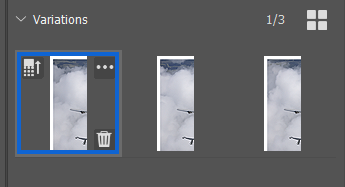
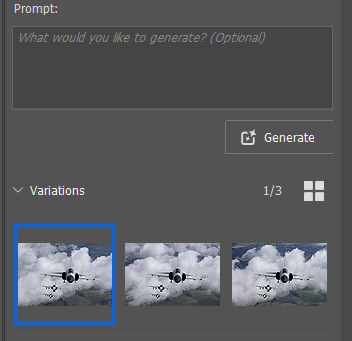
This is where the Adobe Ai black magic happens. Adobe will try and work out what it needs to fill to match the rest of the image and will give you 3 options (circled) that you can select to see what matches best, if none work, click Generate (red arrow) again and 3 more options will appear.
If any of the options don’t work, you can click on the waste bin to remove them.
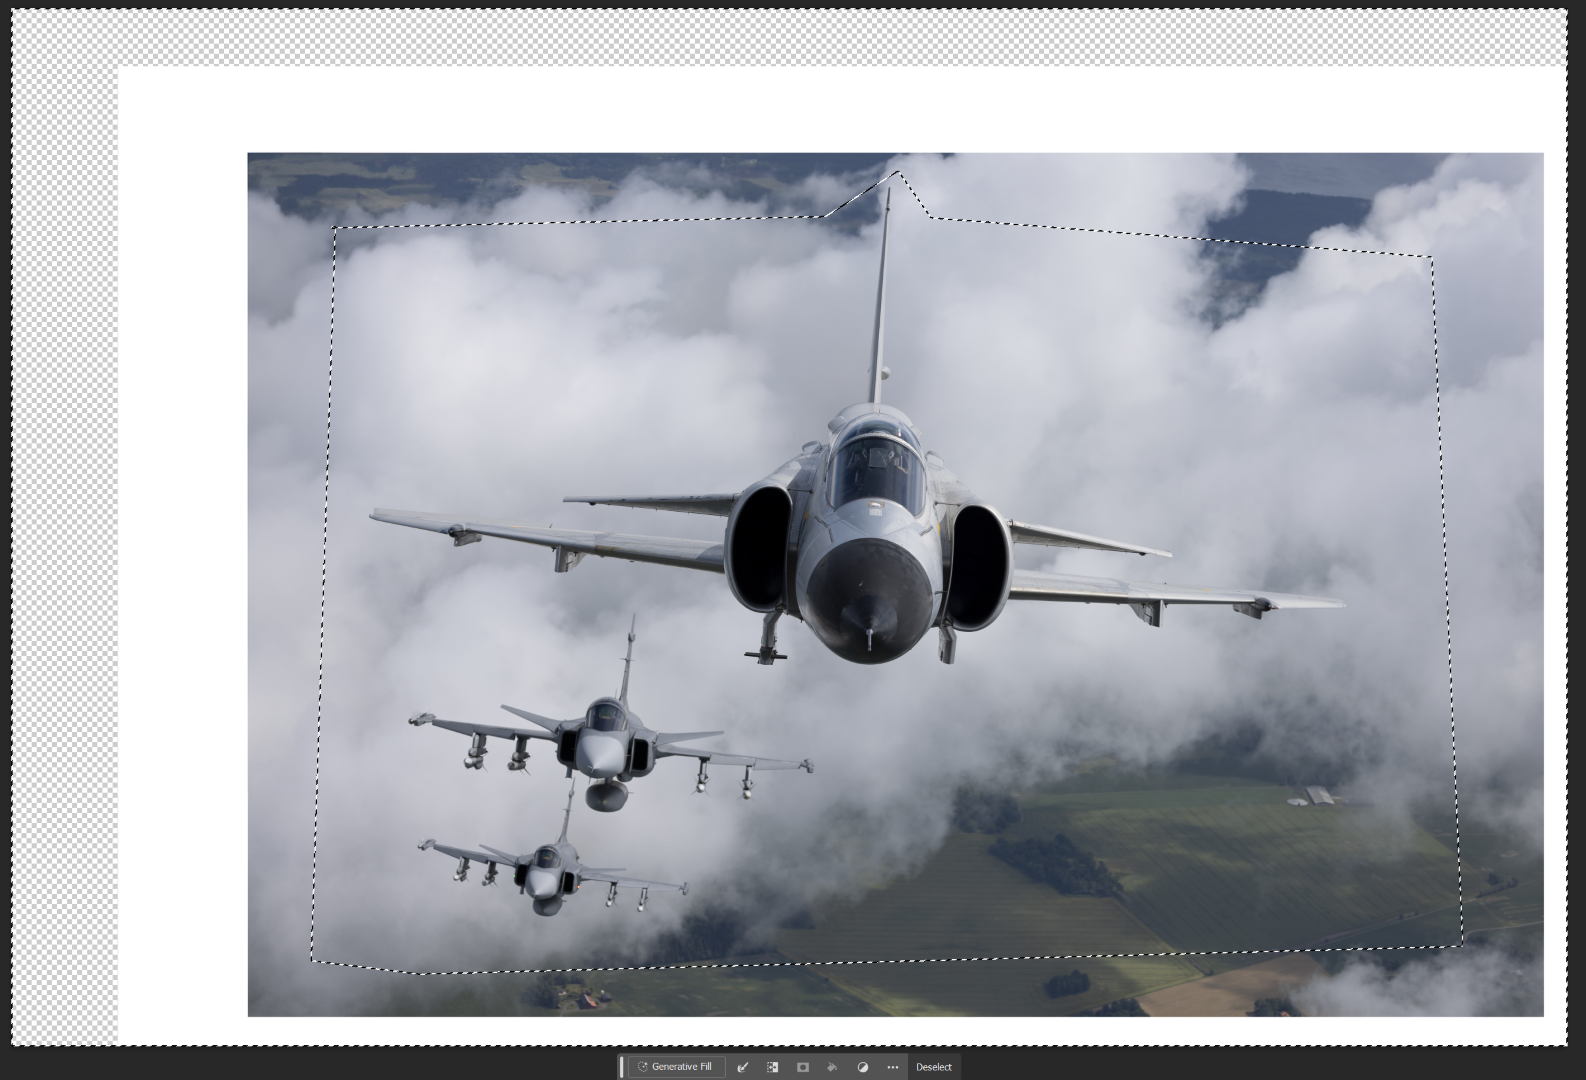
On this image, I think it got it right first time. It’s not fool proof, I’ve found sometimes I need to do a Generative Fill, then go back and do several more on the same or smaller areas, but 90% of the time it is spot on.
Now we have a clean image to work with, the next step is to add more detail to give you the flexibility to crop and rotate.
Select the Polygonal Lasso tool again and this time draw a box 1-2cm inside your image, if you need to go closer to the edge to avoid a wing tip or tail like I have below, its fine.
Next click on the Invert Selection button
This will now select the empty space and the 1-2cm into your image.
Click on Generative Fill and then Generate, hold your breath and wait.
If it all works, it will get it right first time, as below.
If not, you can browse the options or request more options as detailed when I removed the rear of the Skyvan.
When you are happy with the results, click on File and Save, the return to Lightroom Classic.
You will then see you have the original RAW file on the right and the Photoshop modified TIFF file on the left.
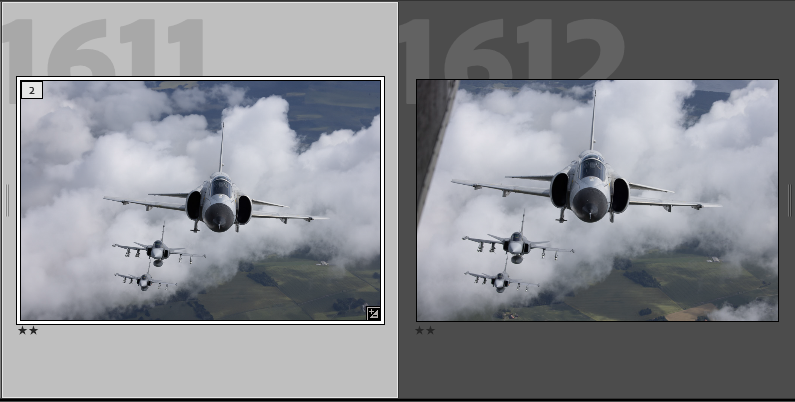
You can now edit the TIFF in Lightroom with all the extra space around the aircraft to crop and rotate.
The final image, a task that would take no more than 5 minutes to get this
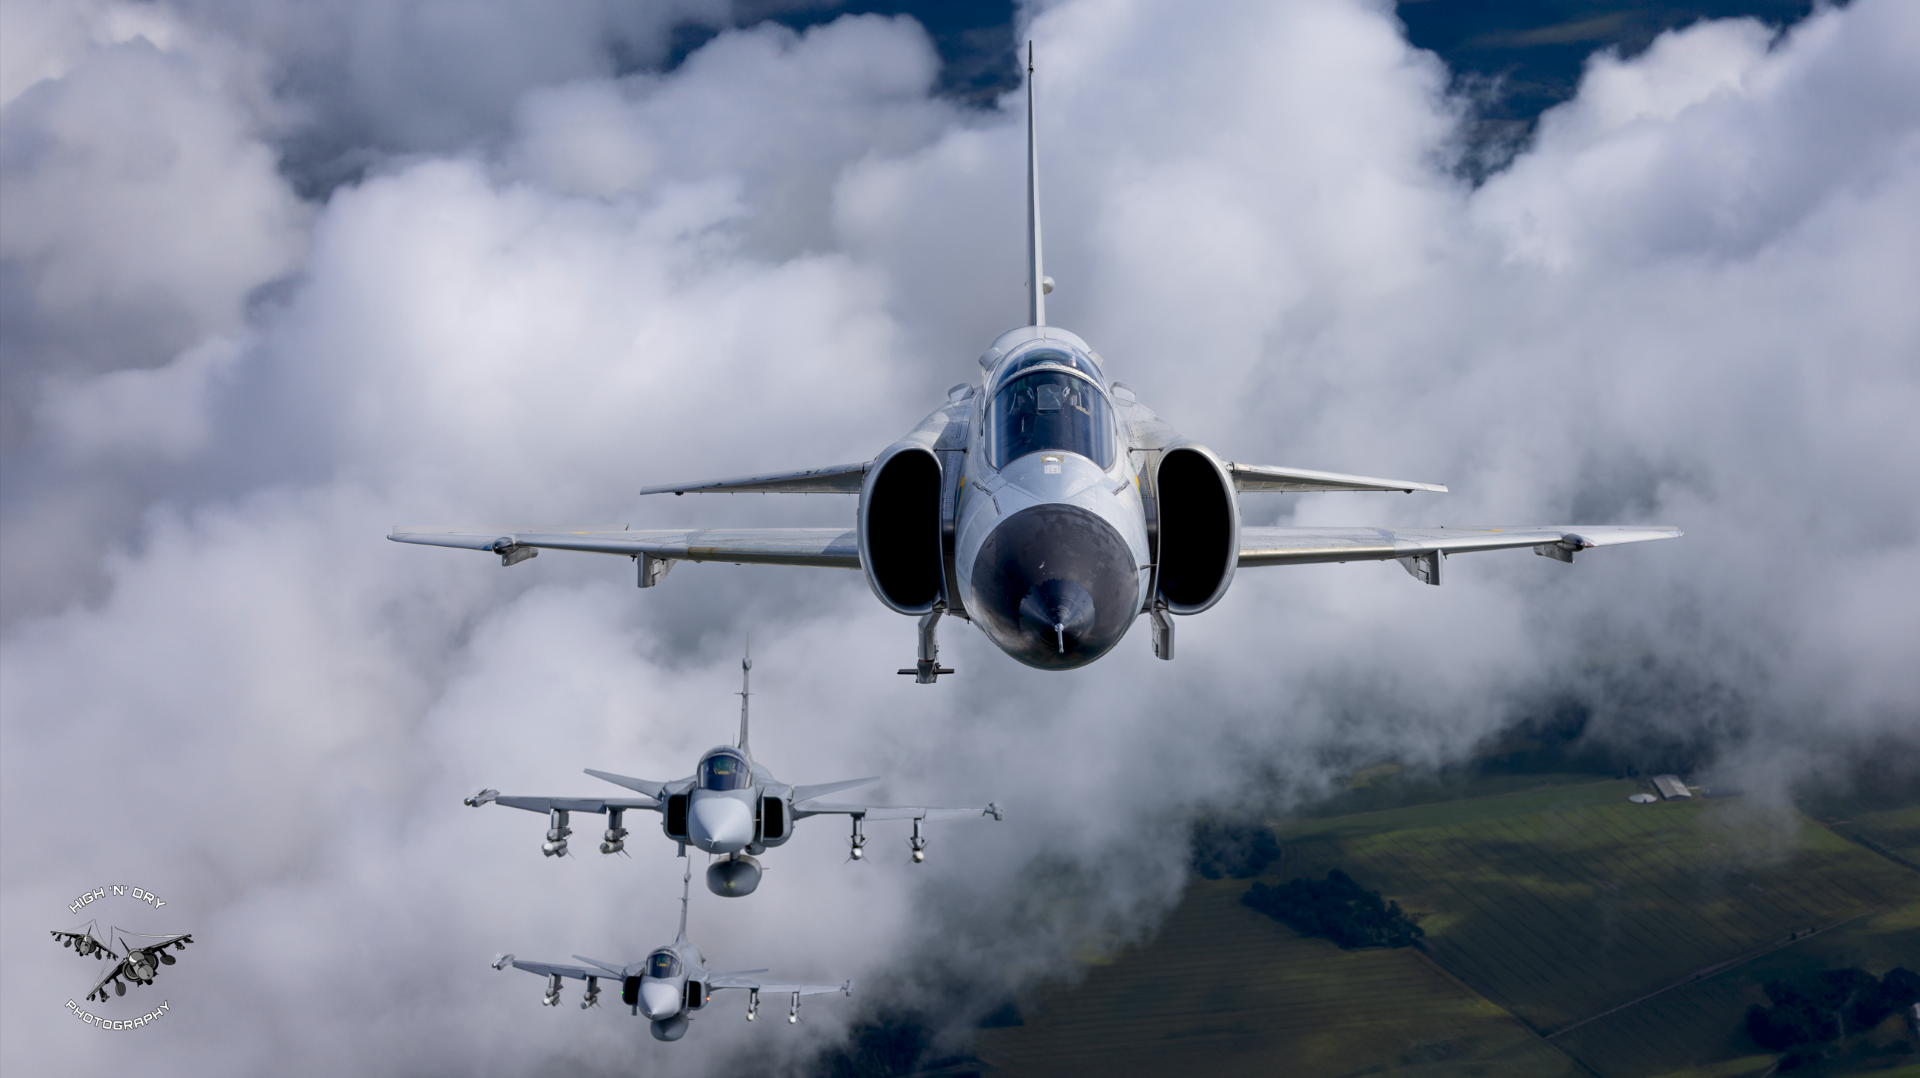
From this.
Did you know our blogs are written exclusively by our members? We'd love for you to come and experience what COAP Online is all about!
Not yet a member?
Enjoy a free 30-day trial!
COAP Online membership brings 100s of aviation photographers from around the world together in a friendly, helpful and inspirational community. You'll enjoy monthly challenges, competitions, livestreams, blogs, exclusive discounts, meet-ups and more!
Get a free tutorial to your inbox every week!
Subscribe to our mailing list to receive a fantastic aviation photography tutorial to your inbox every Tuesday!
We hate spam as much as you. We will never sell your information, for any reason.