Making Flat Skies Pop in LR Mobile
Jul 02, 2024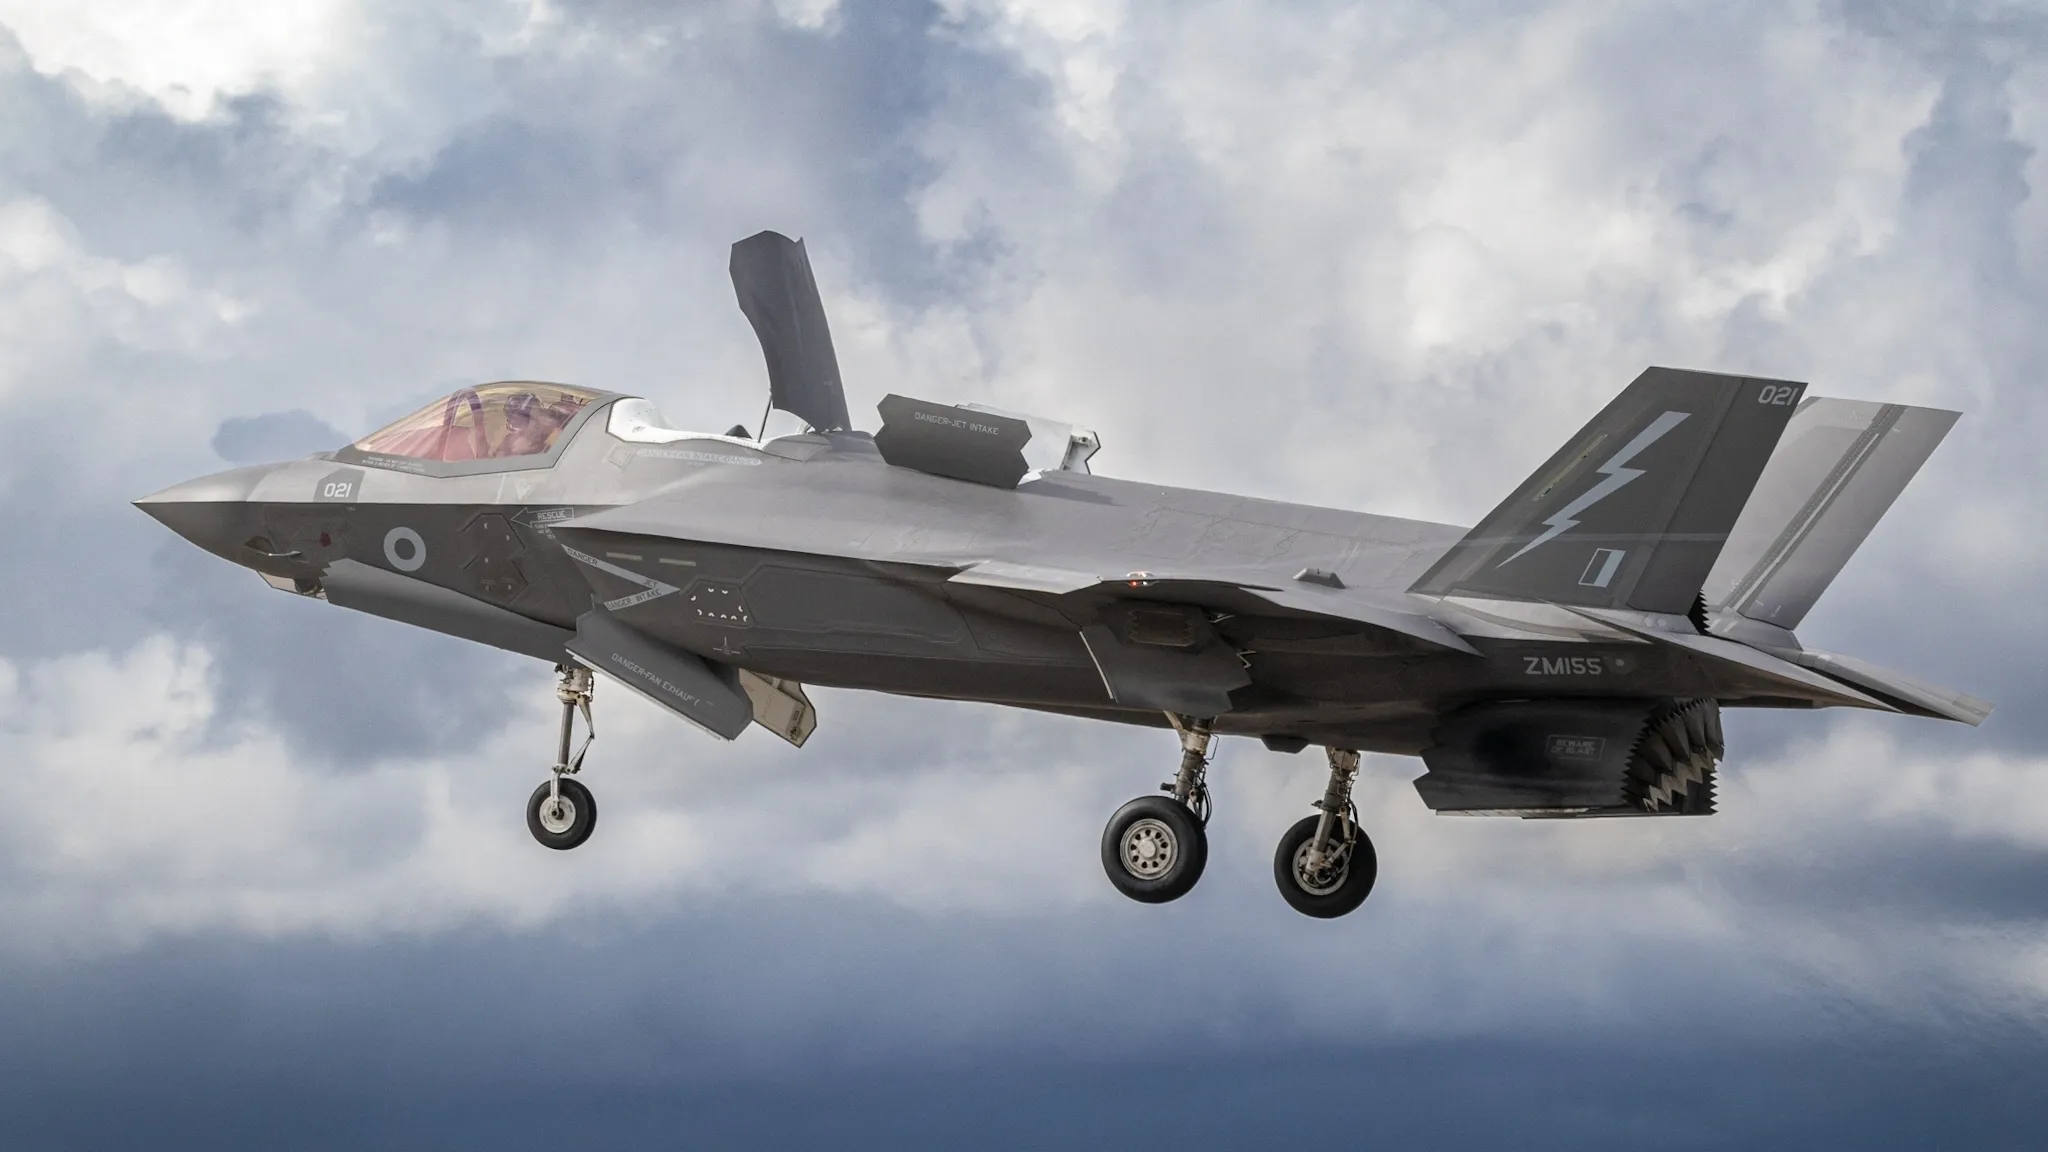
By Joseph Evans
RAF F-35B Edit Walkthrough - Making Flat Skies Pop!
I’m a regular user of the Lightroom mobile platform. Since they introduced the masking features in October 2021 it has drastically improved my editing capabilities massively.
First of all I start with the corrective parts, enabling lens corrections and removing chromatic aberration.
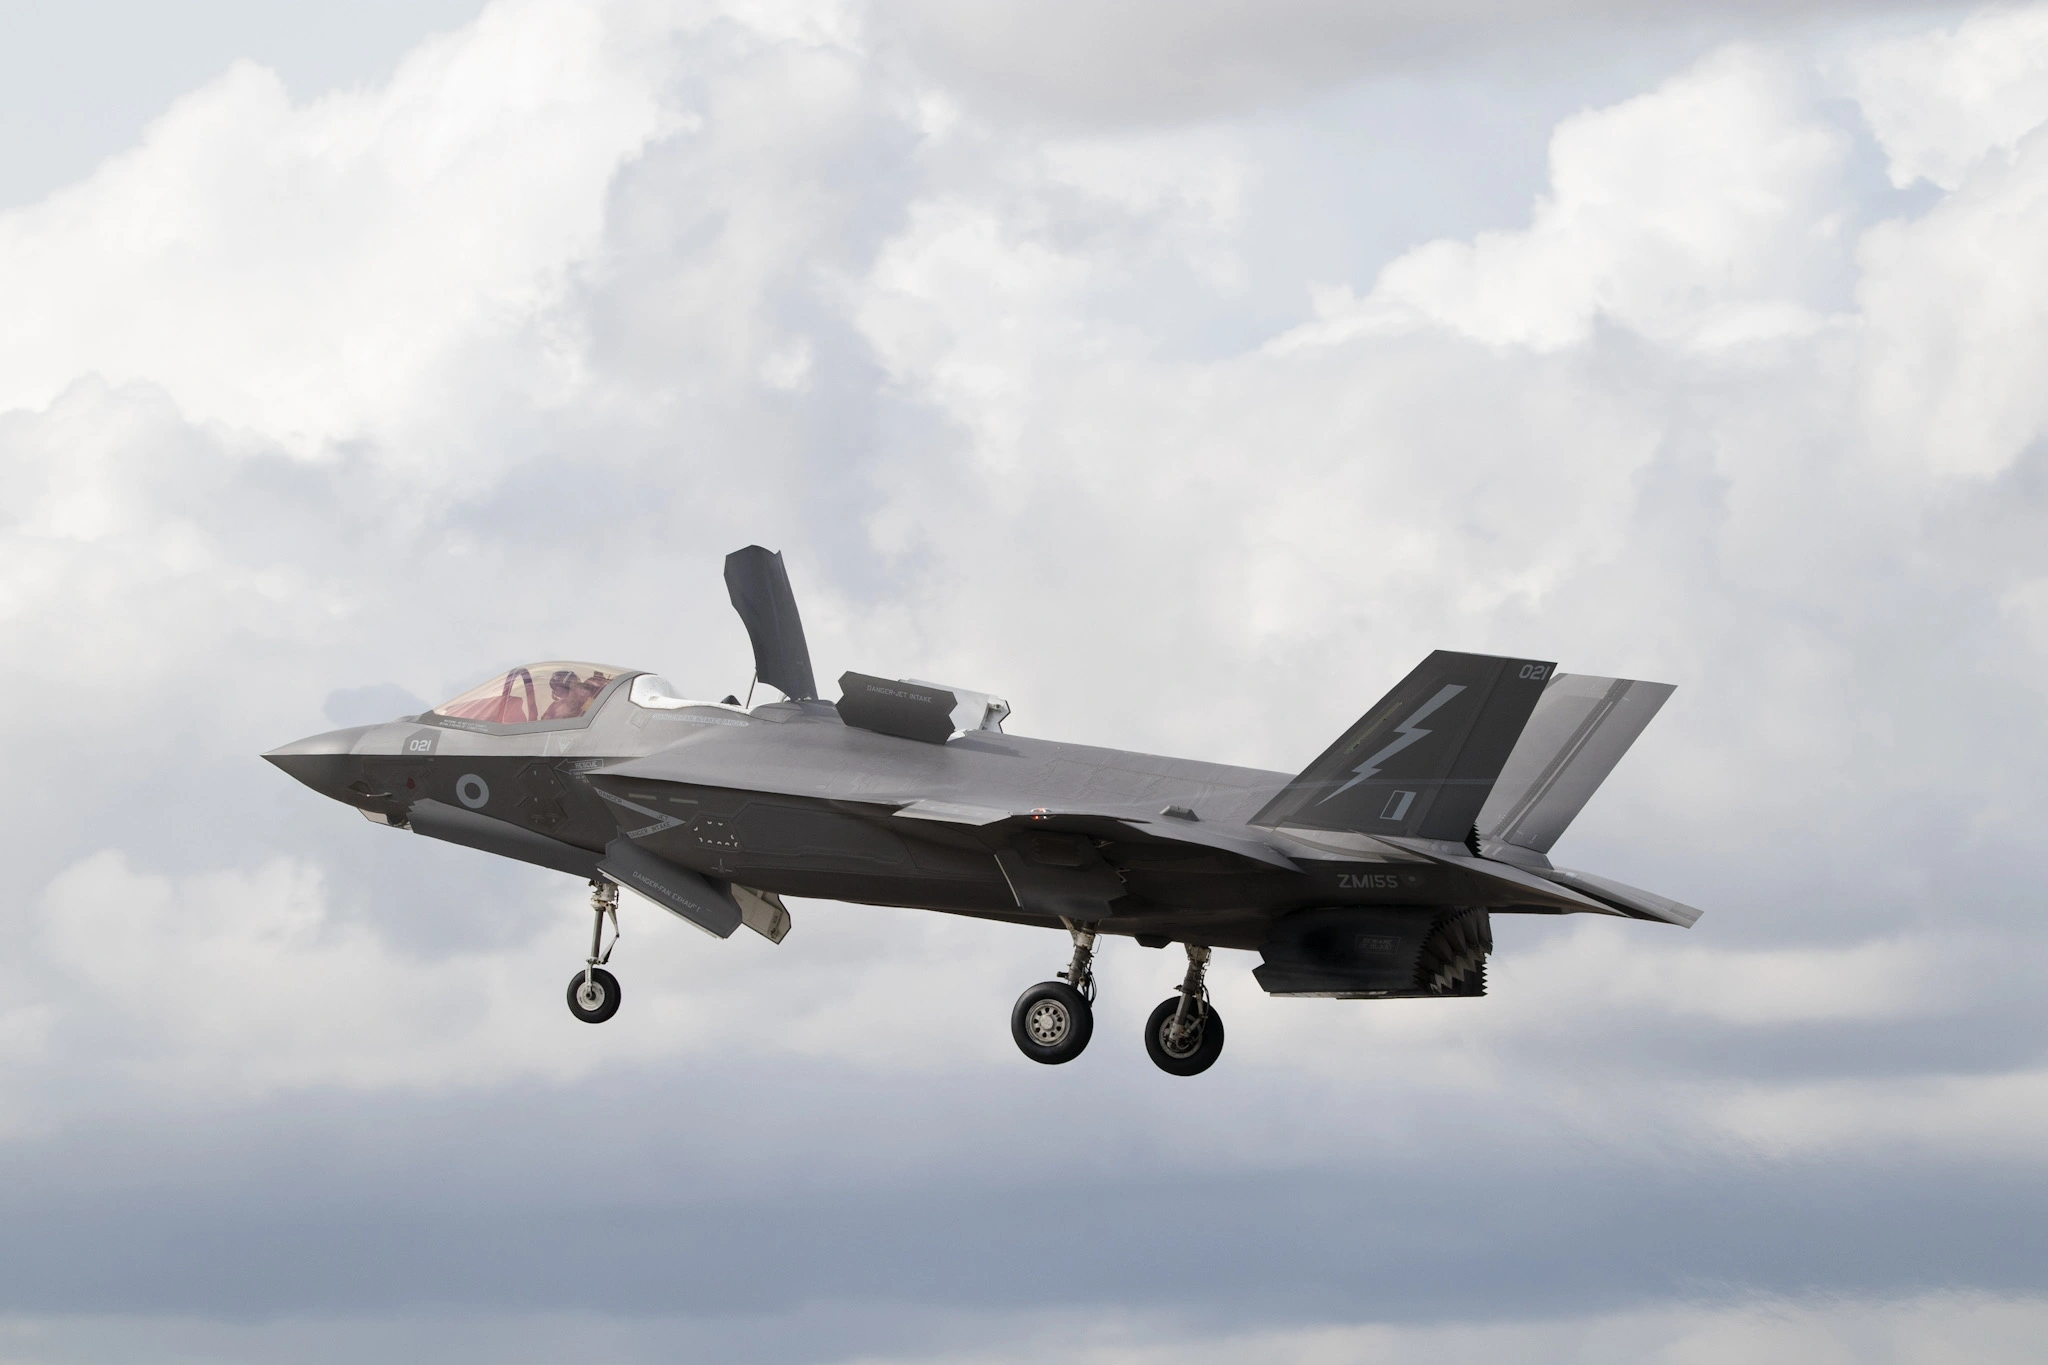
The Crop
This is very important, because there was allot of potential on bringing the dull clouds out I opt for a 3×2 so the image has space to breathe. Also to show depth and contrast in the sky. After that I set the white Balance, in this case I kept it how it was.
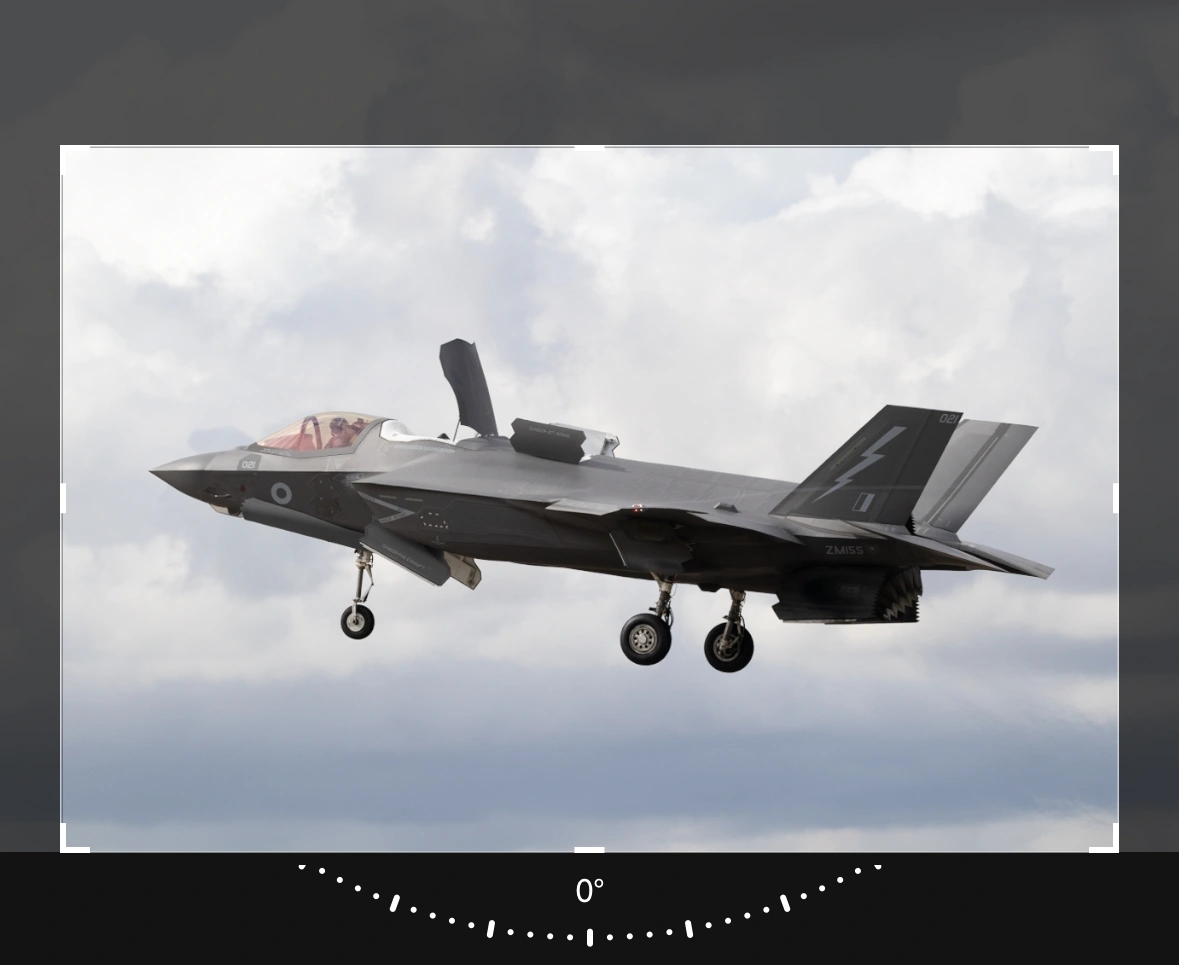
Local Adjustments
After the Crop it’s time to play around with the sliders to see what detail is hidden in the Subject and clouds. I minus the highlights to around -30 then up the shadows to +16, after that I up the whites slightly to +6 to give the image a bit more pop.
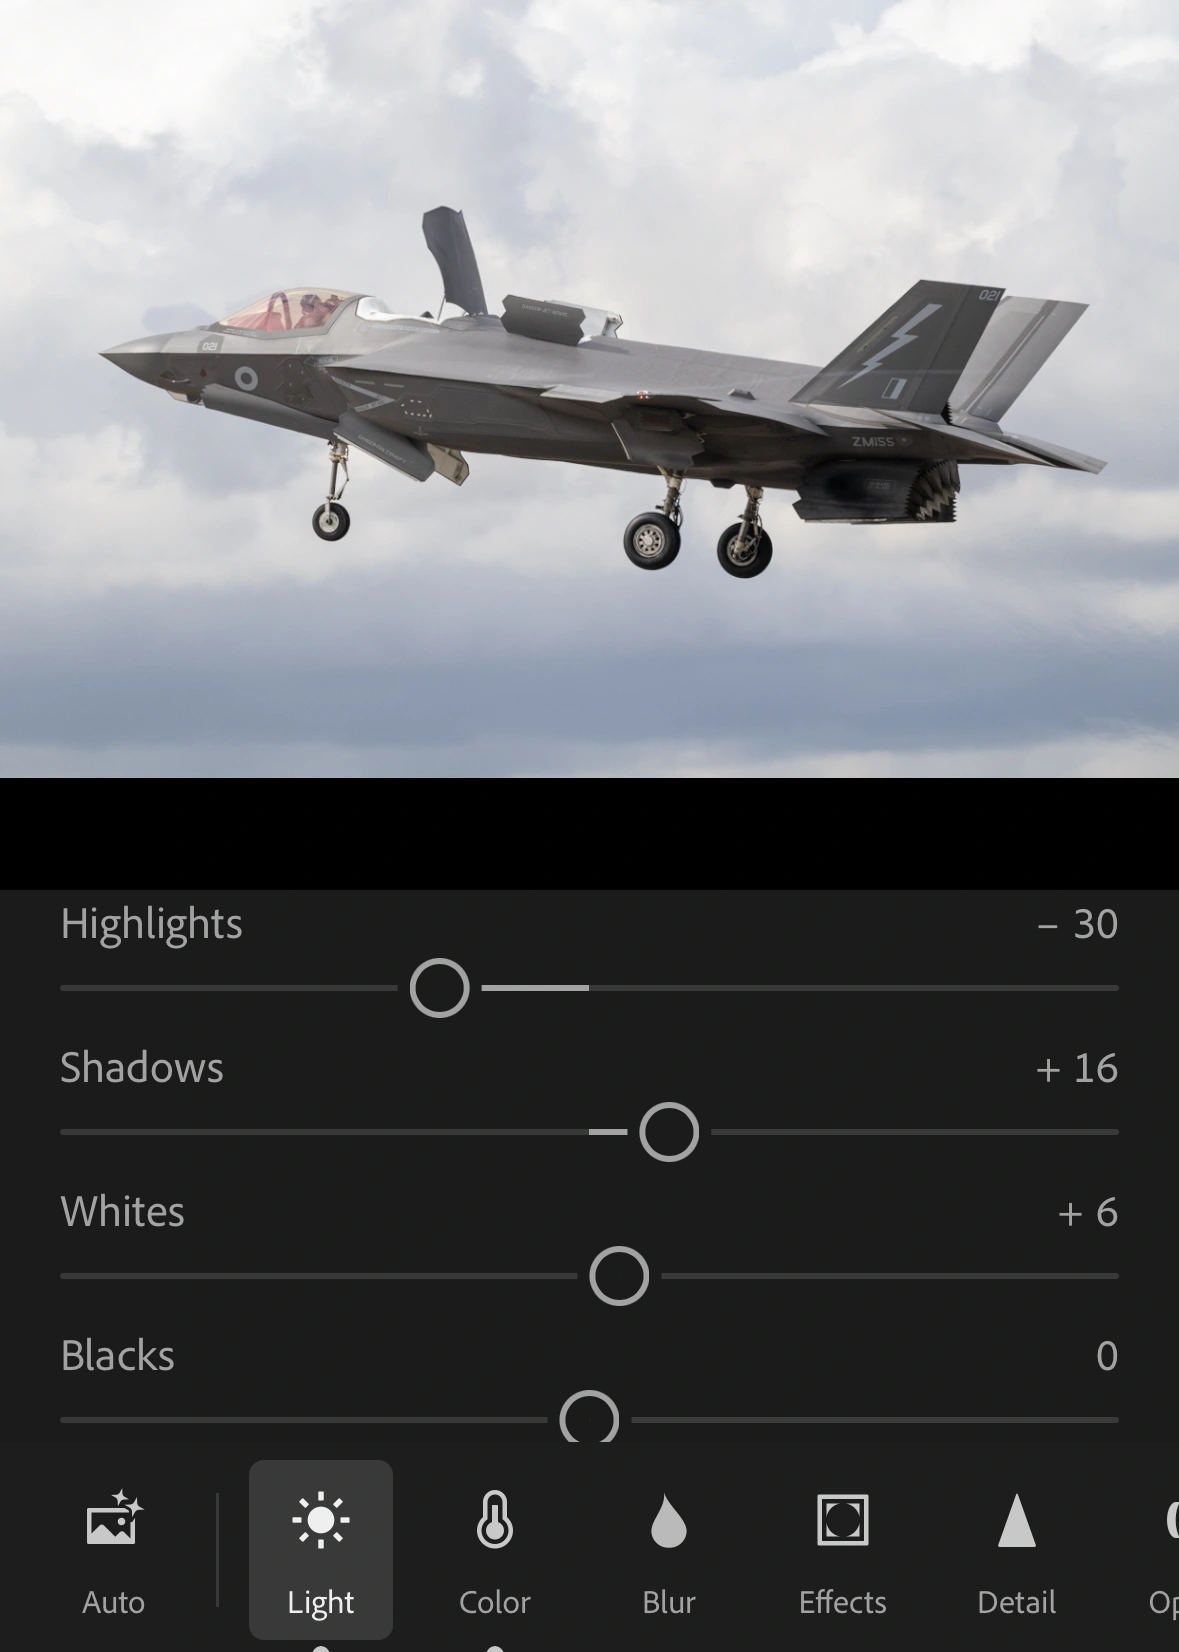
Reducing the highlights and upping the shadows brings out more details in the clouds and airframe. You can start to see the different layers in the sky and the serial number beneath the Tail is allot more visible.
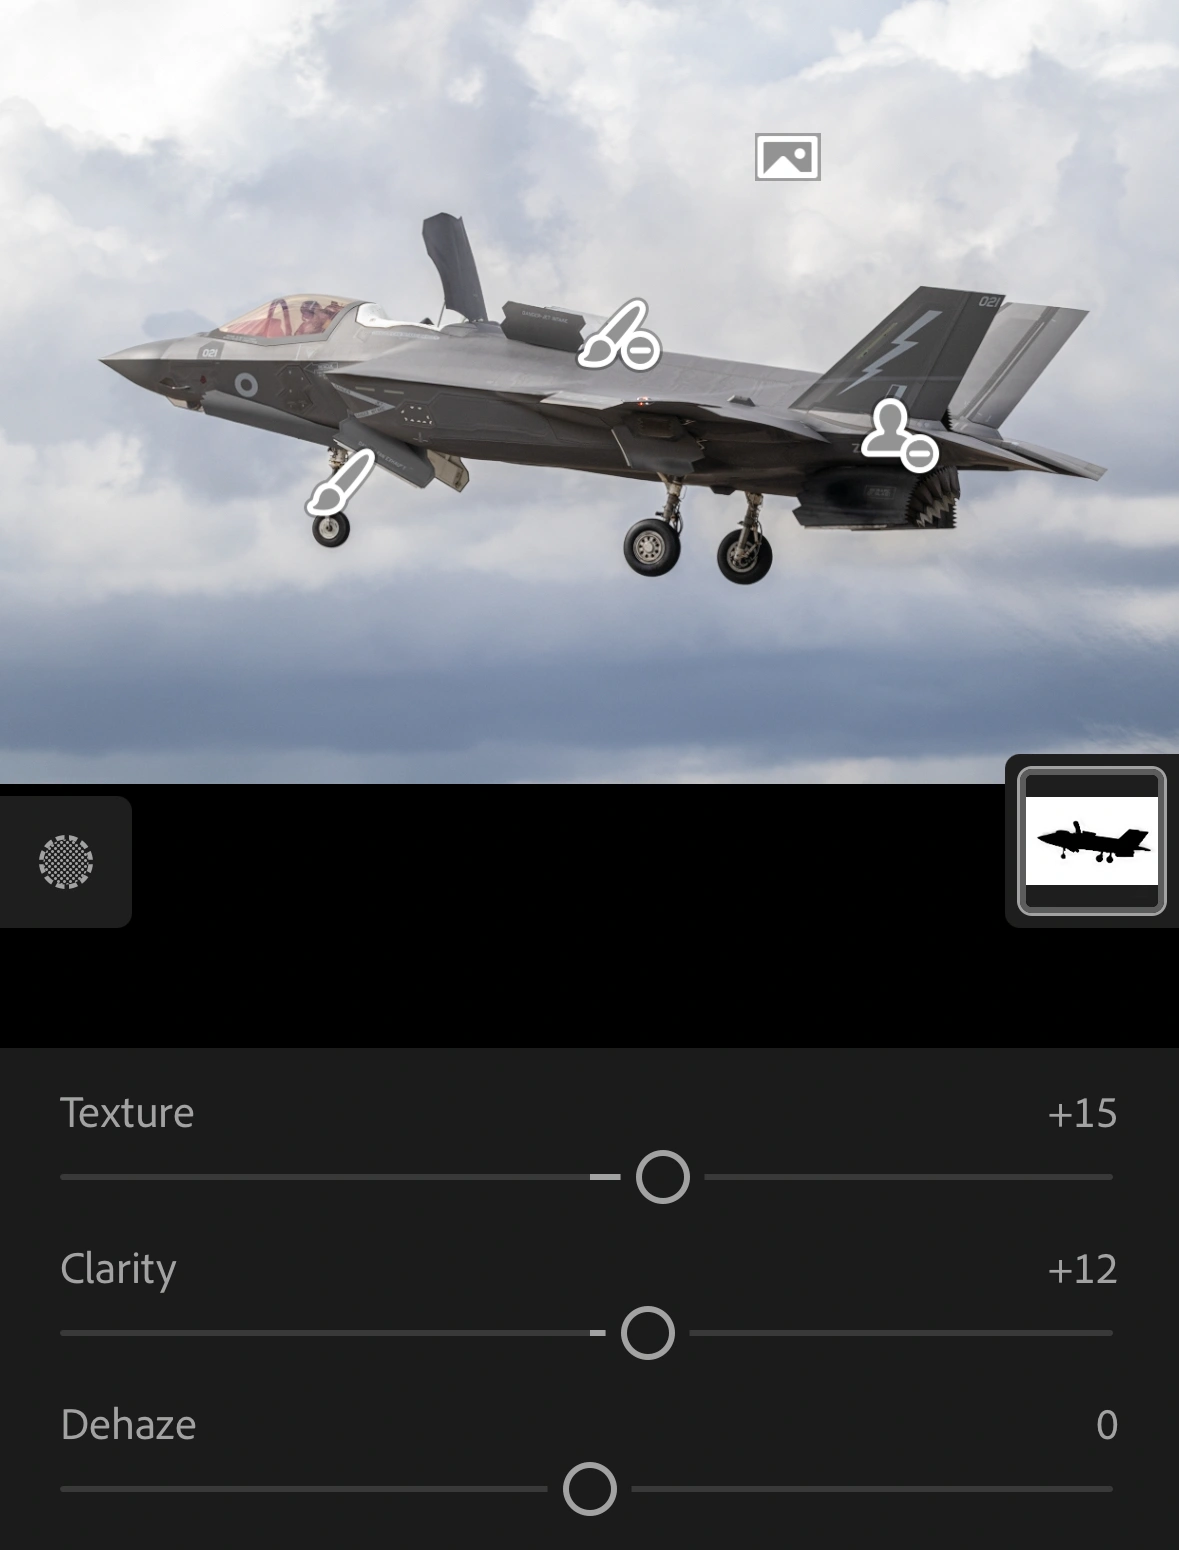
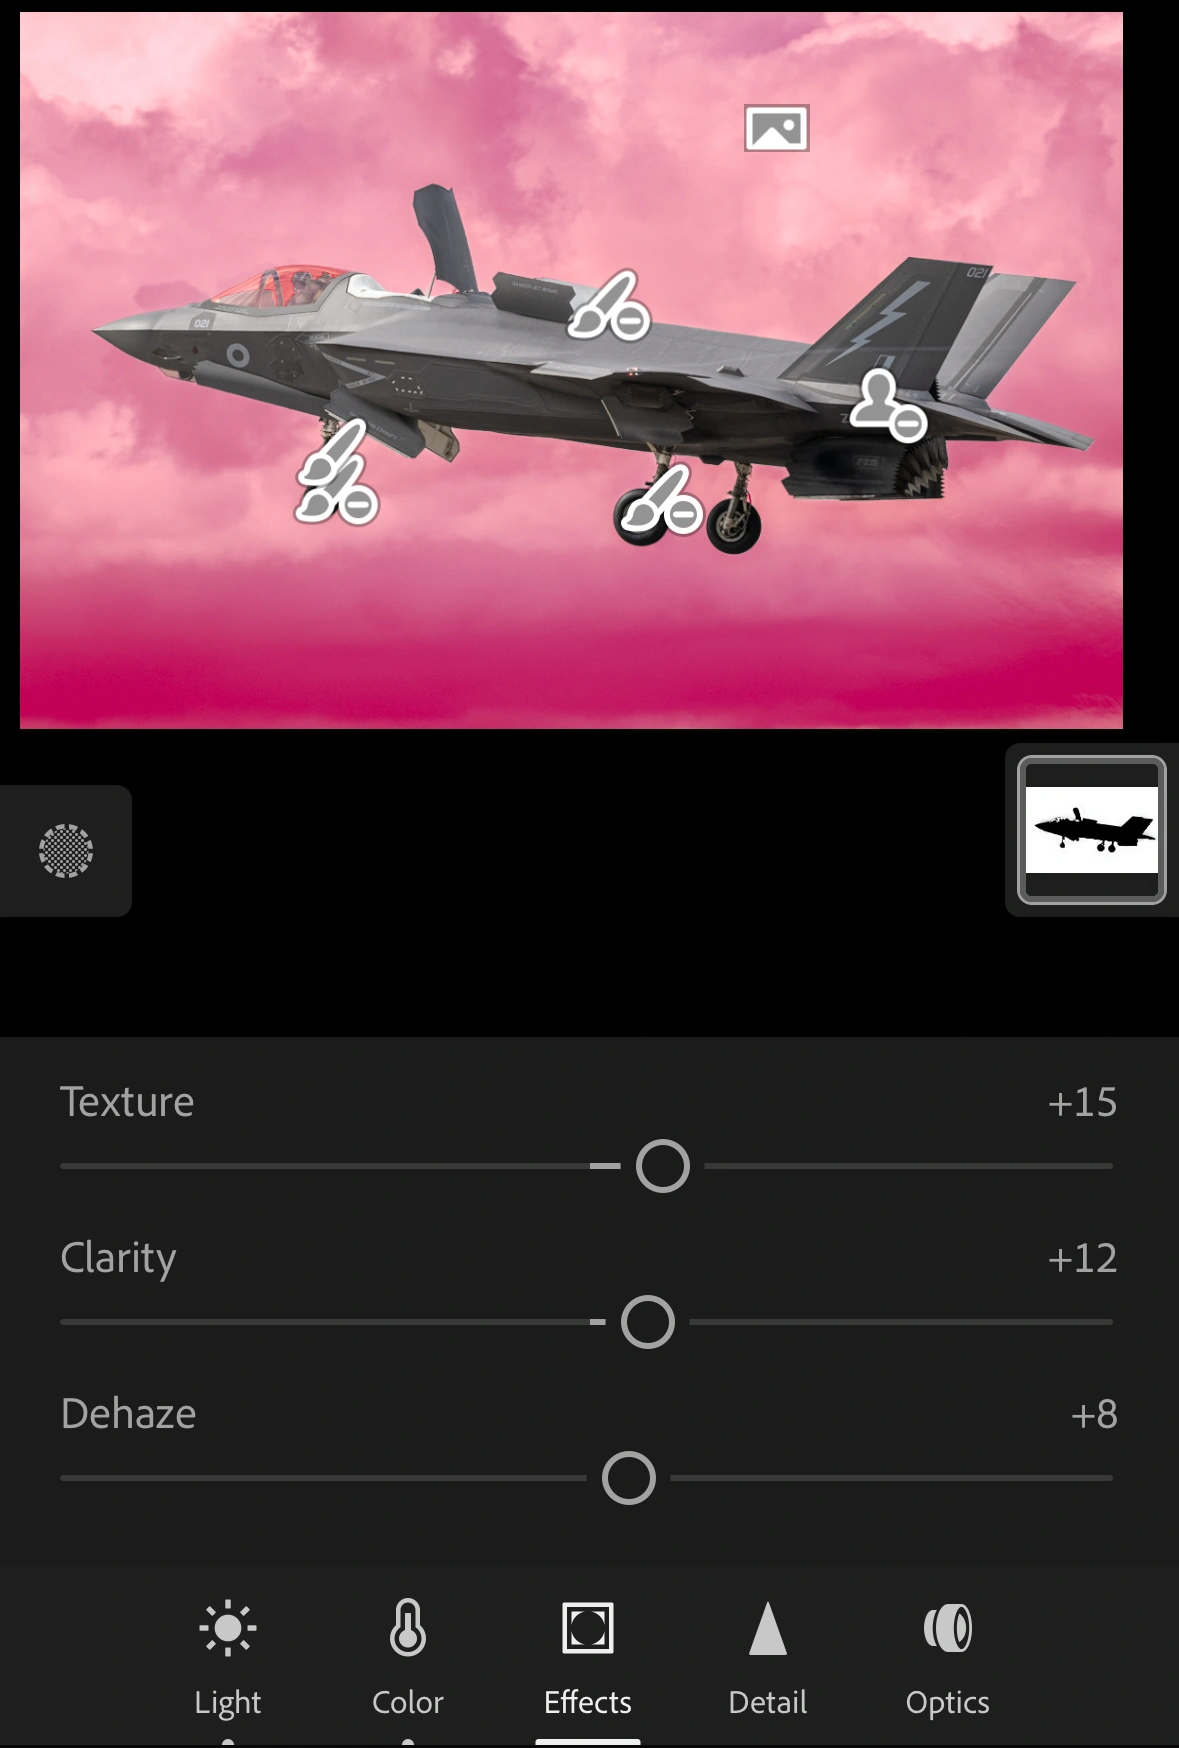
Masking
Once the local adjustments are complete I move onto the Masking tools. Using the subject mask I was able to make the Jet pop allot more by upping the shadows & a touch of clarity, then carefully I remove all of the overlapping halos. Removing halos takes the most time if you want a clean edit. I sharpen the Airframe at +9, add some Texture (+17) and Clarity (+2) to show the panel lines and oil marks.
For the Sky I want to create allot of depth and contrast, so I reduce the highlights to -36, up the contrast to +26 and minus the blacks to -14. Then I increase the shadows (+13) and whites (+4).
As well as this I cool the sky down to around -3 to add some blue. To further bring out the details in the Sky I add some more Texture and Clarity.
Darken Gradients
To make your eye focus on the Jet more I add two darken Gradients. For the top I reduce the exposure to -5, highlights to -11 and blacks -9. Then the bottom -6 exposure and contrast +9.
The HSL Panel
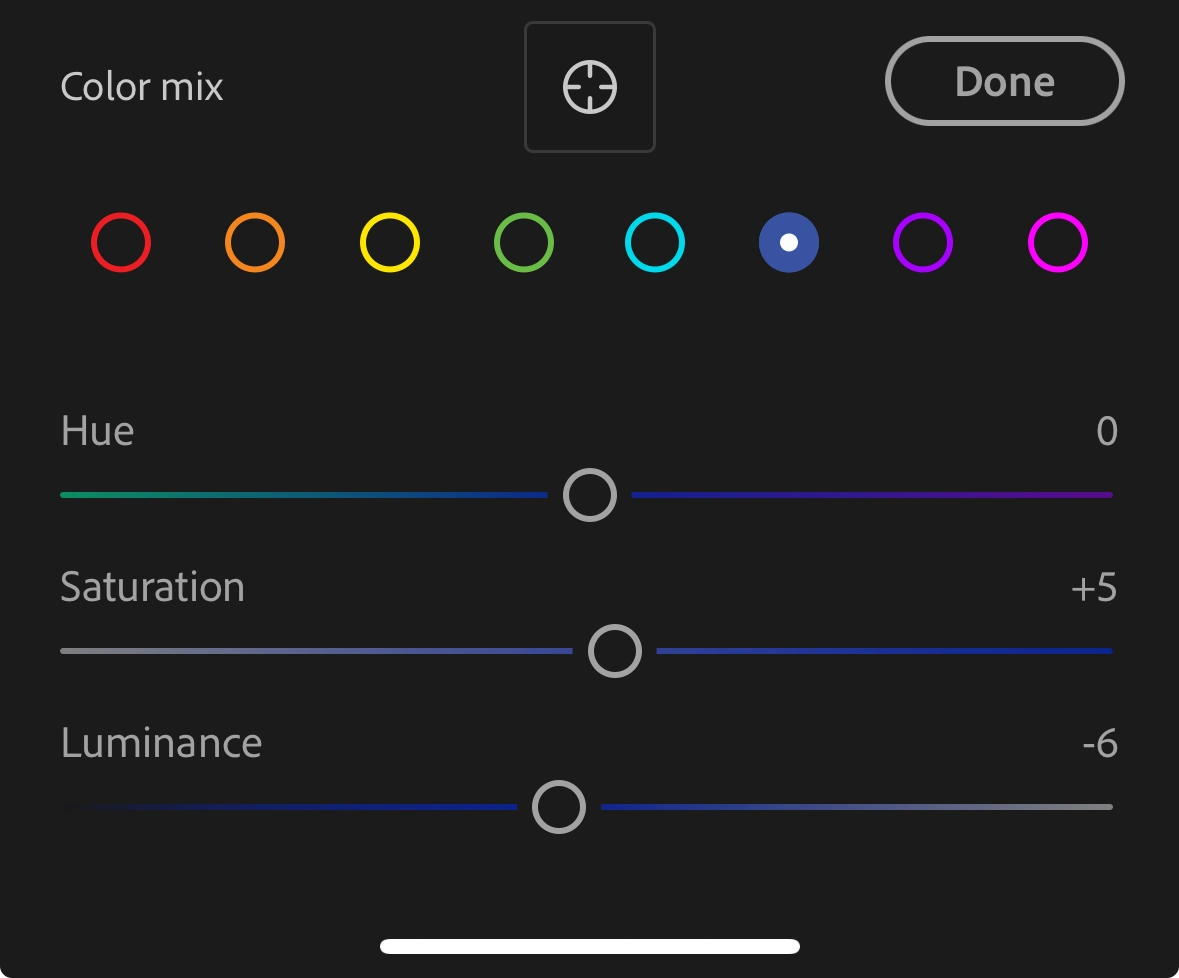
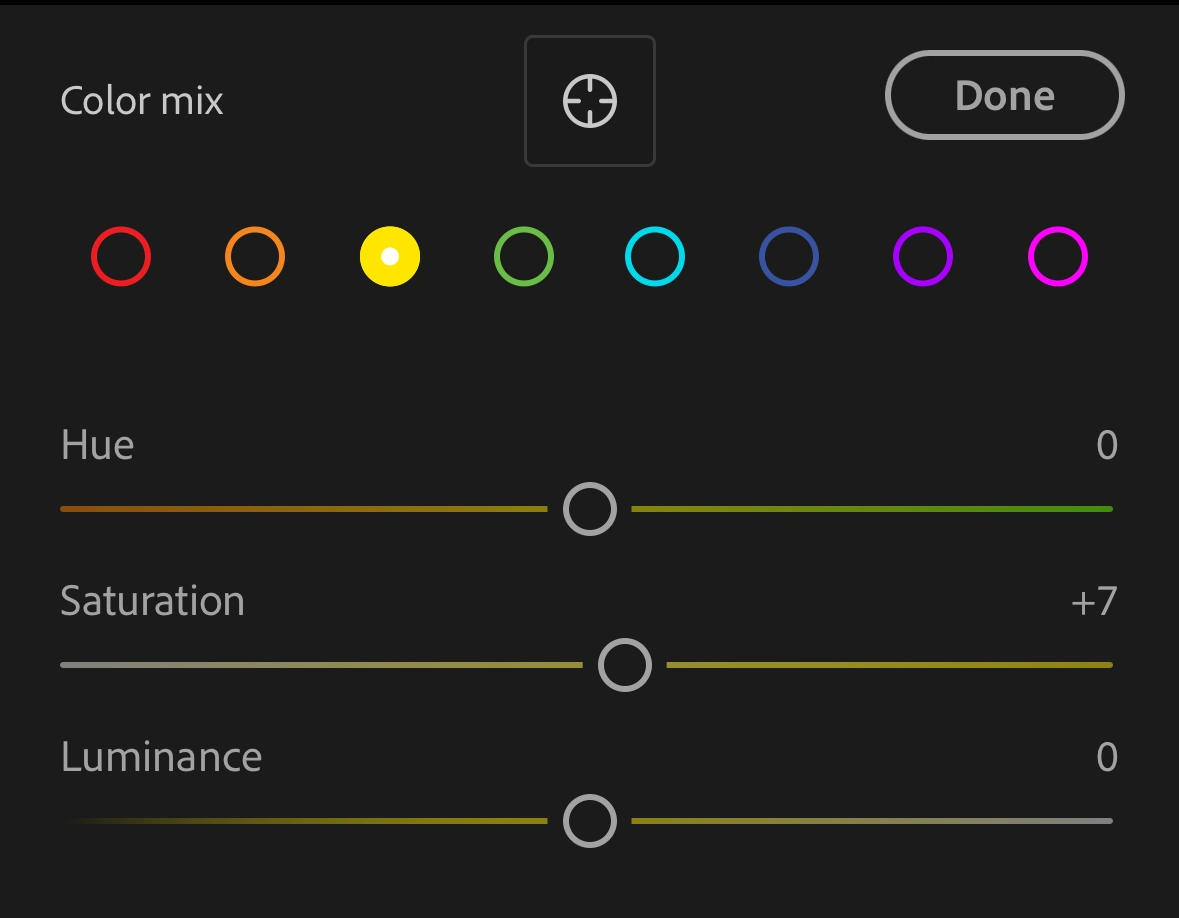
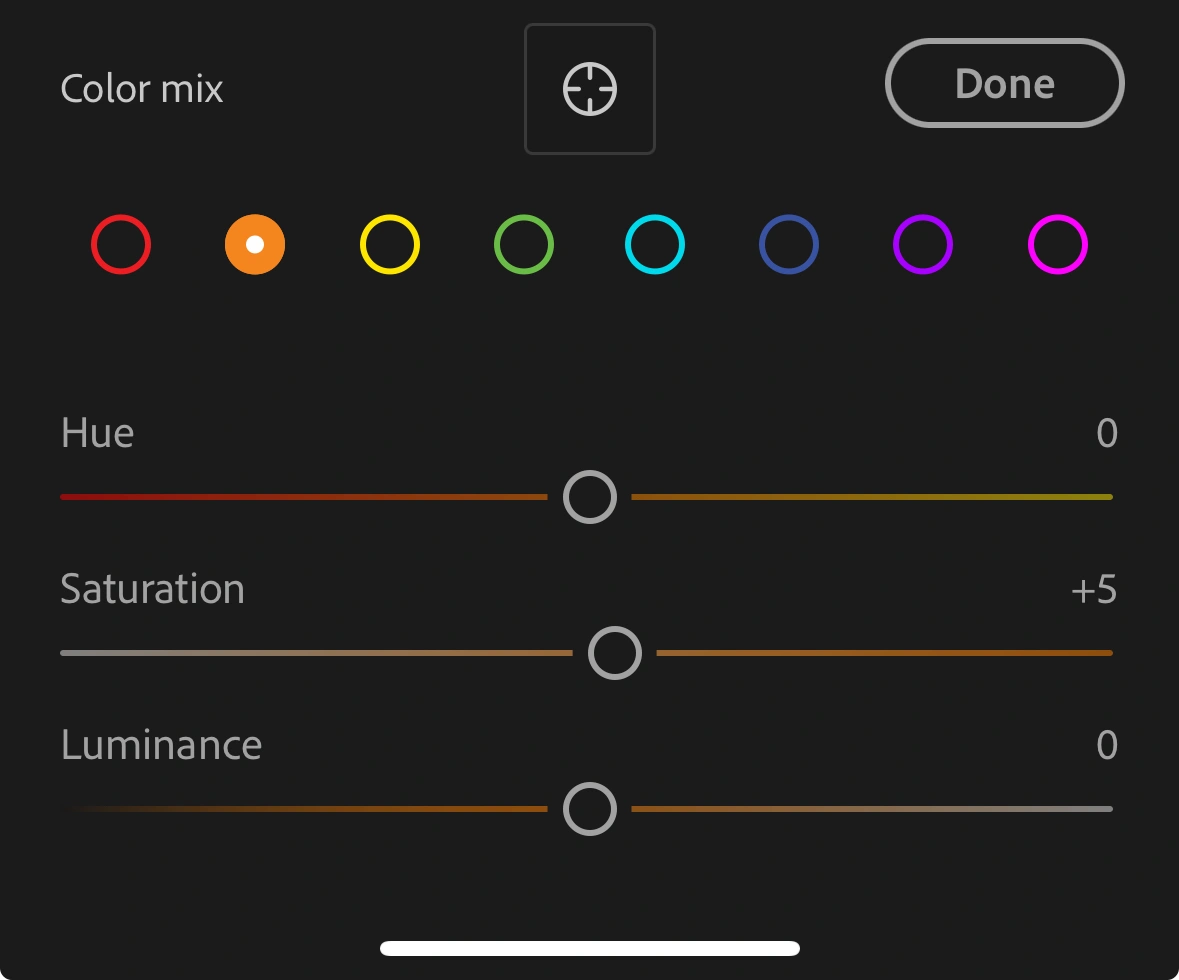
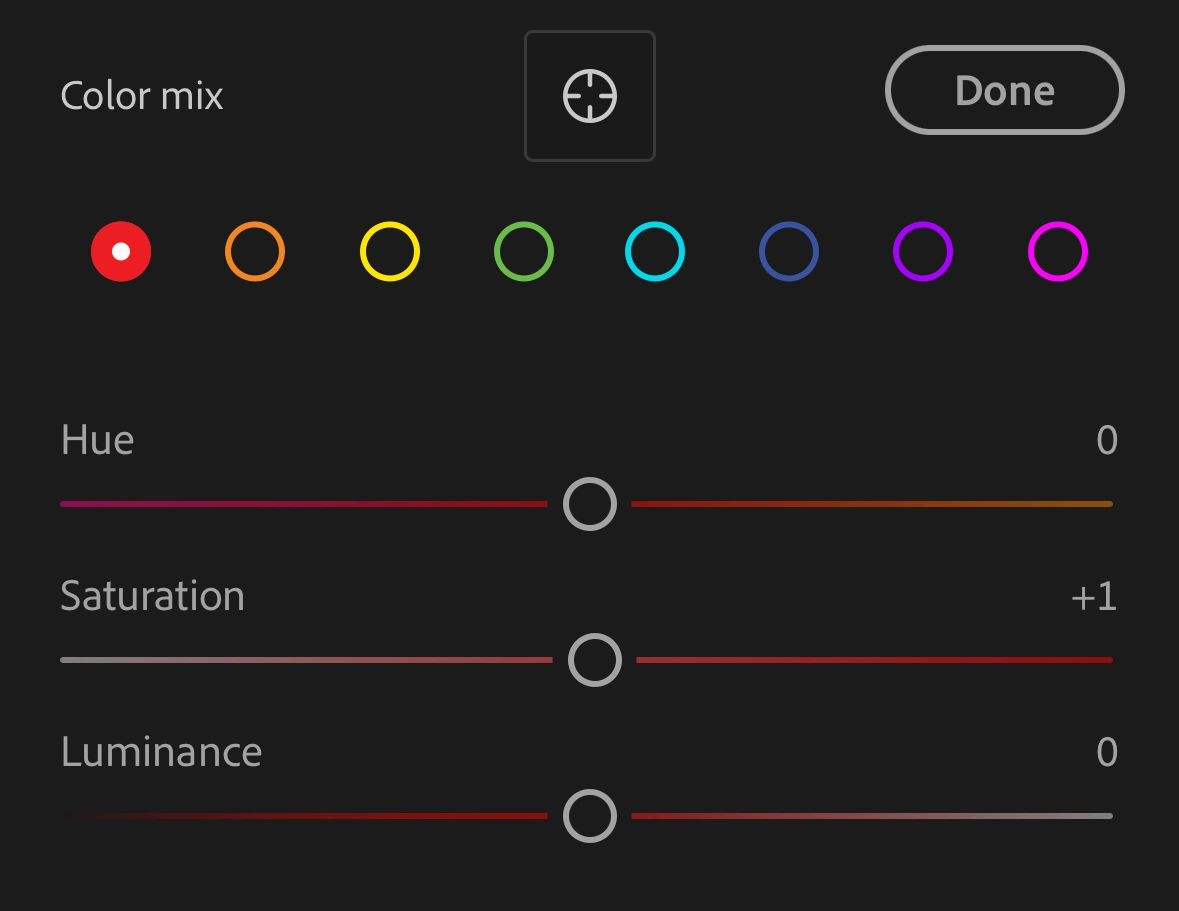
Playing around with the HSL panel I make sure the colours are not overpowering.
Final Part, reference to Storm Cloud Preset
To give this image a final punch I reference back to the Storm Cloud preset by duplicating my original sky mask to match what the Storm Cloud will say. This speeds up the process by not having to remove halos again.
I tweak the sliders on the duplicate by adding more clarity, texture and dehaze. As well as this I reduce the saturation to reduce the blues. Taking time to tweak those three is crucial as they are the most powerful.
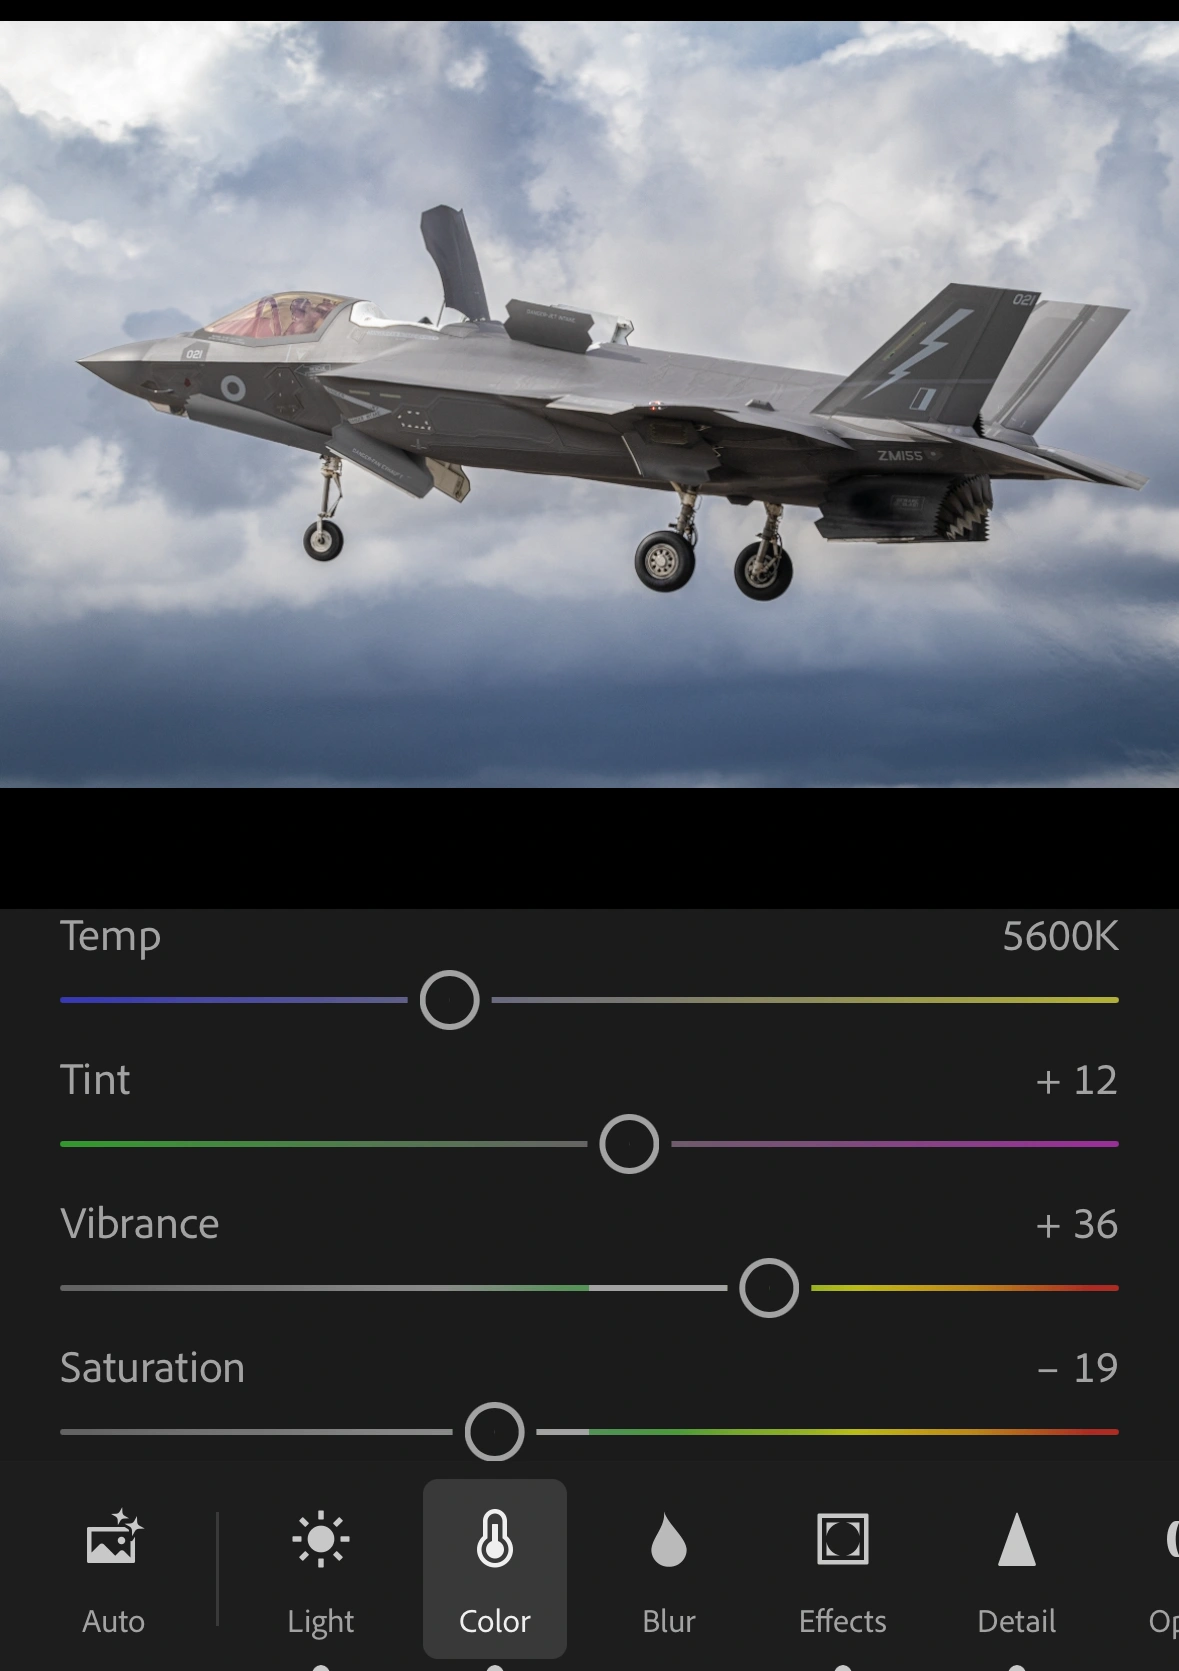
To finish this edit off an overall sharpen, a slight Vignette, an up in vibrance and reduction of Saturation.
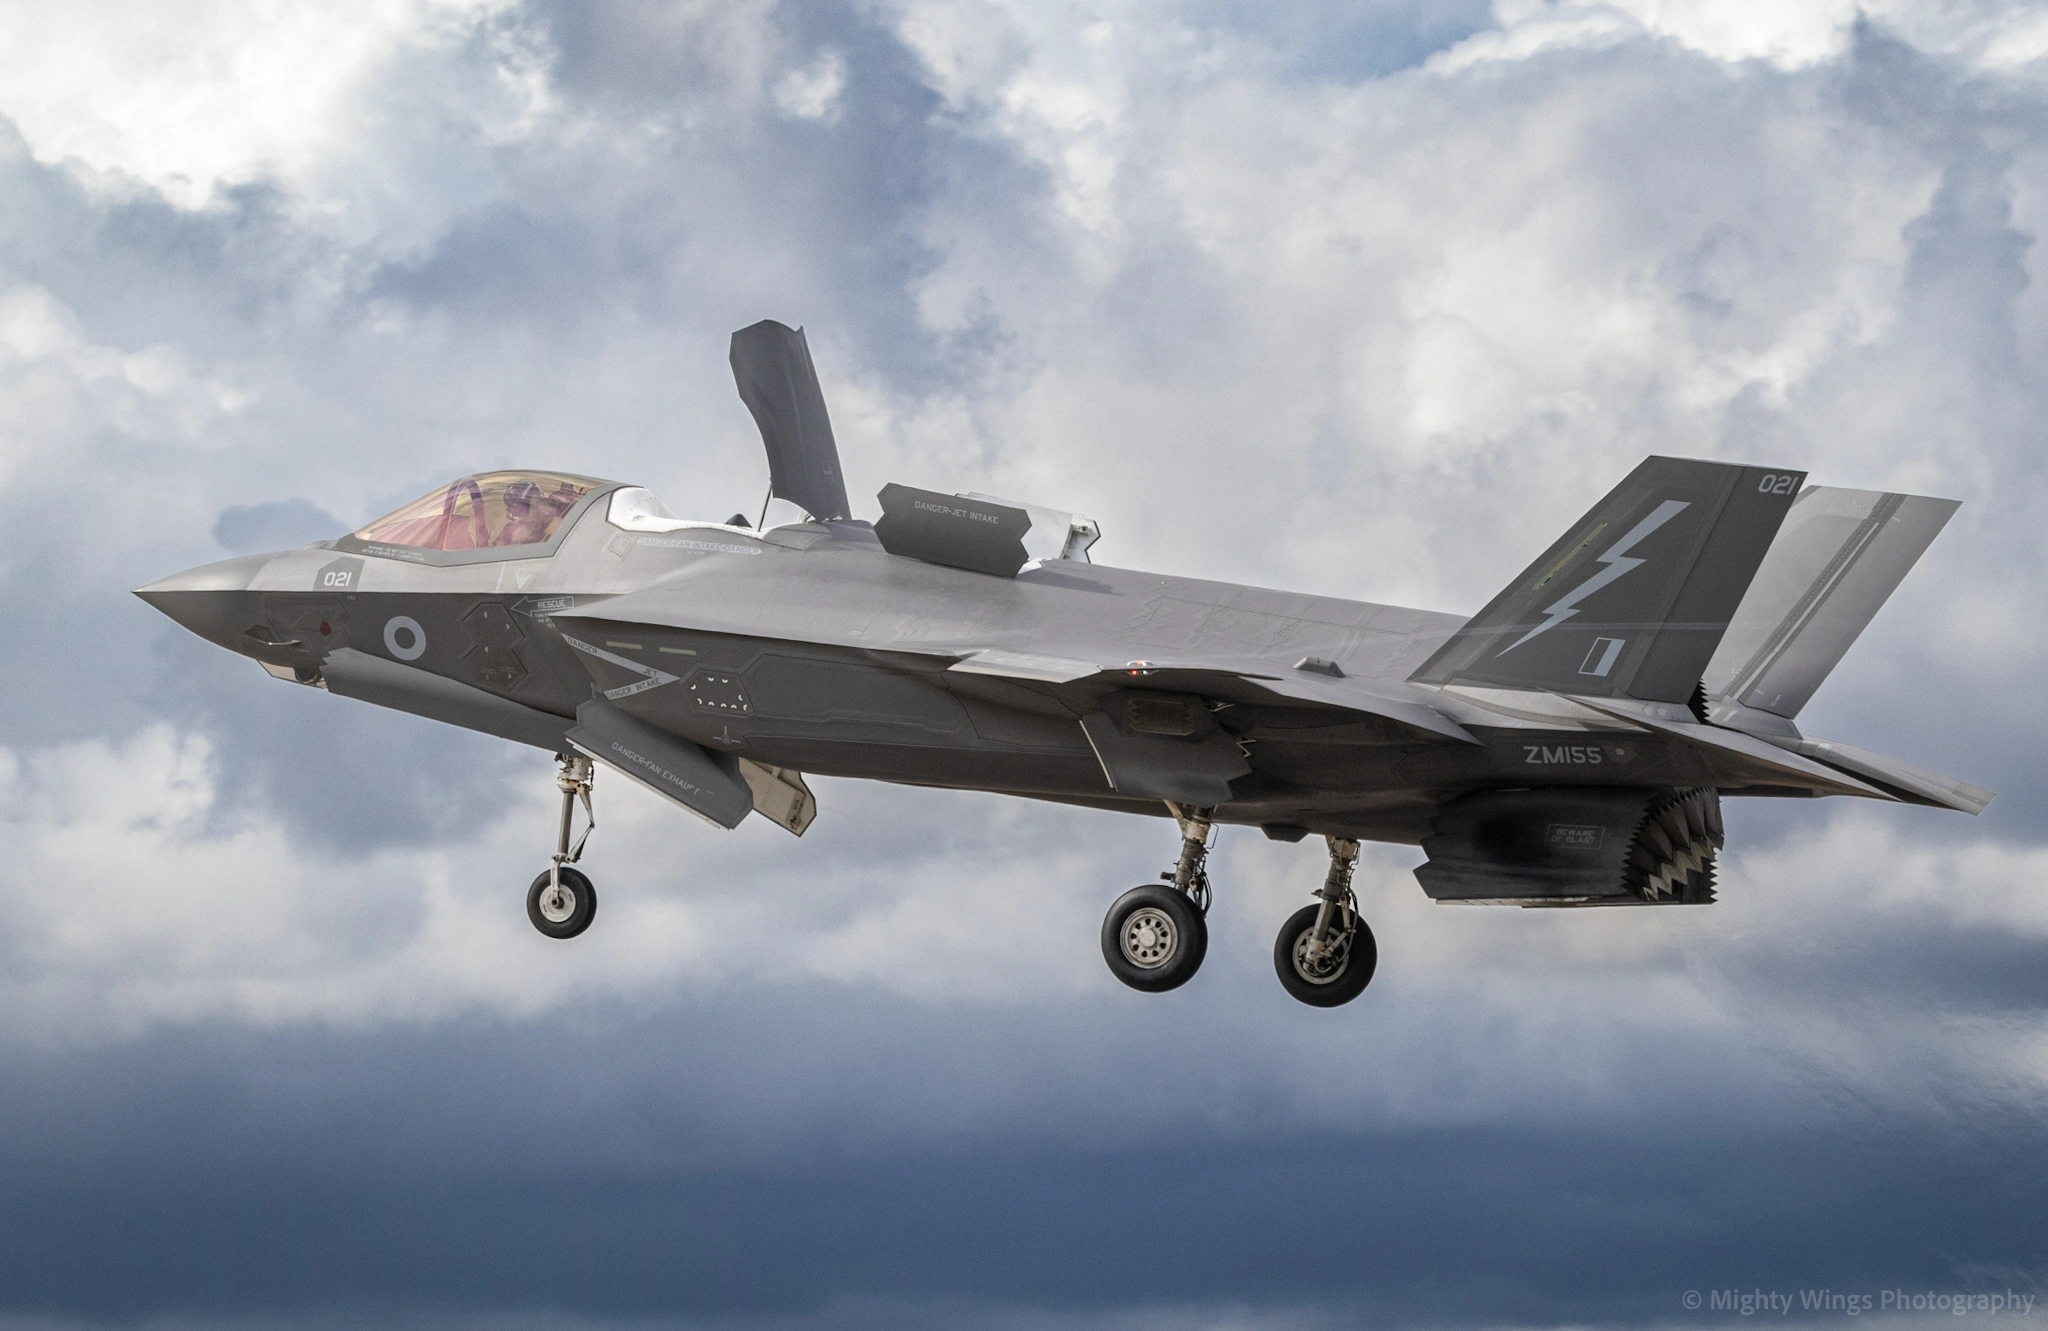
I hope you have enjoyed reading my blog, this was my first attempt at an edit walkthrough. If you have any questions regarding my edit feel free to DM me!
Did you know our blogs are written exclusively by our members? We'd love for you to come and experience what COAP Online is all about!
Not yet a member?
Enjoy a free 30-day trial!
COAP Online membership brings 100s of aviation photographers from around the world together in a friendly, helpful and inspirational community. You'll enjoy monthly challenges, competitions, livestreams, blogs, exclusive discounts, meet-ups and more!
Get a free tutorial to your inbox every week!
Subscribe to our mailing list to receive a fantastic aviation photography tutorial to your inbox every Tuesday!
We hate spam as much as you. We will never sell your information, for any reason.