How To Avoid Halos In Aviation Photography Editing
Aug 11, 2026
Avoiding Halos In Aviation Photography Editing
Halos are one of the most common editing problems in aviation photography. They usually appear as bright or dark outlines around the aircraft, especially along wings, tailplanes, fins, canopies, aerials and prop discs.
They are easy to create and easy to miss.
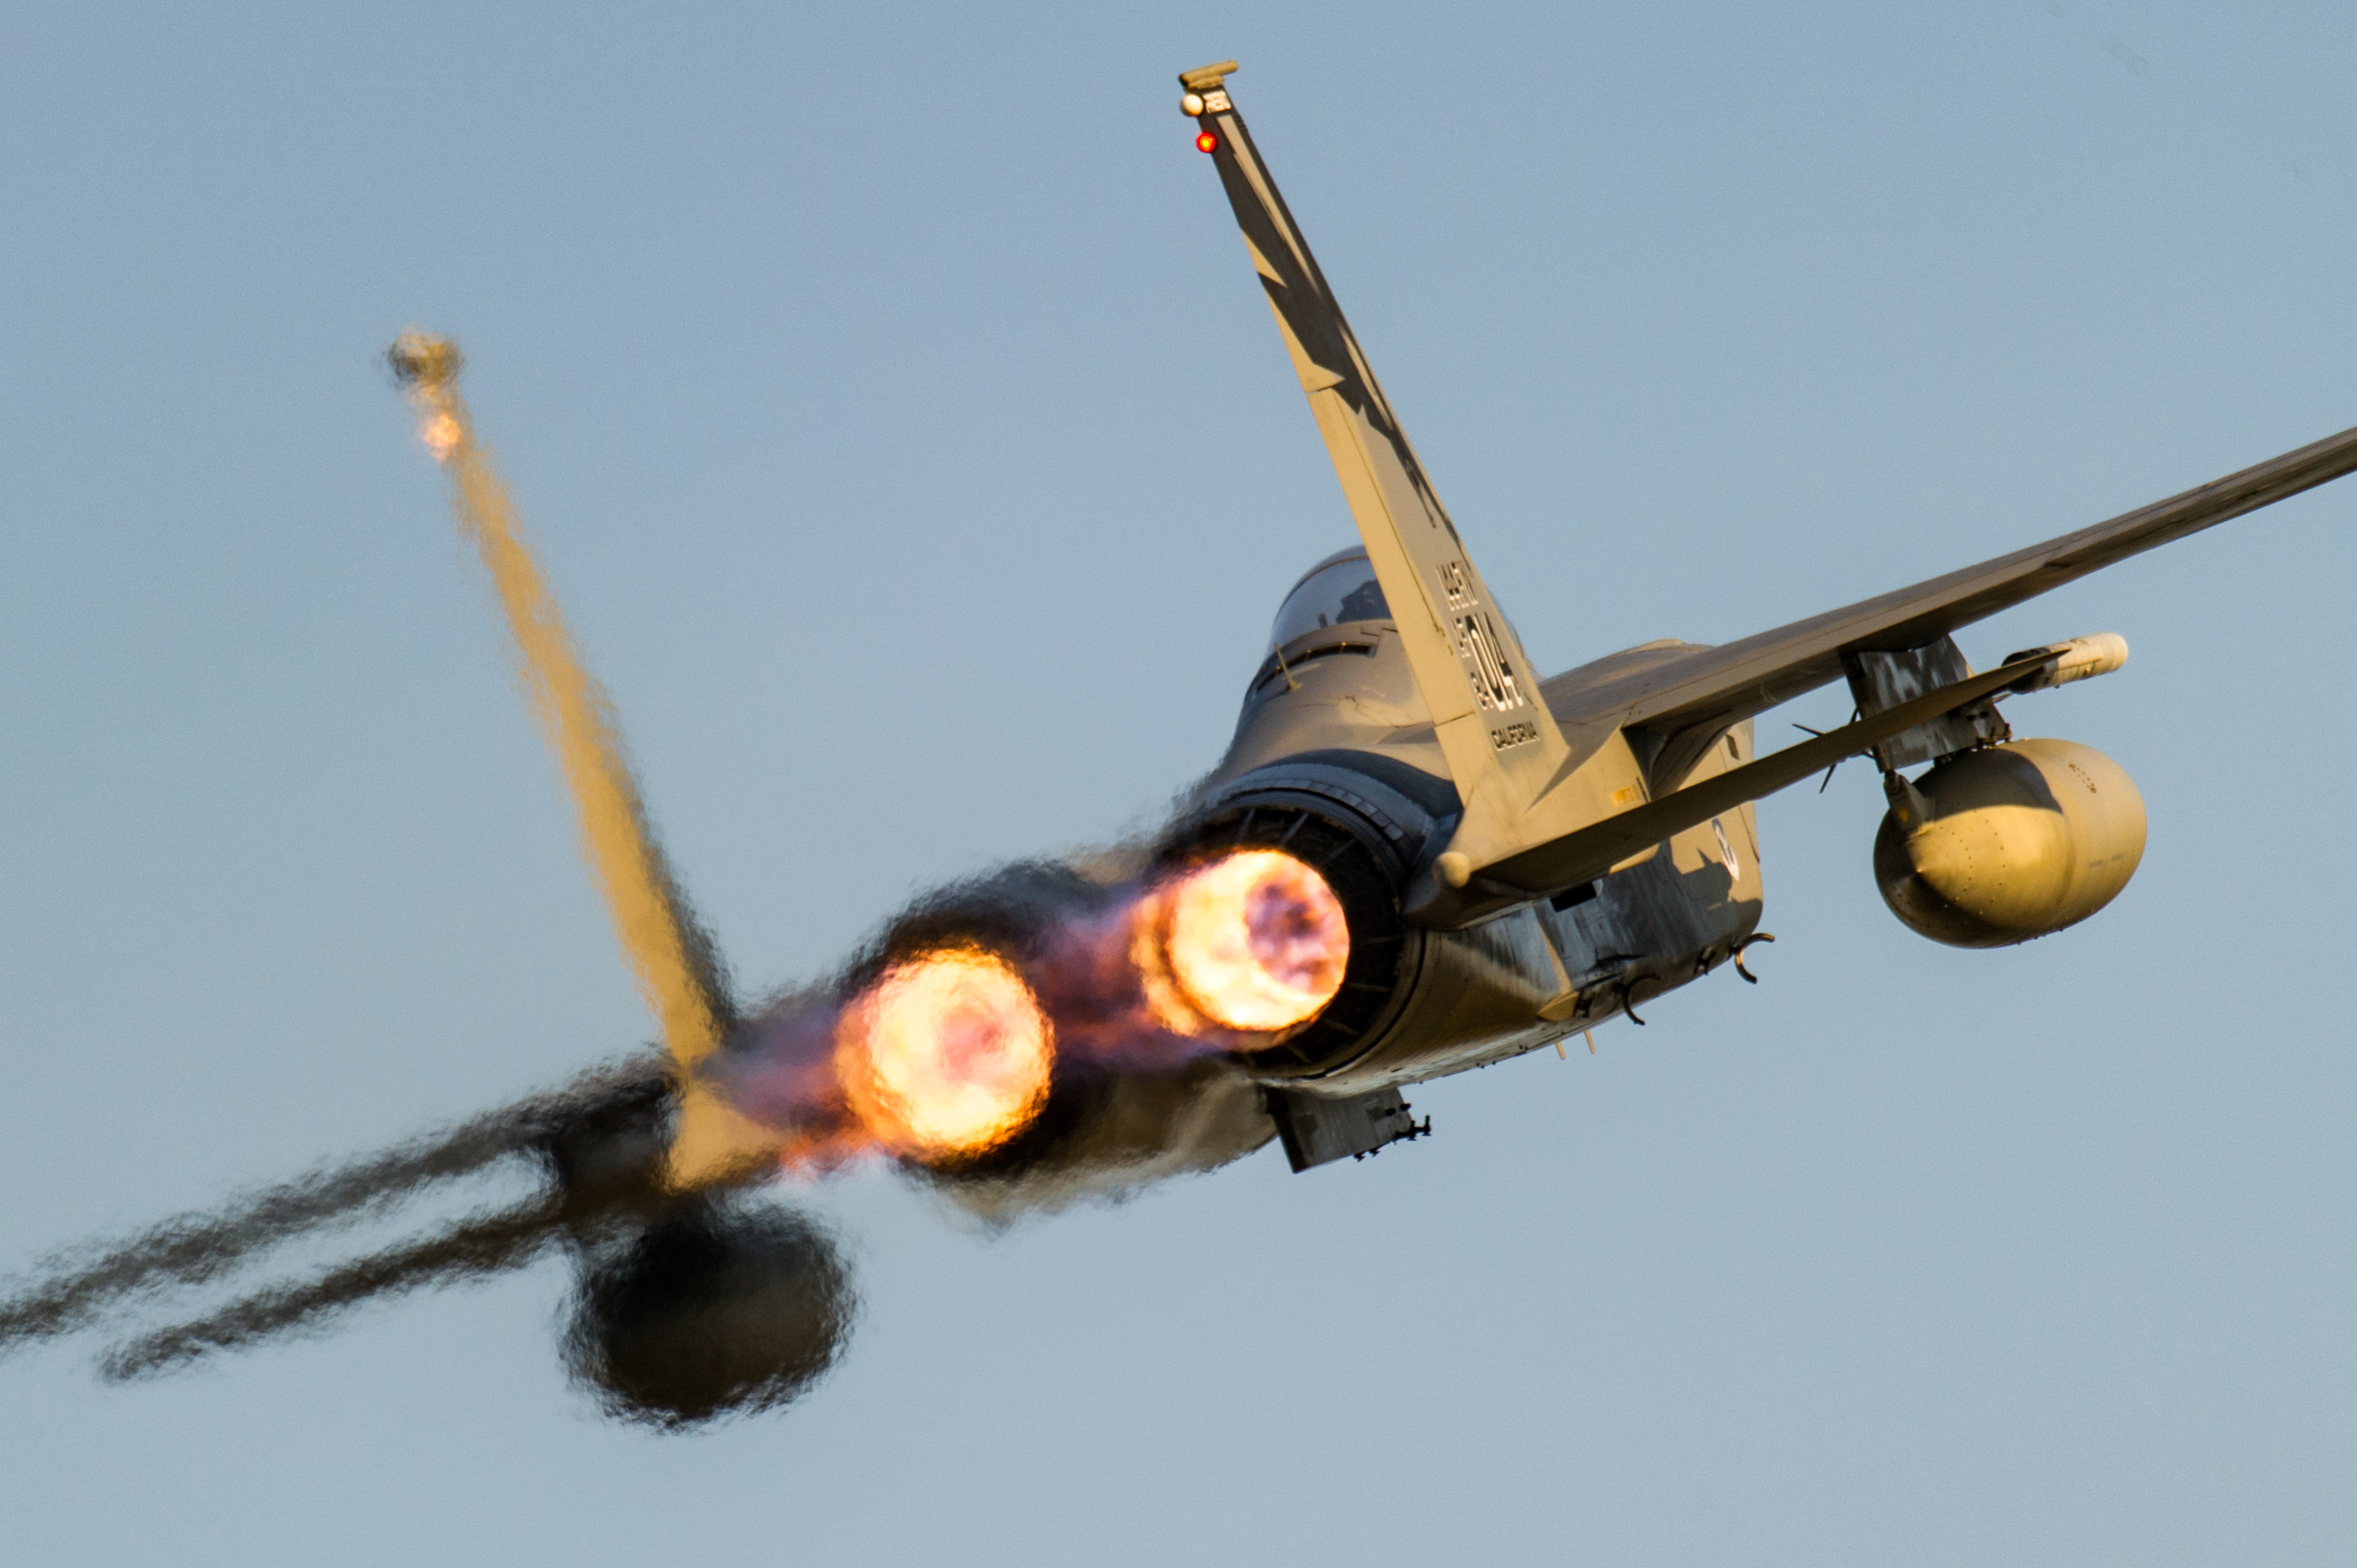
Most of the time, halos happen because we are trying to improve separation. The aircraft may be sitting against a dull sky, a hazy background, bright cloud or flat grey light. Naturally, we want the subject to stand out. That is where tools like contrast, clarity, dehaze, masking and sharpening can help.
The issue comes when those adjustments are pushed too far.\
Why Aircraft Show Halos So Easily
Aircraft have very clean shapes. Straight wings, hard edges, polished surfaces, glass canopies and fine details make editing artefacts more obvious than they might be in other types of photography.
A landscape can sometimes absorb heavy processing. An aircraft against the sky rarely hides it.
This is why aviation editing needs a careful final check. The goal is not to avoid contrast or drama. The goal is to build it without creating visible editing marks around the subject.
The Clean Edit Check
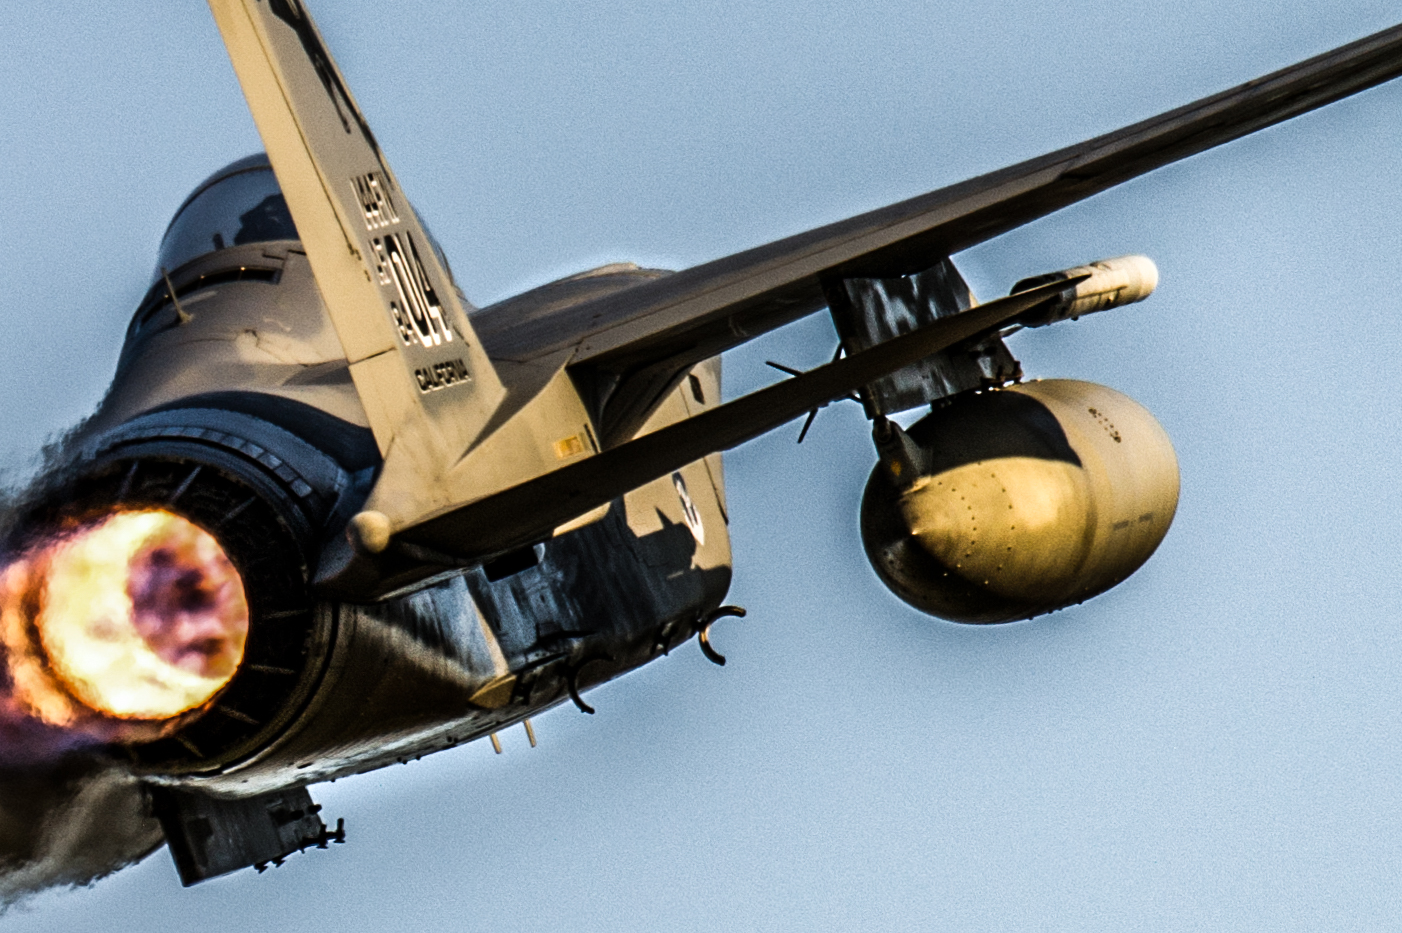
Before exporting an aviation image, zoom in and check the aircraft edges.
Pay close attention to:
Wingtips
Tail edges
Canopy frames
Prop discs
Smoke trails
Pylons and stores
Aerials and probes
High-contrast cloud edges behind the aircraft
If you see a glowing line, a dark outline, crunchy detail, blotchy sky texture or a strange edge around the aircraft, chances are that’s a halo and a sign that something in the edit may need dialing back.
Common fixes include reducing dehaze, lowering clarity or texture, softening a mask (or ensuring brush masks have a clean edge), reducing sharpening, or using more subtle local adjustments rather than heavy global contrast.
Build Contrast, Don’t Smash It
A clean aviation edit usually comes from building contrast in stages.
Start with the overall light. Then shape the sky and subject separately with masks. Use brushwork to guide attention but watch for overspill beyond the edges. Add colour carefully. Sharpen only what needs sharpening.
This approach gives you more control than relying on one heavy slider to create impact.
Inside the Aviation Photography Accelerator on COAP Online, we’re diving deep into editing this month with two live workshops and a weekly focus to keep you moving forward!
Learn more about the Aviation Photography Accelerator here:
Did you know our blogs are written exclusively by photographers inside the Accelerator? We'd love for you to come and see what COAP Online is all about.
Not yet part of the Aviation Photography Accelerator?
Start this month for £19
Every month the whole community locks onto one Focus Subject and learns it live with our pro instructors. You also get instant access to everything we have ever made: 30+ workshop replays, 150+ tutorials, four pro masterclasses, and The Merge, our private community of 500+ aviation photographers.
Cancel any time. 30-day money-back guarantee.

Included with the Accelerator
Exclusive gear discounts at Clifton Cameras
Everyone inside the Accelerator qualifies for exclusive pricing on cameras, lenses and accessories through our retail partner, Clifton Cameras. The saving on a single purchase can cover several months of the Accelerator.
Discounts available across









Get a free tutorial to your inbox every week!
Subscribe to our mailing list to receive a fantastic aviation photography tutorial to your inbox every Tuesday!
We hate spam as much as you. We will never sell your information, for any reason.