Why Your Night Shots Look Too Dark
Nov 04, 2026
So you’ve spent an evening at a night shoot, the shots look great on the back of the camera, and then you open them at home and they're a stop or two darker than you remember. It happens to us all!
The aircraft is buried in shadow, and when you lift it in Lightroom the noise comes up with it.
It is pretty common, and with the clocks having gone back, plenty of us are heading into the night shoot season right now, so it's a good time to sort it out.
Let's look at why it happens and the quick check to run on the night, so you come home with the shots you thought you'd got!
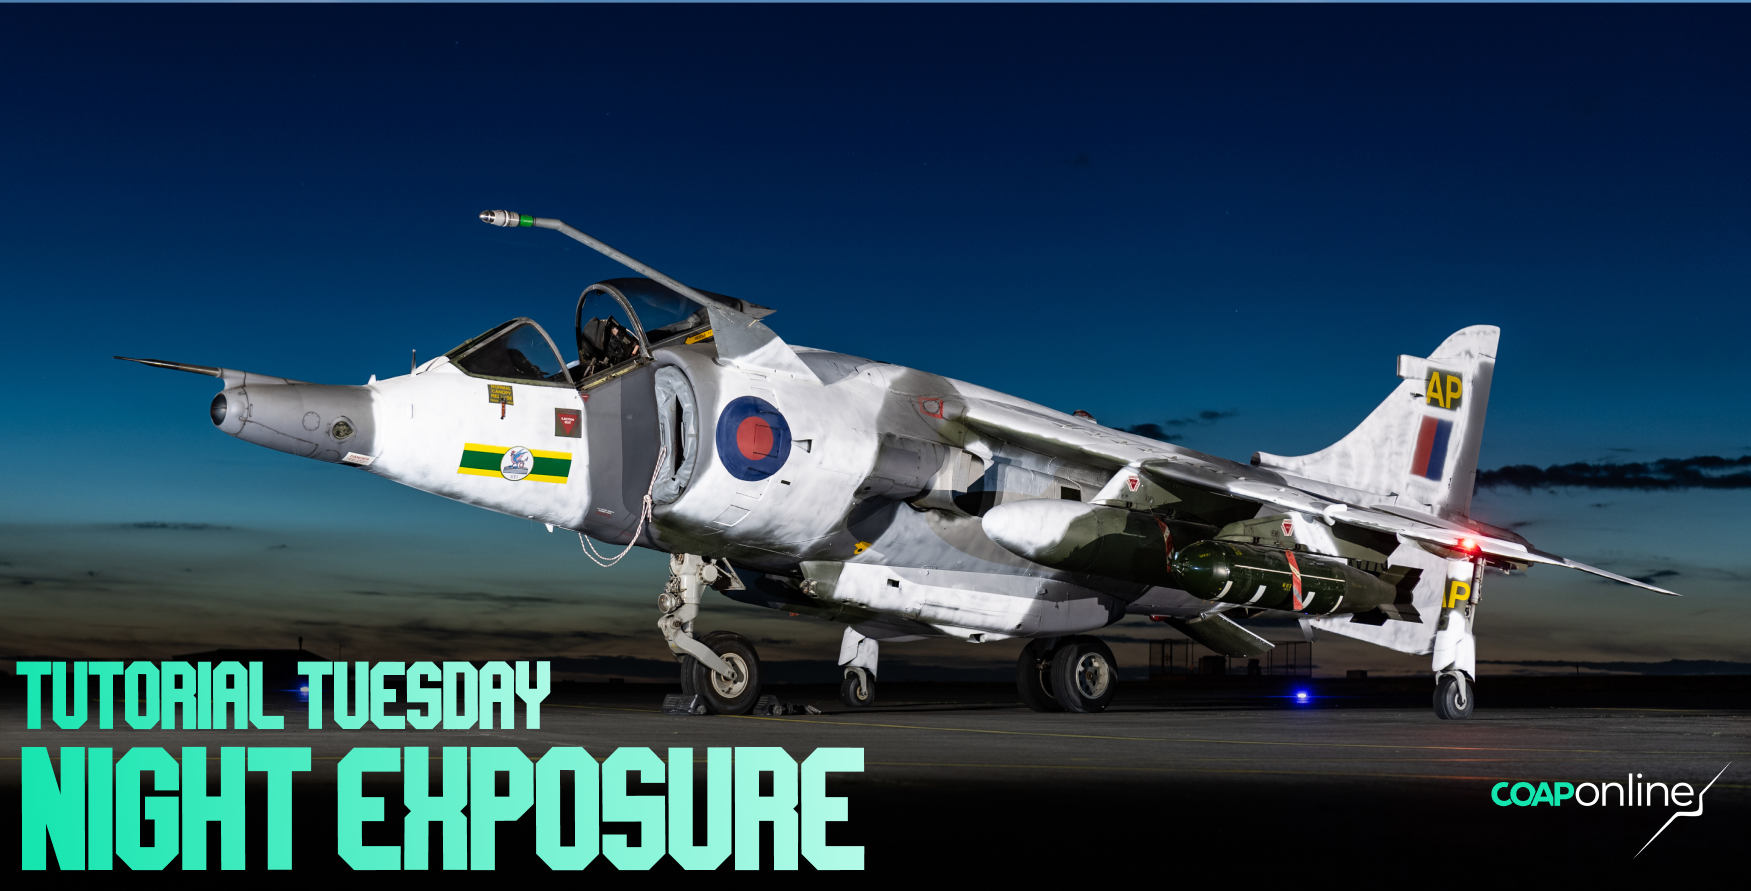
1. Why the screen plays tricks on you
After half an hour in the dark your eyes have adjusted, and the screen on the back of the camera looks far brighter than it really is. A shot that's two stops under can look perfectly fine on it. A mirrorless viewfinder can sometimes add to the problem, as many are set to brighten the view to help you compose, so what you see isn't the exposure you're getting. If your screen brightness is set to Auto, change it to a fixed setting in the middle, so it looks the same every time you check.
2. Use the histogram instead
The histogram doesn't care how dark it is around you. Turn it on in playback (or in the viewfinder on a mirrorless camera) and check it after the first shot of every new set-up. A night scene will always have a big pile of dark tones on the left from the black sky and the tarmac, and that's fine. What matters is the next step.
3. Find the aircraft
A night shot is mostly dark, so the histogram will always lean left. What you want to know is whether the aircraft has enough light on it. The quickest way is to zoom in on the lit side of the aircraft in playback. If you can see panel lines and stencils, and the darker side still has some shape to it, you're close. If the lit side already looks murky zoomed in, you're underexposed, however good the shot looks on the screen.
4. Let the floodlights blink
Turn on the highlight warning.. At night the floodlights, nav lights and landing lights will always ‘blink’, and you can leave them to it, as nobody expects detail in a light bulb. What you don't want flashing is the aircraft: a white fuselage, a polished panel or the patch right under a floodlight. If that blinks, bring the exposure down a third of a stop at a time until it stops.
5. Give it more light than feels right
Once the histogram is showing you the true picture (pun intended), you'll usually find you can go a lot brighter than the screen made you think. On a tripod with a static aircraft and nobody moving, that's easy: use a longer shutter speed and keep the ISO low. With people walking past, re-enactors in the shot or an engine running, you can't slow the shutter much, so the ISO has to go up.
6. Know your highest ISO before you go
A lot of people underexpose at night to keep the ISO down and plan to brighten it later. On most modern cameras that's no cleaner than using the higher ISO on the night, on many older ones it's worse, and either way you can't see what you've got until you're home. So find the highest ISO you're happy with before your next shoot. Shoot at home in a dim room at every ISO from 1600 up, exposed properly each time, run them through the noise reduction you normally use, and look at them at the size you'd use them. The highest one you'd happily post or print is your limit, and with modern noise reduction it's usually higher than people expect.
Summary
After the first shot of every new set-up: ignore the screen, check the histogram, zoom in on the aircraft, let the lights blink and nothing else, and go up to your ISO limit before you settle for a darker shot. It only takes a few seconds each time.
Own The Night
If you've got night shoots coming up this winter, our Own The Night guide takes you through the whole process in 10 clear steps, from the lens setting that softens night shots to focusing reliably in the dark and keeping your camera going when everyone else's batteries give up. It's a 30-page PDF with a quick reference checklist to keep in your bag, and it's just £7.
Get the guide here: www.coaponline.com/own-the-night
Inside COAP Online, the full version of this tutorial is in The Merge, with the camera settings to change before your next night shoot and how to run your own ISO test at home.
Did you know our blogs are written exclusively by photographers inside the Accelerator? We'd love for you to come and see what COAP Online is all about.
Not yet part of the Aviation Photography Accelerator?
Start this month for £19
Every month the whole community locks onto one Focus Subject and learns it live with our pro instructors. You also get instant access to everything we have ever made: 30+ workshop replays, 150+ tutorials, four pro masterclasses, and The Merge, our private community of 500+ aviation photographers.
Cancel any time. 30-day money-back guarantee.

Included with the Accelerator
Exclusive gear discounts at Clifton Cameras
Everyone inside the Accelerator qualifies for exclusive pricing on cameras, lenses and accessories through our retail partner, Clifton Cameras. The saving on a single purchase can cover several months of the Accelerator.
Discounts available across









Get a free tutorial to your inbox every week!
Subscribe to our mailing list to receive a fantastic aviation photography tutorial to your inbox every Tuesday!
We hate spam as much as you. We will never sell your information, for any reason.