
Reading the Histogram Like an Aviation Photographer
May 04, 2026
The histogram is one of the most useful tools in aviation photography, but it is often explained in a way that makes it feel more complicated than it needs to be.
In simple terms, the histogram shows how the tones in your image are spread from dark on the left to bright on the right. For aviation photographers, the right-hand side deserves special attention because that is where the highlights live.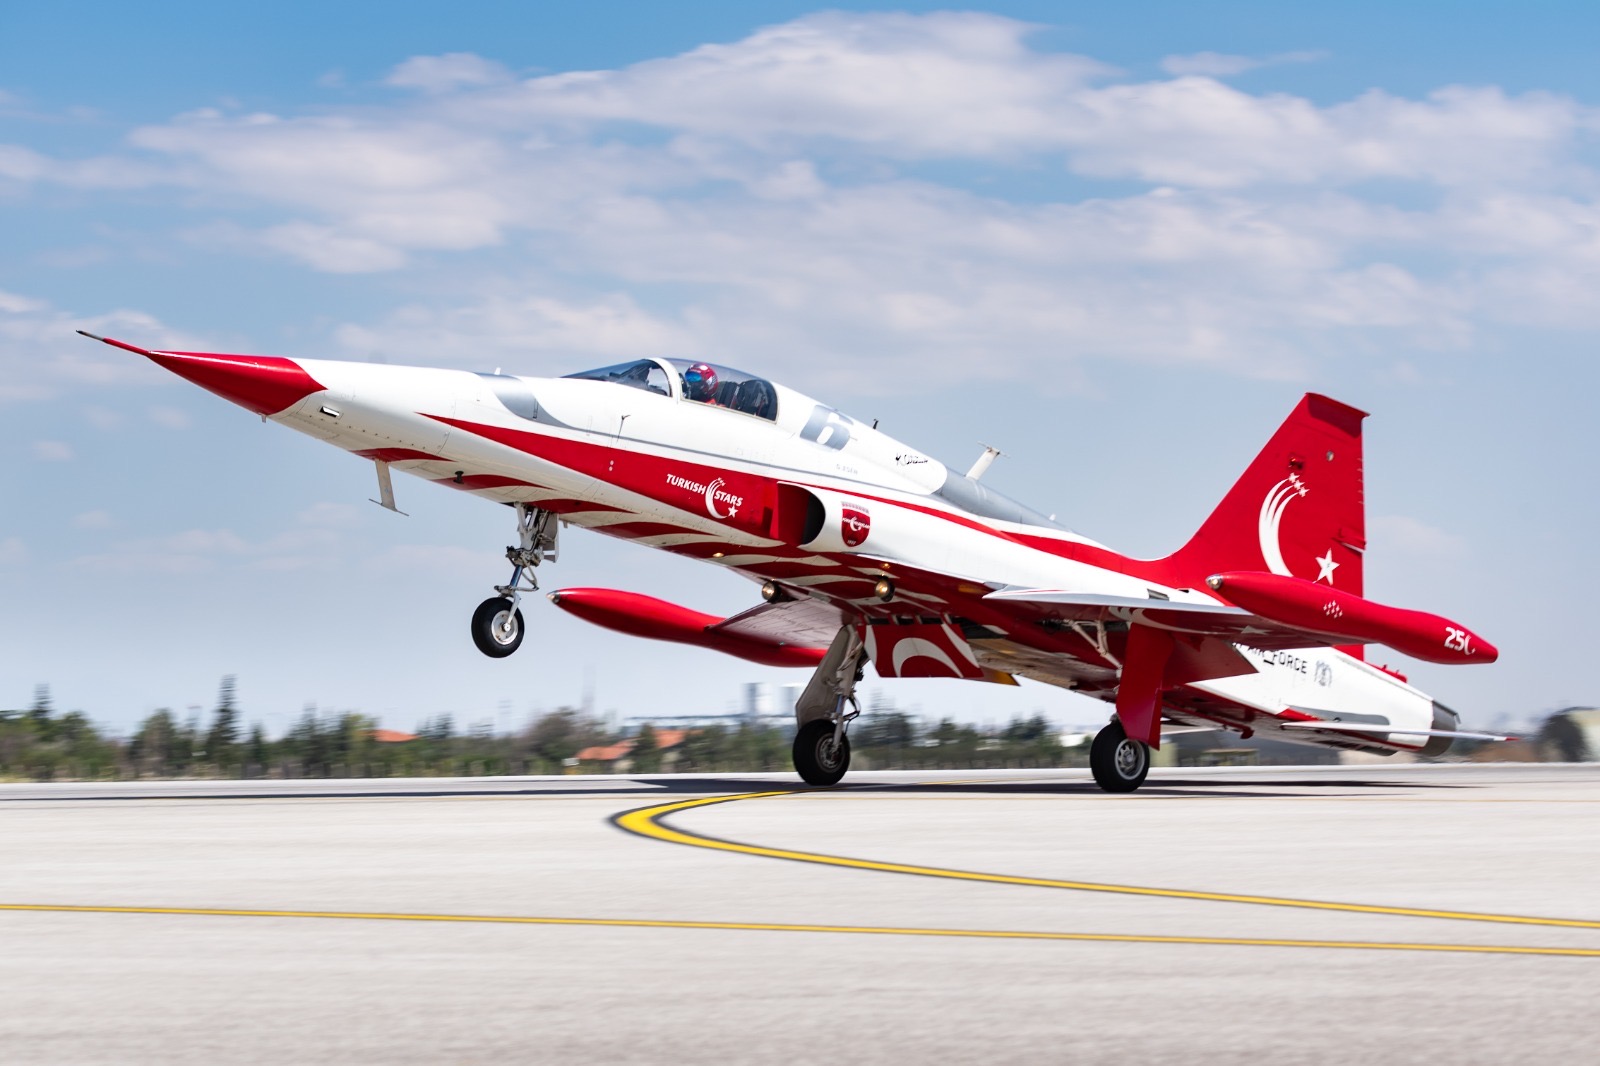
Why aircraft highlights are easy to lose
Aircraft often contain bright areas that carry a lot of visual importance. White fuselages, canopy reflections, polished metal, sunlit leading edges, bright smoke and burners are all examples of what can all sit close to the right edge of the histogram.
If those areas clip, the camera has recorded pure white with no recoverable information. Lightroom can make the area darker, but it cannot rebuild detail that was never captured. That is why overexposed fuselage whites can look chalky, and why blown canopy highlights can feel harsh rather than reflective, with weird gradients between the areas that have been lost, or ‘clipped’.
Don’t chase a perfect histogram
Aviation photography rarely gives you a perfect histogram. A dark aircraft against a bright sky, a white aircraft in cloud, or a polished jet in hard sunlight can all produce graphs that look a little awkward.
That is fine.
The goal is not to make the graph look balanced. The goal is to protect the parts of the aircraft that need to hold detail.
A tiny clipped sparkle on polished metal may not be a problem. A bright patch of empty sky might be acceptable. But a large clipped area on the fuselage, canopy or main aircraft surface will usually make the edit more difficult.
A simple field check
After a burst, glance at the histogram and pay attention to the right-hand edge. If the graph is pushed hard against the side, check the image preview and look at the aircraft itself.
Start with fuselage whites, then check the canopy, leading edges, polished panels, smoke and bright livery colours. If they still have tone and texture, you probably have a good RAW file to work with.
If they are too ‘hot’, reduce the exposure slightly. A change of 1/3 or 2/3 of a stop can be enough to protect the highlights while still keeping plenty of usable shadow detail.
The histogram is there to guide your attention, not make creative decisions for you. Once the important highlights are safe, you have a stronger file for the edit. You can shape light, build contrast, refine colour and add detail with far more control.
If you want to go further, COAP Online goes deeper on aviation exposure, histogram reading and protecting highlights in difficult light. The Merge post drills into a practical highlight-protection workflow, including when to expose for the aircraft, when to accept a bright sky, and how to read the histogram without overthinking it. Explore COAP Online with a free trial at www.coaponline.com.
Did you know our blogs are written exclusively by our members? We'd love for you to come and experience what COAP Online is all about!
Not yet a member?
Enjoy a free 30-day trial!
COAP Online membership brings 100s of aviation photographers from around the world together in a friendly, helpful and inspirational community. You'll enjoy monthly challenges, competitions, livestreams, blogs, exclusive discounts, meet-ups and more!
Get a free tutorial to your inbox every week!
Subscribe to our mailing list to receive a fantastic aviation photography tutorial to your inbox every Tuesday!
We hate spam as much as you. We will never sell your information, for any reason.

