Sharpen Only What Counts: Clean & Crisp Aviation Photos Without Noisy Skies
Mar 30, 2026
Welcome to Tutorial Tuesday, by COAP Online
Sharpening is one of the quickest ways to make an aviation image look the business, or to accidentally make it an eyesore.
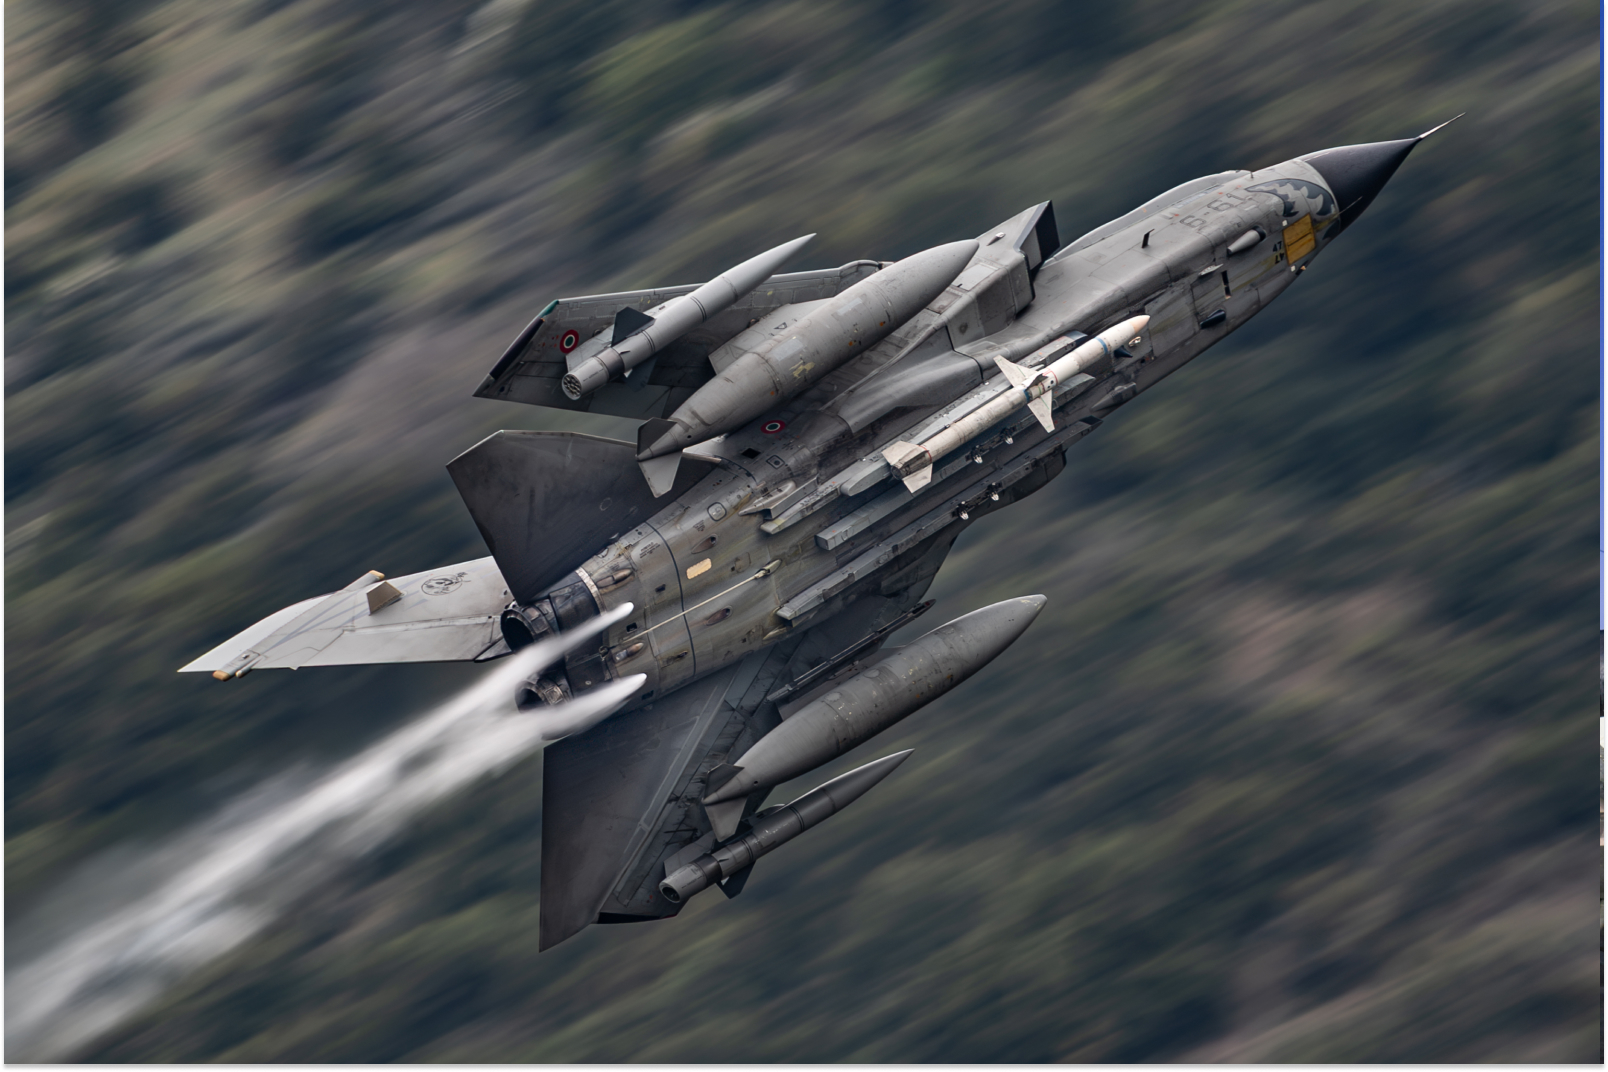
The reason is simple - aviation photos often include large smooth areas (sky, white civvy fuselage, slabs of grey mil fuselage, painted gradients on liveries) sitting right next to fine detail (titles, cockpit framing, rivets, landing gear, intake edges). Global sharpening doesn’t know the difference so it sharpens everything, including the parts that don’t warrant it.
What “smart sharpening” means for aviation
There is a lot of hype around sharpness, with micro pixel-peeping examinations at 500%. Give yourself a break.
It’s quite easy to sum this up… The aircraft looks crisp where it should, but the sky stays smooth and believable. A useful mindset is: detail gets sharpened, tone does not.
A reliable Lightroom approach
Start in the Detail panel:
- Baseline sharpening (keep it modest) Use a sensible Amount that supports the aircraft without forcing the file. Then keep Radius reasonable so edges don’t grow thick and spread out.
- Masking is the main event Hold Alt/Option while moving the Masking slider. Aim for sharpening to land on aircraft edges and detail, not on the sky. In many aviation files, a higher Masking value is the difference between “clean” and “gritty”.
- Don’t confuse sharpening with clarity Clarity and Texture add local contrast. They can help on an airframe, but used globally they often create halos on wings and tails and roughness in skies. If you use them, it’s often better to use them selectively.
Add extra sharpness locally, not globally
If the aircraft still needs bite, do it with a Mask:
- Subject (or aircraft-only) Mask
- Add a small amount of Texture or Sharpness locally
- Keep an eye on panel lines and titles so they don’t start to look etched, and watch where the Mask falls
This keeps the sky smooth and puts attention where viewers actually look.
Remember output sharpening
A file that looks slightly soft at 100% can look perfect once exported for web or print, depending on your output settings. Over-sharpening in Develop to “look sharp on screen” is one of the quickest ways to end up with messy exports.
If you want to go further, COAP Online goes deeper on sharpening for aviation files, including practical starting points, masking strategies for clean skies, and when to switch to Photoshop for more control. The Merge post drills into a step-by-step “two-stage sharpening” method and export settings for web versus print. Explore COAP Online with a free trial at www.coaponline.com.
Did you know our blogs are written exclusively by our members? We'd love for you to come and experience what COAP Online is all about!
Not yet a member?
Enjoy a free 30-day trial!
COAP Online membership brings 100s of aviation photographers from around the world together in a friendly, helpful and inspirational community. You'll enjoy monthly challenges, competitions, livestreams, blogs, exclusive discounts, meet-ups and more!
Get a free tutorial to your inbox every week!
Subscribe to our mailing list to receive a fantastic aviation photography tutorial to your inbox every Tuesday!
We hate spam as much as you. We will never sell your information, for any reason.